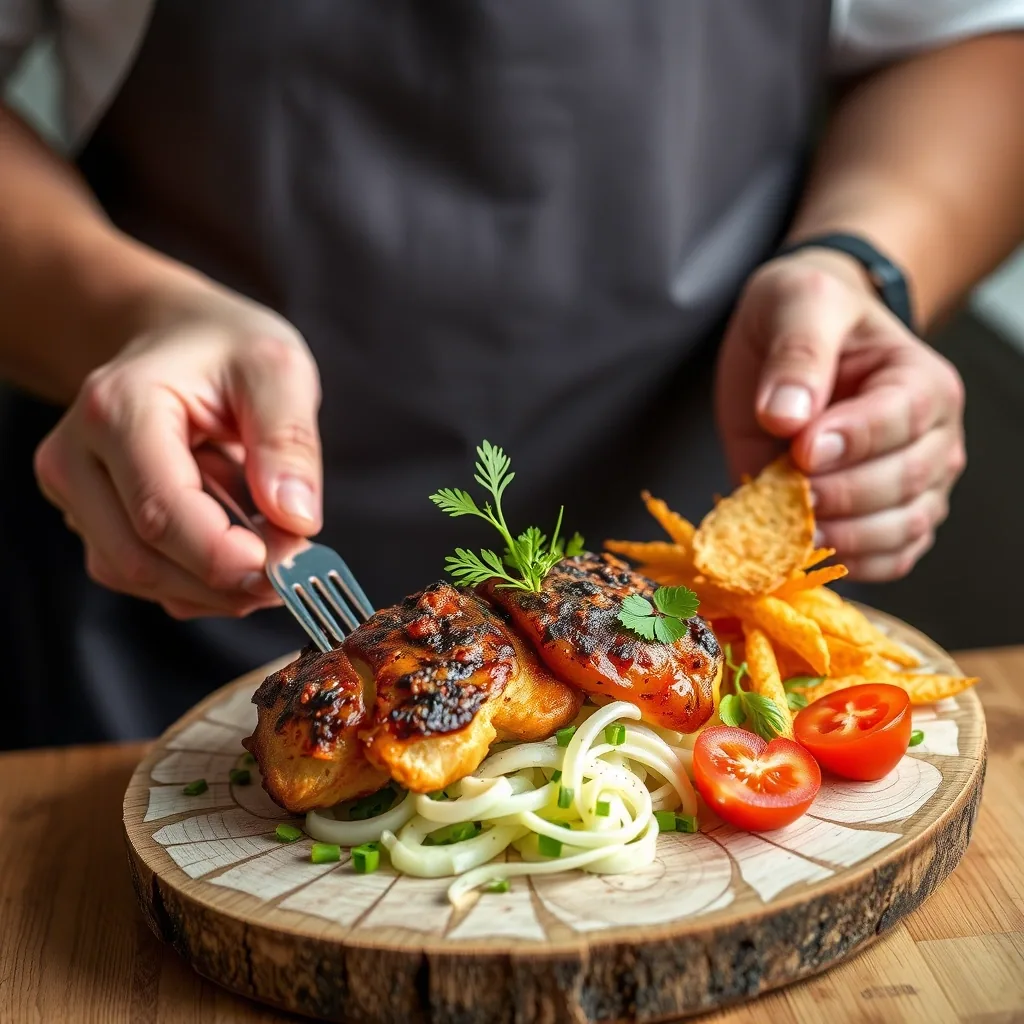
I’ve been obsessed with recreating Applebee’s garlicky green beans at home, and after countless tests, I’ve finally cracked the code. ✨ That perfect balance of tender-crisp beans, bold garlic flavor, and buttery richness is now yours to make anytime the craving hits.
The secret lies in blanching the beans first, then finishing them in a hot skillet with loads of garlic and butter. This two-step method ensures the beans stay vibrant green and perfectly tender while absorbing maximum garlicky goodness. It’s restaurant-quality without leaving your kitchen.
What you’ll end up with is a side dish that steals the show—bright green beans with golden garlic bits clinging to every piece, all coated in a light buttery glaze. They’re crisp enough to have bite but tender enough to feel indulgent, just like the original.
perfect alongside steak, chicken, or as part of your weeknight dinner rotation. Let’s get started!
Ingredients for applebee’s garlicky green beans
Here’s everything you need to create these delicious Applebee’s-style garlicky green beans at home.
| Ingredient | Amount | Notes |
|---|---|---|
| Fresh Green Beans 🥬 | 1 ½ lb | Ends trimmed, uniform size |
| Garlic Cloves 🧄 | 6 cloves | Thinly sliced for crispness |
| Unsalted Butter 🧈 | 4 tbsp | European style for richness |
| Olive Oil 🫒 | 2 tbsp | Prevents butter from burning |
| Kosher Salt 🧂 | 1 tsp | For blanching water |
| Black Pepper 🌶️ | ½ tsp | Freshly ground preferred |
| Red Pepper Flakes 🔥 | ¼ tsp | Optional for heat |
| Lemon Juice 🍋 | 1 tbsp | Freshly squeezed brightens flavor |
| Parmesan Cheese 🧀 | ¼ cup | Freshly grated for garnish |
[recipe_ingredient_scaler]
You can find fresh green beans at any grocery store year-round, but farmers markets offer the best quality during summer months. Look for beans that snap crisply when bent and have vibrant green color without brown spots. For butter, I recommend Kerrygold or Plugrá European-style butter for superior flavor and creaminess. Fresh garlic from the produce section tastes significantly better than pre-minced jarred versions.
Don't have fresh green beans? Frozen whole green beans work in a pinch—just skip the blanching step and add them directly to the skillet. If you prefer less garlic intensity, reduce to 4 cloves or roast the garlic first for a mellower flavor. Regular salted butter works fine if that's what you have; just reduce the added salt accordingly. Pecorino Romano can substitute for Parmesan for a sharper, saltier finish.
Store fresh green beans unwashed in a plastic bag in the crisper drawer for up to 5 days. Prep them ahead by trimming ends the night before. Leftover cooked beans keep refrigerated for 3 days and reheat beautifully in a hot skillet.
Step-by-Step Instructions for Applebee’s Garlicky Green Beans
Let me walk you through this simple restaurant-style technique that delivers perfect results every time.
🍳 Step 1: Blanch the Green Beans to Tender-Crisp Perfection
Bring a large pot of water to a rolling boil and add the kosher salt. Drop in the fresh green beans and cook for 3-4 minutes until they turn bright green and reach tender-crisp texture. You’ll know they’re ready when a bean bends slightly but still has a satisfying snap.
Immediately drain and plunge the beans into a bowl of ice water for 2 minutes. This shocking process stops the cooking instantly and locks in that vibrant color. Drain thoroughly and pat completely dry with paper towels—any excess water will cause splattering when you add them to the hot pan.
🔥 Step 2: Crisp the Garlic in Butter and Oil
Heat the olive oil and unsalted butter in a large skillet over medium heat until the butter melts and starts to foam. Add the thinly sliced garlic cloves and cook for 1-2 minutes, stirring constantly, until they turn golden and fragrant. Watch carefully—garlic goes from perfect to burnt in seconds.
The olive oil prevents the butter from burning while the butter adds that rich, restaurant-quality flavor. You want the garlic slices to be crispy but not dark brown, as burnt garlic tastes bitter.
🥘 Step 3: Toss and Season the Green Beans
Add the blanched green beans to the skillet and toss vigorously for 2-3 minutes until they’re heated through and coated in the garlicky butter. Season with the black pepper and red pepper flakes if using. The beans should glisten with butter and have those beautiful golden garlic pieces clinging to them.
Remove from heat and drizzle with the lemon juice, tossing once more. Transfer to a serving platter and immediately top with the freshly grated Parmesan cheese while the beans are still hot—the residual heat will slightly melt the cheese. Serve right away for the best texture and flavor.
Applebee’s Garlicky Green Beans are a fan favorite, and for good reason! 🥗 They’re crispy, flavorful, and packed with garlic goodness. The best part? You can make them in the comfort of your own home. To get started, you’ll need a few simple ingredients: fresh green beans, garlic, olive oil, salt, and pepper. You can also customize the recipe to your taste by adding other seasonings, such as paprika or chili powder.
Customizing the Recipe 🔥
You can take this recipe to the next level by making a few simple tweaks. Try adding some diced onions or bell peppers to the pan with the garlic for extra flavor. You can also use different types of oil, such as avocado oil or grapeseed oil, for a unique taste.
- For an extra crispy coating, try chilling the green beans in the refrigerator for 30 minutes before cooking.
- To make the dish more substantial, serve the green beans alongside your favorite protein, such as grilled chicken or steak.
- Experiment with different seasonings, such as lemon zest or dried herbs, to add a bright and refreshing flavor to the dish.
With these simple tips and tricks, you can create a delicious and authentic Applebee’s Garlicky Green Beans recipe in the comfort of your own home. So go ahead, get creative, and enjoy! 😋
| Ingredient | Quantity |
|---|---|
| Fresh green beans | 1 pound |
| Garlic | 3 cloves |
| Olive oil | 2 tablespoons |
Pro Tip: 💡 For the best results, use fresh green beans and high-quality garlic. This will ensure that your dish is packed with flavor and texture.
Tips & Tricks for Perfect Applebee’s Garlicky Green Beans
Here are my top tips to help you nail this restaurant-style side dish every single time.
Ice Bath is Non-Negotiable: Don’t skip the ice water shock after blanching—this is what keeps your green beans that vibrant, restaurant-quality green instead of turning dull olive. I prepare my ice bath before I even start boiling water so it’s ready the instant I need it. The cold water stops the cooking process immediately, preventing mushy beans. 💡
Dry Beans Thoroughly: After shocking, pat those beans completely dry with paper towels or a clean kitchen towel. Any water clinging to the beans will cause dangerous splattering when they hit the hot butter and oil. I spread mine on a towel-lined baking sheet for a few minutes to ensure they’re totally dry.
Slice Garlic Thin and Evenly: Use a sharp knife or mandoline to slice garlic into thin, uniform pieces—about 1/8-inch thick. Uneven slices mean some pieces burn while others stay raw. I’ve found that thinner slices crisp up beautifully and distribute more evenly throughout the beans, giving you garlic flavor in every bite. 🔥
Make-Ahead Strategy: You can blanch and shock the green beans up to 24 hours in advance. Store them in an airtight container in the refrigerator, then proceed with the sautéing step right before serving. This trick is a lifesaver when you’re preparing multiple dishes for a dinner party.
Nutrition Facts
145kcal
[recipe_ingredient_scaler]

Trained in classic French technique but raised on slow-cooked ribs and spicy rubs, she blends culinary skill with smoke and soul.
- Recipe for Cut Up Chicken: One-Pan Crispy Bites - October 3, 2026
- Recipe For Oven Baked Haddock: Buttery Crumbs With Zesty Lemon Topping - October 3, 2026
- Recipe For Fried Salmon Patties With Flour: Crispy Golden Crust With Flaky Centers - October 3, 2026