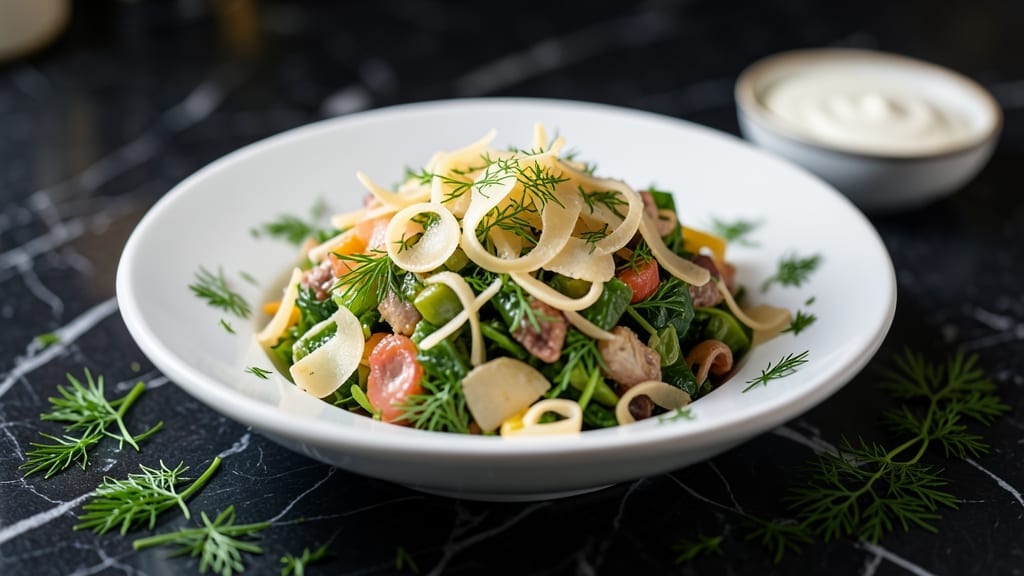
This authentic Russian salad recipe captures the essence of a classic dish that graces every holiday table in Russia—Olivier Salad, with its perfect balance of textures and flavors.
The secret lies in layering boiled potatoes, tender vegetables, and tangy pickles, all bound together by a creamy mayonnaise that transforms this salad into a showstopper. I’ve perfected this recipe over years of holiday celebrations, ensuring every bite delivers that nostalgic, comforting taste of tradition.
The magic begins with the preparation: potatoes boiled to a tender yet firm bite, carrots and peas cooked just until vibrant, and hard-boiled eggs sliced precisely. The pickles add a sharp contrast, while the mayonnaise—enhanced with a touch of mustard—creates the signature creamy texture that makes this salad irresistible.
This isn’t just a side dish; it’s a centerpiece that brings warmth and celebration to any gathering.
What sets this recipe apart is the layered assembly technique, where each ingredient is arranged meticulously to create a visually stunning dish that’s as beautiful as it is delicious.
The result is a salad with crisp edges, creamy centers, and a harmonious blend of flavors that’s both comforting and sophisticated. Whether you’re serving it at a festive holiday dinner or a family get-together, this salad will be the star of the meal.
Perfect for New Year’s celebrations, Christmas feasts, or any occasion where you want to bring a taste of Russian tradition to your table. The combination of textures—crunchy, creamy, and tangy—makes every bite unforgettable. Let’s get started on creating this timeless classic.
Ingredients for authentic russian salad
Layered textures and traditional flavors—this is the heart of an authentic Russian holiday centerpiece.
| Ingredient | Amount | Notes |
|---|---|---|
| Yukon Gold Potatoes 🥔 | 3 lbs | Boiled to tender-firm texture |
| Carrots 🥕 | 4 whole | Medium, Julienned into fine matchsticks |
| Green Peas 🌱 | 1 cup | Fresh or frozen, thawed |
| Hard-Boiled Eggs 🥚 | 6 whole | Sliced into thin rounds |
| Dill Pickles 🥒 | 1 ½ cups | Chopped into small cubes |
| Mayonnaise 🥫 | 2 cups | High-quality, full-fat |
| Dijon Mustard 🍯 | 1 tbsp | For subtle tang enhancement |
| Fresh Dill 🌿 | ¼ cup | Finely chopped, stems removed |
| Lemon Juice 🍋 | 1 tbsp | Freshly squeezed |
| Salt 🧂 | 1 tsp | Diamond Crystal kosher |
| Black Pepper 🌶️ | ½ tsp | Freshly ground |
| Capers 🍅 | 2 tbsp | Optional, for briny depth |
| Olive Oil 🫒 | 1 tbsp | For drizzling on top |
| Paprika 🌶️ | ½ tsp | Smoked, for garnish |
[recipe_ingredient_scaler]
The potatoes are the foundation, and Yukon Golds deliver that perfect waxy texture. Buy them fresh—avoid pre-boiled or bagged varieties, which lack the right consistency. For the pickles, Russian-style dill pickles from specialty stores like Kalinsky’s or Russian Market elevate the dish, but any high-quality dill pickles will work. The eggs should be ice-cold from the fridge when boiling to prevent cracking, and always slice them paper-thin for that classic presentation. Fresh dill is non-negotiable—dried simply can’t replicate the bright, herbal note that makes this salad authentically Russian. If you can’t find it, substitute with 1 tsp dried dill, but it won’t be the same.
Substitutions must respect the balance of textures. Swap the peas for fresh green beans if preferred, but blanch them first to maintain crispness. No mayonnaise? Greek yogurt mixed with olive oil works in a pinch, though the flavor will differ slightly. The capers are optional but add that signature briny depth—if omitted, increase the pickles by 0.5 cup. For a tangier dressing, add an extra 0.5 tbsp of lemon juice. The smoked paprika garnish is traditional, but a pinch of ground coriander can substitute if unavailable. Always taste the dressing before mixing—adjust salt and pepper to taste, as store-bought mayonnaise varies widely in seasoning.
This salad tastes even better the next day, as flavors meld and textures soften slightly. Store components separately in airtight containers in the fridge for up to 3 days, assembling only before serving to maintain crispness. For holiday prep, assemble the salad 2 hours ahead—it holds well at room temperature for that time. The dressing can be made 1 day in advance and stored in the fridge. Garnish with a final drizzle of olive oil and smoked paprika just before serving to preserve freshness. Leftover dressing freezes beautifully for up to 3 months—perfect for quick holiday sides.
Why You’ll Love This Recipe
- I’ll be real: this salad gets better the next day. The flavors meld, the textures soften just enough to be creamy without being mushy, and honestly? It’s the perfect lunch for when you’re too busy to cook. Just store the dressing separately, toss it all together when you’re ready, and boom—dinner solved.
- No Chopping Chaos: Honestly, this isn’t one of those salads where you spend 20 minutes julienning carrots by hand. The Yukon Gold Potatoes just get cubed, the carrots are blanched for 3 minutes, and the peas? Thawed in a colander while I boil the eggs. The real work is layering—easy when you’ve got a big bowl and no fancy prep.
- Creamy, Crunchy, Perfect Balance: The 2 cups of high-quality mayonnaise clings to everything like a second skin, but it’s the crunch of those dill pickles and the bright snap of the blanched carrots that make it sing. That lemon juice and Dijon mustard? They cut through the richness just enough to keep your taste buds happy—no one’s left with a greasy mouth.
- The Ultimate Leftovers Hack: I’ll be real: this salad gets better the next day. The flavors meld, the textures soften just enough to be creamy without being mushy, and honestly? It’s the perfect lunch for when you’re too busy to cook. Just store the dressing separately, toss it all together when you’re ready, and boom—dinner solved.
Step-by-step instructions for authentic Russian salad
This layered salad requires precision in technique and timing for true authenticity.
Prepare the Potatoes and Vegetables
Peel the 3 lbs Yukon Gold Potatoes and cut them into 1-inch cubes. Place them in a large pot of cold, salted water (add the 1 tsp Salt) and bring to a boil over high heat. Once boiling, reduce to medium-high and cook for 10 minutes until the potatoes are tender but still hold their shape when pierced with a fork. Drain immediately and rinse under cold water to stop the cooking process.
While the potatoes cook, peel and julienne the 4 Carrots into fine matchsticks. Blanch them in boiling water for 3 minutes, then shock in ice water to preserve their color and crisp texture. Drain and set aside. If using frozen green peas, thaw the 1 cup Green Peas in a colander under warm water. For fresh peas, shell them and bring to a boil in salted water for 2 minutes before draining.
Assemble the Mayonnaise Dressing
In a large mixing bowl, combine the 2 cups Mayonnaise, 1 tbsp Dijon Mustard, 1 tbsp Lemon Juice, ½ tsp Black Pepper, and the 2 tbsp Capers. Mix thoroughly until fully incorporated. The dressing should be smooth and evenly textured. Taste and adjust seasoning if needed—this is the foundation of the salad’s signature flavor. The capers add a subtle brininess that balances the richness of the mayonnaise.
Fold in the ¼ cup Fresh Dill and gently mix. The dill should be finely distributed throughout the dressing, ensuring each bite carries its distinctive aroma. Set the dressing aside while you prepare the remaining ingredients. This step is where the salad’s authentic character begins to develop, so don’t rush it.
Layer the Salad Components
In a large glass or ceramic bowl, begin by spreading half of the potato cubes evenly across the bottom. This creates a stable base for the remaining layers. Next, distribute the blanched carrot matchsticks evenly over the potatoes, followed by half of the 1½ cups Dill Pickles, chopped into small cubes. Sprinkle half of the sliced 6 Hard-Boiled Eggs over the pickles.
Repeat the layering process with the remaining potatoes, carrots, pickles, and eggs. The key to an authentic Russian salad lies in the even distribution of each component—this ensures every bite contains a balanced mix of flavors and textures. Press down gently on each layer to compact the ingredients and prevent shifting during transport or serving.
Add the Dressing and Garnish
Pour the prepared mayonnaise dressing evenly over the layered ingredients, ensuring it reaches every corner of the bowl. Use a spatula to gently fold the dressing into the salad, working from the outside in to distribute it uniformly. Avoid overmixing—just enough to coat the ingredients lightly. The dressing should glisten slightly but not pool at the bottom.
Drizzle the 1 tbsp Olive Oil evenly over the top of the salad and sprinkle with the ½ tsp Paprika. The olive oil adds a final layer of richness, while the paprika provides a subtle smoky note that complements the other flavors. Cover the bowl and refrigerate for at least 4 hours, or preferably overnight. This resting period allows the flavors to meld and the mayonnaise to fully penetrate the ingredients, resulting in a cohesive and authentic dish.
Pro Tips For Making Authentic Russian Salad
- Shock Your Carrots: That 3-minute blanch for the carrots isn’t just for color—it’s to keep them crisp. I learned this the hard way when I skipped it and ended up with mushy matchsticks. Ice bath immediately after blanching, then drain thoroughly—no one wants soggy layers.
- Cube Potatoes Evenly: Cut those 3 lbs Yukon Golds into consistent 1-inch cubes—no small ones, no lumpy ones. Uneven pieces cook at different rates, and you’ll end up with some overdone, others undercooked. A chef’s knife and a ruler help, I promise.
- Press Layers Firmly: Don’t just dump everything in and hope for the best. Press each layer down gently with the back of a spoon—this keeps the salad intact when you slice it later. Skimp on this, and you’ll get a messy pile instead of clean, restaurant-style portions.
- Dressing First, Then Fold: Pour the mayonnaise mixture over the layers, then fold it in from the outside. Dumping it all in a bowl and mixing first means the dressing pools at the bottom, and no one wants a soggy mess. Work quickly but carefully—this is where the magic happens.
Serving suggestions for this dish
Festive Holiday Centerpiece
The beauty of this salad lies in its ability to transform any gathering into a celebration. Serve it as the star of your New Year’s Eve dinner or Christmas feast—its vibrant colors and creamy texture make it an instant crowd-pleaser.
I always present it on a large glass platter with a sprig of fresh dill tucked into the dressing for an elegant touch. The contrast of warm spices and cool vegetables feels like a hug on a winter’s night. 🎄
Family-Friendly Presentation
For kids, let them assemble their own mini versions using small ramekins or individual bowls. This interactive approach makes them excited to try something new. I’ve found that adding a drizzle of ketchup or a side of mustard lets them customize their bite to their taste.
It’s a fun way to introduce them to the flavors of Russian cuisine without overwhelming them. 👨👩👧👦
Garnish Elevations
Take your salad to the next level with a few simple garnishes. A light dusting of toasted breadcrumbs adds crunch, while fresh chives or parsley brightens the colors. For a touch of luxury, top with crumbled blue cheese or goat cheese—the tangy bite cuts through the richness beautifully.
I also love adding a few edible flowers for a restaurant-worthy presentation. ✨
Pairing with Meals
This salad pairs perfectly with hearty dishes like roasted chicken, beef stroganoff, or even grilled fish. The creamy dressing balances the richness of these proteins, making it an ideal side.
For a vegetarian spread, serve it alongside mushroom bolognese or stuffed bell peppers. The combination of textures creates a satisfying meal that feels both comforting and sophisticated. 🍗
Make-Ahead Magic
Prep ahead is a game-changer for busy hosts. Assemble the salad 2 hours before serving to let the flavors meld, but avoid refrigerating it too long—this can make the vegetables soggy.
If you’re serving at room temperature, keep it covered and let it sit for at least 1 hour before plating. The dressing will cling better, and the salad will taste even more delicious. 💡
Nutrition facts
Frequently asked questions
Why does this salad taste better after resting?
The 4-hour to overnight rest lets the flavors meld perfectly. The mayonnaise soaks into the potatoes and carrots, while the tangy pickles and fresh dill infuse the dressing. This step transforms a good salad into a deeply flavorful, cohesive dish—just like the tradition calls for!
Can I skip the capers? What if I don’t have them?
Yes, you can omit the 2 tbsp capers—they’re optional for that briny depth. If you’re missing them, add an extra 0.5 cup chopped dill pickles to boost the tang. The dressing will still be delicious, just with a slightly milder profile.
How do I prevent the salad from getting soggy?
Store components separately in airtight containers and assemble only 1-2 hours before serving. Avoid refrigerating the fully assembled salad too long—it can make the vegetables mushy. If you must prep ahead, refrigerate the layers without the dressing until serving.
What’s the best way to slice the hard-boiled eggs?
Use a sharp knife to slice the eggs into paper-thin rounds—this is key for that classic Russian presentation. For even slices, start by peeling the eggs while still cold, then slice them vertically against the cutting board. Thin slices ensure every bite has that perfect balance of texture.
Can I make the dressing ahead of time?
The dressing holds up beautifully for 1 day in the fridge. Just stir it gently before using—it may separate slightly, but mixing it will restore its creamy consistency. This lets you focus on prepping the other components ahead.

Trained in classic French technique but raised on slow-cooked ribs and spicy rubs, she blends culinary skill with smoke and soul.
- Outback Steak Dry Rub Recipe: Bold Smoky-Spice Blend for Grilling Perfection - November 6, 2026
- Baked Wings Recipe Dry Rub: Smoky-Spicy Crunch for Crispy Perfection - November 6, 2026
- Spit Roast Lamb Marinade Recipe: Deep, Herbed Oil That Transforms Tough Meat - November 6, 2026