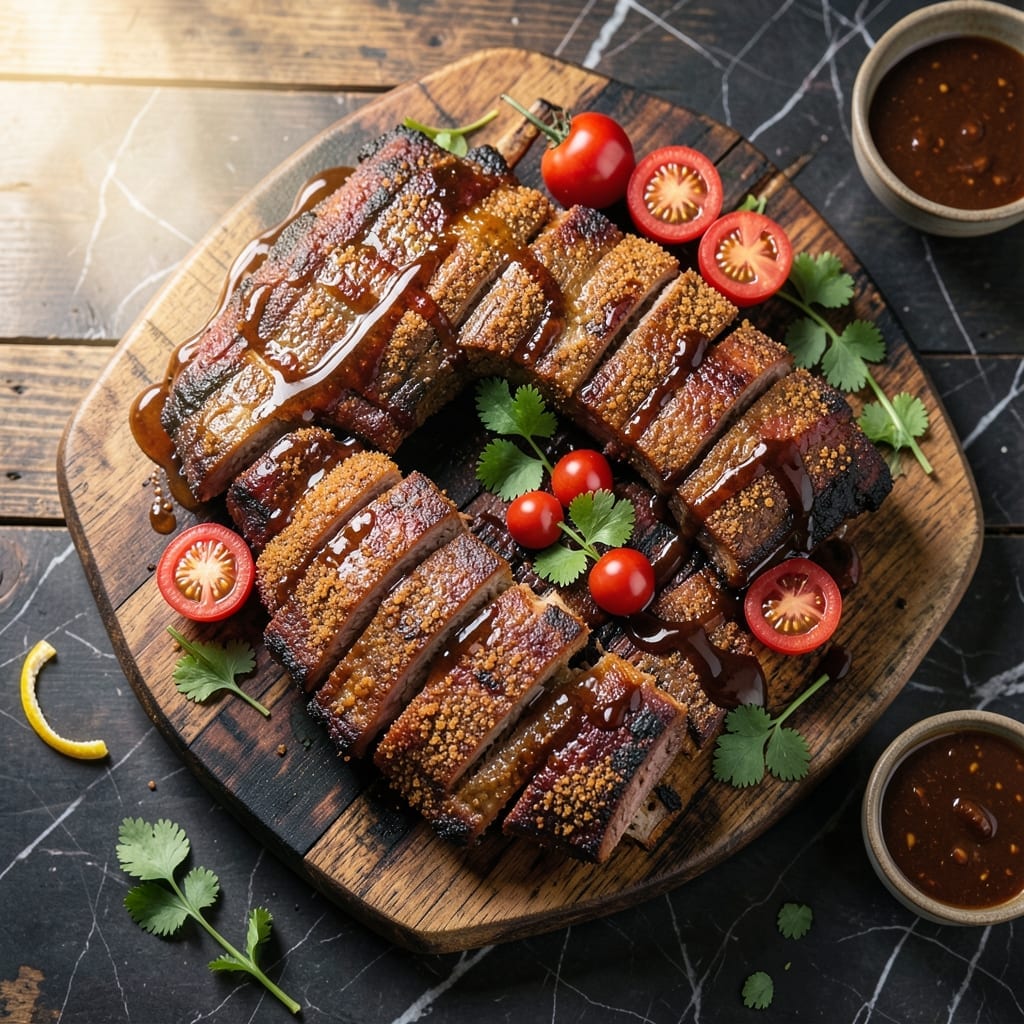
Mastering juicy beef ribs on a gas grill starts with patience and proper heat control. This method delivers a charred crust while keeping the meat tender and flavorful.
Using a simple spice rub and indirect heat, you’ll achieve competition-worthy results without a smoker. The key is low and slow cooking for perfect texture.
Ingredients for Bbq Beef Ribs Recipe Gas Grill
Simple spice rub and quality ribs create that charred crust with juicy layers.
| Ingredient | Amount | Notes |
|---|---|---|
| Beef Back Ribs 🥩 | 4 lb | Full rack, membrane removed |
| Brown Sugar 🍚 | ½ cup | Light or dark variety |
| Paprika 🌶️ | 2 tbsp | Sweet or smoked variety |
| Garlic Powder 🧄 | 1 tbsp | Not garlic salt |
| Onion Powder 🧅 | 1 tbsp | Fresh ground preferred |
| Coarse Salt 🧂 | 1 tbsp | Kosher or sea salt |
| Black Pepper 🌶️ | 1 tbsp | Freshly ground preferred |
| Chili Powder 🌶️ | 1 tsp | Adjust for heat preference |
| Ground Cumin 🌿 | 1 tsp | Toasted for deeper flavor |
| BBQ Sauce 🍯 | 2 cups | Store-bought or homemade |
| Apple Cider Vinegar 🍏 | ¼ cup | For spritzing during cooking |
| Olive Oil 🫒 | 2 tbsp | For binding rub |
[recipe_ingredient_scaler]
The ribs are the foundation here. Costco has excellent pre-trimmed racks at a good price, but your local butcher can provide higher-quality cuts with more marbling. Look for racks with uniform thickness—this ensures even cooking. Always remove the membrane (that tough, papery layer on the bone side) before applying the rub. It prevents the seasoning from penetrating the meat properly.
No chili powder? Cayenne plus a pinch of oregano works in a pinch. Brown sugar can be swapped for honey or maple syrup (though the texture will differ slightly). If you’re out of apple cider vinegar, white vinegar or lemon juice will do for the spritz. For the BBQ sauce, Sweet Baby Ray’s or Stubb’s are reliable store-bought options. Want more depth? Add a splash of liquid smoke to the sauce.
Rubbed ribs can sit in the fridge for up to 24 hours before cooking. Cooked ribs keep in the fridge for 4-5 days and freeze well for 3 months. Always wrap tightly in foil or use an airtight container to maintain moisture.
Why You’ll Love This Recipe
- Gas Grill Simple: I just set the ribs on the grill, close the lid, and let the heat do the work—no babysitting required.
- Sweet & Smoky: That brown sugar caramelizes while the paprika and garlic powder build a deep, crave-worthy crust.
- Feeds a Hungry Crowd: One rack of beef back ribs stretches to feed six without breaking the bank.
- Leftovers? Perfect: Honestly, they taste even better the next day—toss the extras into tacos or sandwiches.
Step-by-Step Instructions for BBQ Beef Ribs on a Gas Grill
This method delivers tender, juicy ribs with a perfectly charred crust every time.
Step 1: Prepare the Rib Rub
In a bowl, combine the 0.5 cup brown sugar, 2 tbsp paprika, 1 tbsp garlic powder, 1 tbsp onion powder, 1 tbsp coarse salt, 1 tbsp black pepper, 1 tsp chili powder, and 1 tsp ground cumin. Stir until fully blended and the mixture appears uniform.
Drizzle the 2 tbsp olive oil over the 4 lb beef back ribs and rub it evenly across all surfaces. This helps the dry rub adhere. Apply the spice mixture generously to both sides of the ribs, pressing firmly so it forms a crust. Let the seasoned ribs sit at room temperature for 30 minutes while you preheat the grill.
Step 2: Set Up the Grill for Indirect Heat
Preheat your gas grill to 275°F with all burners on. Once hot, turn off the burners on one side to create an indirect heat zone. This setup allows the ribs to cook low and slow without direct flame exposure, which prevents burning and ensures even cooking.
Place a disposable aluminum pan filled with water on the indirect heat side. This adds moisture to the cooking environment, helping to keep the ribs juicy. Close the lid and maintain the temperature between 250-275°F throughout the cooking process.
Step 3: Smoke and Cook the Ribs
Place the ribs bone-side down on the indirect heat side of the grill. Close the lid and cook for 2.5 to 3 hours. Every 45 minutes, spritz the ribs with the 0.25 cup apple cider vinegar to keep them moist and enhance the bark formation.
After 2 hours, check the ribs for tenderness. They should begin to bend slightly when lifted with tongs. If the ribs are browning too quickly, tent them loosely with aluminum foil to prevent burning while continuing to cook.
Step 4: Glaze with BBQ Sauce and Finish
Once the ribs are tender, move them to the direct heat side of the grill. Brush generously with 2 cups BBQ sauce, coating all surfaces. Cook for an additional 5-7 minutes per side, allowing the sauce to caramelize and create a sticky, charred crust.
Watch closely to prevent the sauce from burning. Turn and baste the ribs frequently during this final stage to ensure an even, glossy finish. The ribs are done when the sauce has thickened and the meat pulls back from the bones, exposing ¼ to ½ inch of bone.
Step 5: Rest and Serve
Transfer the ribs to a cutting board and let them rest for 10 minutes. This allows the juices to redistribute, ensuring moist, flavorful meat. Slice between the bones into individual servings.
Serve immediately with extra BBQ sauce on the side. The ribs should be tender enough to pull apart with a gentle tug, with a rich, smoky-sweet crust on the outside and juicy, flavorful meat inside.
Pro Tips For Making Bbq Beef Ribs Recipe Gas Grill
- Preheat the Grill: Crank your gas grill to 275°F and let it stabilize for 10 minutes—low and steady wins the race for tender beef back ribs.
- Pat Ribs Dry: Blot the ribs with paper towels before seasoning; the brown sugar and spices stick better when the meat isn’t slick.
- Skip the Sauce Early: I learned this the hard way—baste with BBQ sauce only in the last 15 minutes to avoid burnt, bitter edges.
- Use a Drip Pan: Place a foil pan with water under the ribs to catch drippings and prevent flare-ups that can char your spices.
Make-Ahead Tips for This Dish
Overnight Rub Prep
I always mix my rub the night before and let the ribs rest in the fridge for 8-12 hours. This gives the spices time to penetrate deeply. Use an airtight container or wrap tightly in plastic to prevent drying out. The longer the rub sits, the more flavor develops. 💡
Pre-Cooked Ribs
For busy days, I cook the ribs fully 1-2 days ahead and store them wrapped in foil in the fridge. When ready to serve, I reheat on the grill at 250°F for 15-20 minutes with fresh BBQ sauce to restore that charred crust.
Sauce Separation
Keep your 2 cups BBQ sauce in a separate container until ready to use. This prevents cross-contamination and lets you adjust the sauce consistency. I thin mine with 1-2 tbsp apple cider vinegar if it’s too thick for brushing.
Grill Prep
Clean and preheat your gas grill 30 minutes before cooking to ensure even heat distribution. I also soak wood chips in water for 1 hour if I want extra smoke flavor. Just toss a handful onto the lava rocks or in a smoker box.
Portion Control
After cooking, I separate the ribs into individual servings and vacuum-seal them. This makes reheating individual portions a breeze. They’ll keep in the freezer for up to 3 months without losing quality. ❄️
Reheating Trick
For the best results, reheat ribs in the oven at 300°F wrapped in foil with 2 tbsp apple cider vinegar for 20-25 minutes. Finish on the grill for 2-3 minutes per side to restore that smoky char.
Nutrition Facts

Trained in classic French technique but raised on slow-cooked ribs and spicy rubs, she blends culinary skill with smoke and soul.
- Recipe for Crock Pot Swiss Steak: Slow-Cooked Beef With Mushroom Gravy - October 3, 2026
- Recipe for Kabsa Rice: Spiced Middle Eastern Feast in One Pot - October 3, 2026
- Hamburger Stir Fry Recipe Healthy: Lean Protein and Veggie-Packed Dinner - October 3, 2026