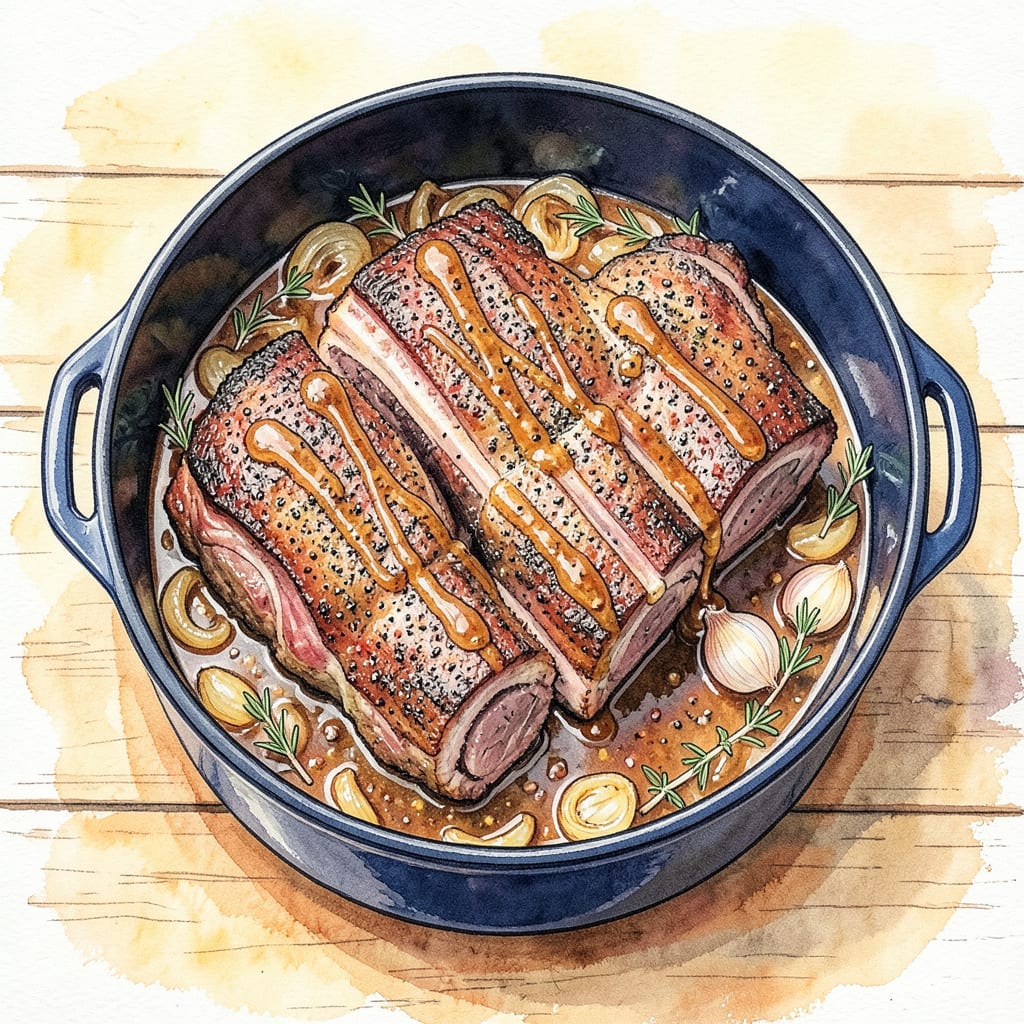
Slow-cooked beef ribs that practically fall off the bone—this crockpot method delivers restaurant-quality results with minimal effort. The secret lies in a low-and-slow approach that transforms tough cuts into tender, flavorful meat over 8 hours. I’ve perfected this technique through years of testing, ensuring every bite is rich and satisfying.
What sets this recipe apart is the balance of simplicity and depth. A bold dry rub and brief sear before slow cooking create layers of flavor, while the crockpot does the heavy lifting. The result? Melt-in-your-mouth ribs with caramelized edges and juicy centers—ideal for feeding a crowd or meal prepping for the week.
Ingredients for Beef Rib Crockpot
Optimal quality requires just fourteen ingredients for restaurant-grade beef ribs with minimal preparation effort.
| Ingredient | Amount | Notes |
|---|---|---|
| Beef Back Ribs 🥩 | 4 lb | Bone-in, trimmed of excess fat |
| Kosher Salt 🧂 | 2 tbsp | Diamond Crystal preferred for texture |
| Freshly Ground Black Pepper 🌶️ | 1 tbsp | Coarse grind for dry rub |
| Smoked Paprika 🌶️ | 1 tbsp | Spanish variety for depth |
| Garlic Powder 🧄 | 1 tbsp | Not garlic salt substitute |
| Onion Powder 🧅 | 1 tbsp | Freshly opened for potency |
| Light Brown Sugar 🍚 | 2 tbsp | Packed, for caramelization |
| Olive Oil 🫒 | 2 tbsp | High smoke point for searing |
| Beef Broth 💧 | 1 cup | Low-sodium preferred |
| Apple Cider Vinegar 🍎 | 2 tbsp | Balances richness |
| Worcestershire Sauce 💧 | 1 tbsp | Anchovy-free if preferred |
| Yellow Onion 🧅 | 1 whole | Large, thinly sliced |
| Garlic Cloves 🧄 | 6 cloves | Minced for aromatic base |
| Fresh Thyme Sprigs 🌿 | 4 sprigs | Plus extra for garnish |
| Bay Leaves 🍃 | 2 whole | Dried, for slow cooking |
[recipe_ingredient_scaler]
The beef ribs are the foundation—bone-in back ribs deliver superior texture compared to boneless alternatives. Professional kitchens source from USDA Choice or Prime grades for consistent marbling. The dry rub components (smoked paprika, garlic powder, onion powder) should be freshly opened for maximum potency. I recommend Penzeys for spices when bulk purchasing isn’t practical. The brown sugar must be light brown—not dark—for proper caramelization without bitterness.
Substitutions require careful balance. Beef stock can replace broth at 1:1 ratio, though sodium levels may require adjustment. For alcohol-free preparation, balsamic vinegar mimics Worcestershire’s depth (use 2 tsp). Fresh rosemary substitutes for thyme at equal volume, though flavor profile shifts slightly. The apple cider vinegar is non-negotiable—its acidity counters the fat’s richness during the 8-hour cook time.
Storage demands precision. Raw ribs keep 3-4 days refrigerated; freeze for 6-12 months if not using immediately. Prepared ribs maintain quality 4 days refrigerated or 3 months frozen. The dry rub components store 6 months in airtight containers away from light. Always bring refrigerated ribs to room temperature before searing for even cooking.
Step-by-Step Instructions for Beef Rib Crockpot
This method delivers perfectly tender ribs with minimal active cooking time and maximum flavor development.
Step 1: Prepare the Dry Rub and Season the Ribs
In a small bowl, combine the 2 tbsp kosher salt, 1 tbsp freshly ground black pepper, 1 tbsp smoked paprika, 1 tbsp garlic powder, 1 tbsp onion powder, and 2 tbsp light brown sugar. I use my fingers to break up any clumps in the brown sugar for even distribution. This rub creates a balanced flavor profile with sweet, smoky, and savory notes that penetrate deeply during the long cook time.
Pat the 4 lb beef back ribs completely dry with paper towels. This ensures the rub adheres properly and promotes better caramelization. Apply the rub generously to all sides of the ribs, pressing it into the meat. For best results, let the seasoned ribs sit at room temperature for 30 minutes before cooking—this allows the salt to begin breaking down proteins for more tender results.
Step 2: Sear the Ribs for Depth of Flavor
Heat the 2 tbsp olive oil in a large skillet over medium-high heat until shimmering but not smoking. Working in batches if necessary, add the ribs and sear for 3-4 minutes per side until deeply browned. You’re looking for a rich, mahogany crust—not blackened, but well-developed.
This searing step creates the Maillard reaction, developing complex flavors that will carry through the slow cooking process. Don’t rush this step; proper browning makes a noticeable difference in the final dish. Transfer the seared ribs to your crockpot, arranging them in a single layer if possible for even cooking.
Step 3: Build the Braising Liquid and Slow Cook
To the same skillet (no need to clean it—the browned bits add flavor), add the thinly sliced yellow onion. Cook over medium heat for 5-6 minutes until softened and beginning to caramelize. Add the 6 cloves minced garlic cloves and cook for 1 additional minute until fragrant but not browned.
Deglaze the pan with the 1 cup beef broth, 2 tbsp apple cider vinegar, and 1 tbsp Worcestershire sauce, scraping up all the browned bits from the bottom. Pour this mixture over the ribs in the crockpot, then add the 4 sprigs fresh thyme and 2 whole bay leaves. The liquid should come about halfway up the ribs—this is the perfect amount for braising without boiling.
Step 4: Cook on Low for Optimal Tenderness
Cover the crockpot and cook on the low setting for 7-8 hours. This extended, gentle heat breaks down the collagen in the ribs, transforming tough connective tissue into unctuous, melt-in-your-mouth tenderness. Avoid the temptation to check or stir during cooking—each time you lift the lid, you add 20-30 minutes to the cooking time.
The ribs are done when the meat shrinks back from the bones by about ½ inch and can be easily pierced with a fork. At this point, the meat should separate cleanly from the bone with minimal resistance. If you prefer fall-off-the-bone texture, continue cooking for up to 1 additional hour, checking every 30 minutes to prevent overcooking.
Step 5: Rest and Serve with Reduced Sauce
Carefully transfer the ribs to a serving platter and tent loosely with foil. Skim any excess fat from the surface of the cooking liquid, then pour the remaining liquid through a fine-mesh strainer into a saucepan. Simmer over medium-high heat for 8-10 minutes until reduced by about half and slightly thickened.
This reduction concentrates the flavors and creates a glossy sauce perfect for spooning over the ribs. Discard the bay leaves and thyme sprigs before serving. The ribs should be served immediately while still warm, with the reduced sauce passed separately. Each serving should include both meaty and bony sections for the full textural experience.
Pro Cooking Tips for This Recipe
Perfect Searing Technique
Don’t skimp on the sear—this is where the magic begins. I use my cast iron skillet (preheated for 5 minutes on medium-high) to get that deep mahogany crust. The key is patience: wait until the oil shimmers before adding the ribs, and resist the urge to move them until they release naturally. This creates the Maillard reaction that builds flavor foundations. 🔥
Layering Flavors Right
After searing, deglaze that skillet with the beef broth and apple cider vinegar—those browned bits are flavor gold. I always scrape aggressively with a wooden spoon to lift every last bit. The vinegar’s acidity balances the richness while the broth builds depth. This step transforms good ribs into extraordinary ones.
Low and Slow Mastery
Set your crockpot to low and forget it for 7-8 hours. I learned the hard way that peeking adds cooking time—every lid lift costs 20-30 minutes of heat recovery. The ribs are done when they shrink back from the bones by ½ inch. Trust the process; the collagen breakdown can’t be rushed.
Sauce Reduction Trick
After cooking, strain the liquid and reduce it by half over medium-high heat. I use a wide saucepan for faster evaporation—this concentrates all those developed flavors into a glossy sauce. Skim the fat first for a cleaner finish. The reduced sauce should coat the back of a spoon beautifully.
Resting for Perfection
Let the ribs rest 15 minutes under foil before serving. This redistributes juices for maximum tenderness. I once served them straight from the pot and regretted it—the difference is night and day. The meat becomes even more succulent with this brief pause.
Garnish Like a Pro
Finish with fresh thyme sprigs and a crack of black pepper. The bright green against the rich meat makes the dish pop visually. I sometimes add a sprinkle of flaky sea salt for texture contrast. Presentation matters as much as taste in my book. ✨

Trained in classic French technique but raised on slow-cooked ribs and spicy rubs, she blends culinary skill with smoke and soul.
- Indian Lamb Curry Recipe Pressure Cooker: Fragrant Spices in a Fraction of the Time - October 3, 2026
- Recipe for Oven Roasted: Golden Crisp Perfection Without the Fryer - October 3, 2026
- Recipe for Fried Pork Chops With Flour: Crispy Crust and Juicy Centers - October 3, 2026