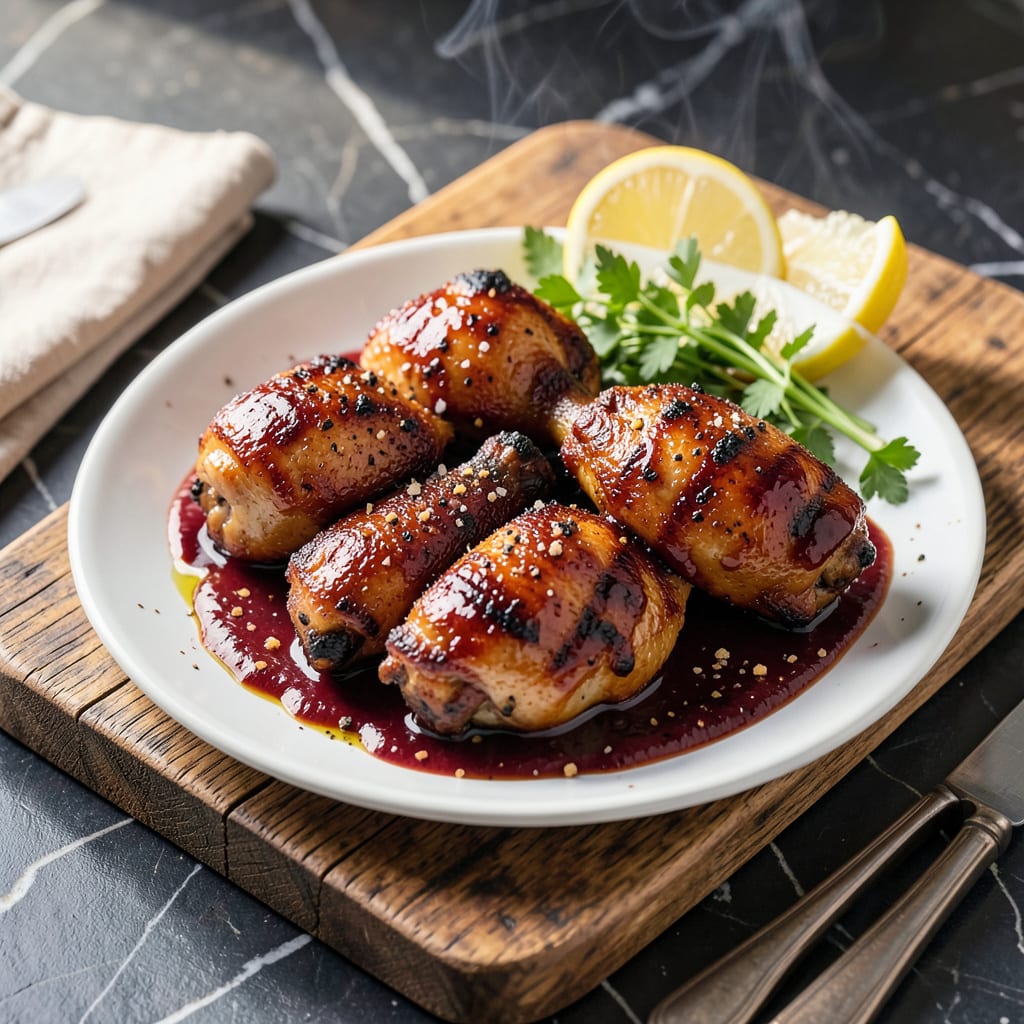
This recipe delivers the best chicken thighs you’ll ever grill, with a smoky char and glaze that caramelizes to perfection. Years of pitmaster experience went into perfecting this method.
Low and slow cooking ensures tender meat that falls off the bone, while a final brush of sauce adds the signature BBQ finish. The result is competition-worthy every time.
Ingredients for Best Bbq Thighs
Quality chicken thighs and a well-balanced glaze create competition-worthy results every time.
| Ingredient | Amount | Notes |
|---|---|---|
| Chicken Thighs 🍗 | 2 ½ lb | Bone-in, skin-on, excess fat trimmed |
| Olive Oil 🫒 | 2 tbsp | For brushing grill and chicken |
| Kosher Salt 🧂 | 1 ½ tsp | Diamond Crystal preferred for even seasoning |
| Freshly Ground Black Pepper 🌶️ | 1 tsp | Coarse grind for texture |
| Garlic Powder 🧄 | 1 tsp | Not garlic salt for proper balance |
| Smoked Paprika 🌶️ | 1 tsp | For authentic smoky depth |
| Brown Sugar 🟤 | ½ cup | Light or dark, packed firmly |
| Ketchup 🍅 | 1 cup | High-quality for base flavor |
| Apple Cider Vinegar 🍏 | ¼ cup | For tangy brightness in glaze |
| Molasses 🍯 | 2 tbsp | Adds rich caramelized depth |
| Worcestershire Sauce 🫒 | 1 tbsp | Lea & Perrins recommended for umami |
| Dijon Mustard 🟡 | 1 tbsp | Smooth, not whole grain |
| Liquid Smoke 🔥 | ½ tsp | Optional for extra smokiness |
[recipeingredientscaler]
The chicken thighs are the foundation. Bone-in, skin-on delivers the best texture and flavor. Source from local butchers or Whole Foods for consistent quality. Look for pieces with even sizing (about 6-8 oz each) to ensure uniform cooking. Pat them dry before seasoning—this helps the skin crisp properly during the final glaze application.
For the glaze, high-quality ketchup makes a noticeable difference—Heinz or organic brands work well. No molasses? Honey or maple syrup at equal amounts can substitute, though the flavor profile will shift slightly. Apple cider vinegar adds essential acidity; white vinegar in a pinch. Want more heat? Add cayenne to the dry rub.
The glaze can be made 2 days ahead and stored in the fridge. Chicken thighs keep well in the freezer for up to 9 months if properly wrapped. Leftover cooked thighs reheat beautifully, especially when brushed with extra glaze before serving.
Why You’ll Love This Recipe
- One Pan Only: Honestly, it’s just tossing thighs with olive oil, salt, pepper, and garlic powder then into the oven—no fuss, no extra dishes.
- Crispy Garlic Bite: That garlic powder crust gets so crispy it cracks when you bite into it, and the meat stays juicy every time.
- Feeds the Gang: I make a double batch for Sunday dinner, then we’re eating leftovers in wraps, salads, or straight from the fridge all week.
- Pocketbook Friendly: Chicken thighs are cheap, and this recipe needs nothing fancier than what’s already in my pantry.
Step-by-Step Instructions for Smoky Glazed BBQ Chicken Thighs
Achieve fall-off-the-bone tenderness with this method that balances smoke, sweetness, and tang perfectly.
Step 1: Season the Chicken Thighs Thoroughly
Pat the 2.5 lb Chicken Thighs dry with paper towels, ensuring the skin is completely free of moisture. This step guarantees crispy skin that won’t steam during cooking. Trim any excess fat to prevent flare-ups on the grill.
In a small bowl, combine the 1.5 tsp Kosher Salt, 1 tsp Freshly Ground Black Pepper, 1 tsp Garlic Powder, and 1 tsp Smoked Paprika. Rub this mixture evenly over all sides of the chicken, pressing it into the skin to adhere. Let the seasoned thighs sit at room temperature for 20-30 minutes to allow the salt to penetrate.
Step 2: Prepare the Glaze for Maximum Flavor
In a saucepan over medium heat, combine the 0.5 cup Brown Sugar, 1 cup Ketchup, 0.25 cup Apple Cider Vinegar, 2 tbsp Molasses, 1 tbsp Worcestershire Sauce, 1 tbsp Dijon Mustard, and 0.5 tsp Liquid Smoke. Whisk until smooth and bring to a gentle simmer.
Reduce the heat to medium-low and let the mixture thicken for 8-10 minutes, stirring occasionally. The glaze should coat the back of a spoon and have a deep, glossy sheen. This step develops the complex sweet, tangy, and smoky layers that define the dish.
Step 3: Grill the Chicken to Perfection
Preheat your grill to medium-high heat (about 375-400°F). Clean the grates thoroughly and brush them with 1 tbsp Olive Oil to prevent sticking. Place the chicken thighs skin-side down on the grill and cook undisturbed for 6-7 minutes, or until the skin is deep golden brown and releases easily from the grates.
Flip the thighs and cook for another 6-7 minutes, basting generously with the reserved 1 tbsp Olive Oil. The internal temperature should reach 165°F when checked with an instant-read thermometer. Move the chicken to a cooler part of the grill if the skin begins to char too quickly.
Step 4: Glaze and Finish for Fall-Off-The-Bone Tenderness
During the last 2-3 minutes of grilling, brush the chicken thighs liberally with the prepared glaze. Flip and glaze the other side, ensuring an even, sticky coating. The glaze should caramelize slightly, creating a glossy, finger-licking finish.
Transfer the glazed thighs to a serving platter and let them rest for 5 minutes. This resting period allows the juices to redistribute, ensuring each bite is moist and tender. Serve immediately with any remaining glaze on the side for dipping.
Pro Tips For Making Best Bbq Thighs
- Pat Thighs Dry: I learned this the hard way—wet skin steams instead of searing. Use paper towels to dry the thighs thoroughly before seasoning.
- Season Twice: Hit them with salt, pepper, and garlic powder before cooking, then again right after flipping. The double layer builds way more flavor.
- Skip the High Heat: After burning two batches, I now cook thighs over medium-low heat. They cook through without charring the outside before the inside is done.
- Let Them Rest: Give the thighs a solid 5-10 minutes under foil after grilling. Sounds tedious, but it keeps all the juices inside where they belong.
Storing and Reheating This Recipe
Refrigerator Storage
Let your BBQ thighs cool for no more than 2 hours before transferring to airtight containers. I use glass Pyrex with snap-on lids for best results. Store at 40°F or below for up to 4 days. The flavors actually deepen as they rest. ❄️
Freezer Storage
These thighs freeze beautifully for up to 3 months without quality loss. I recommend flat freezer bags (quart size) because they stack efficiently. Leave 1 inch of headspace for expansion and squeeze out excess air to prevent freezer burn.
Oven Reheating
Preheat your oven to 350°F and place thighs on a baking sheet. Cover loosely with foil and heat for 15-20 minutes. Uncover and brush with extra glaze, then broil for 2-3 minutes to crisp the skin. This method restores that fresh-off-the-grill texture.
Grill Reheating
For the best results, reheat on your grill over medium indirect heat for 8-10 minutes. Turn occasionally and brush with reserved glaze. The smoke will re-infuse the meat beautifully. I often do this for leftovers at my local BBQ competitions.
Microwave Option
For quick lunches, microwave individual portions covered with a damp paper towel. Heat on 70% power for 2-3 minutes, stir, then continue in 30-second intervals until reaching 165°F. Add a splash of water if it looks dry.
Nutrition Facts

Trained in classic French technique but raised on slow-cooked ribs and spicy rubs, she blends culinary skill with smoke and soul.
- Hamburgers in Sauce Recipe Crock Pot: Slow-Cooked Savory Delight - October 3, 2026
- Sanjeev Kapoor Egg Biryani Recipe: Fragrant Spiced Rice With Boiled Eggs - October 3, 2026
- Recipe for French Pork Spread Gorton: Savory Gallic Flavors in a Spreadable Delight - October 3, 2026