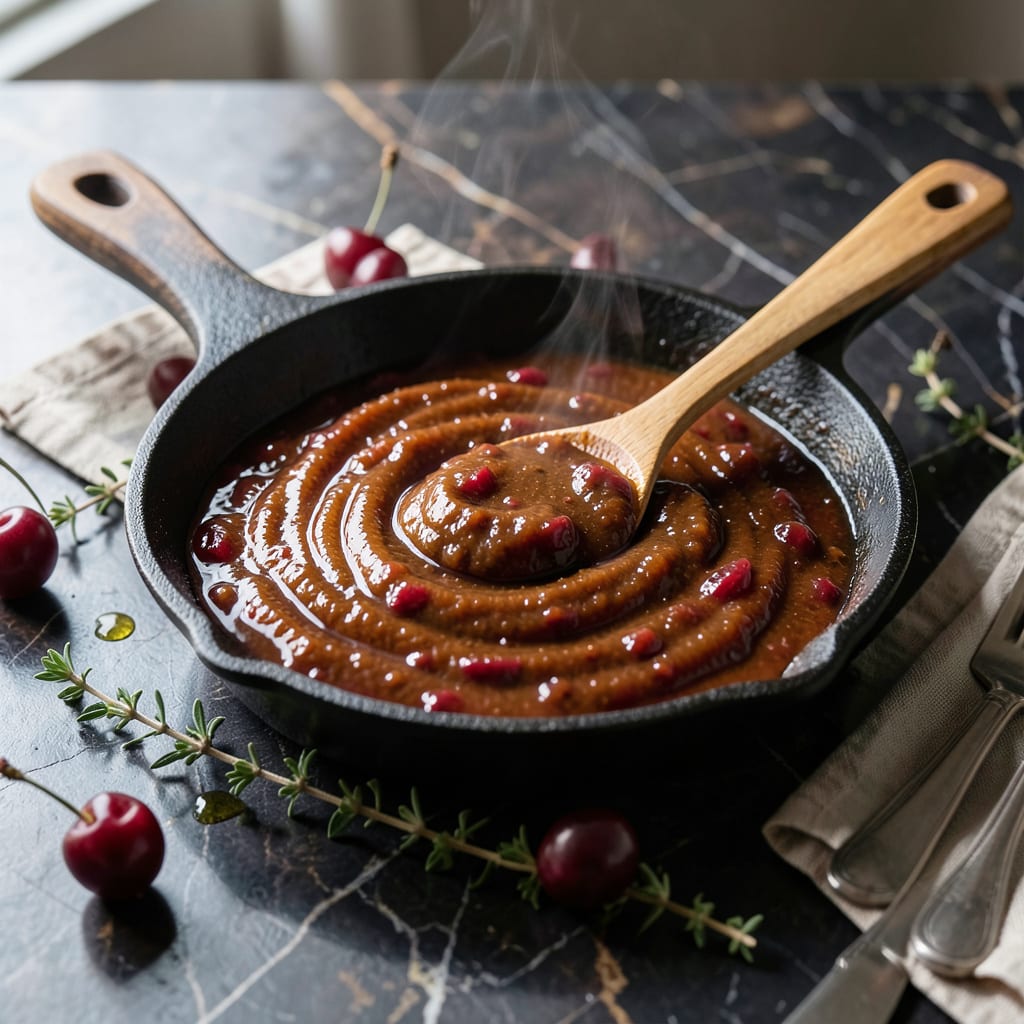
This sauce transforms ordinary grilled meats into something extraordinary with its perfect balance of sweet cherry and smoky depth. I developed this recipe after years of experimenting with different fruit-based glazes.
What makes it special is the way the cola reduces down, intensifying the cherry flavor while adding a subtle caramelized richness. It’s thick enough to cling to ribs or chicken, with a glossy finish that looks as good as it tastes.
Ingredients for Cherry Cola Bbq Sauce
These carefully balanced ingredients create a glossy, clinging sauce with sweet cherry and smoky depth.
| Ingredient | Amount | Notes |
|---|---|---|
| Cherry Preserves 🍒 | 1 cup | High-quality for best flavor |
| Cola 🥤 | 1 cup | Classic brand preferred |
| Ketchup 🍅 | 1 cup | Smooth variety recommended |
| Apple Cider Vinegar 🍏 | 2 tbsp | Balances sweetness effectively |
| Worcestershire Sauce 🫒 | 1 tbsp | Use vegetarian variety |
| Brown Sugar 🍚 | ¼ cup | Light or dark works |
| Smoked Paprika 🌶️ | 1 tsp | Adds essential smoky depth |
| Garlic Powder 🧄 | 1 tsp | Freshly ground if possible |
| Onion Powder 🧅 | 1 tsp | Complements cherry flavor |
| Salt 🧂 | ½ tsp | Kosher or sea salt |
| Black Pepper 🌶️ | ½ tsp | Freshly ground preferred |
[recipeingredientscaler]
The cherry preserves are non-negotiable for that deep fruit flavor—Smucker’s or Bonne Maman deliver consistent quality. Cola brands matter less, but Coca-Cola gives the most reliable reduction. For the Worcestershire, Annie’s makes a vegetarian version that works perfectly. All spices should be fresh; if your paprika smells like dust, it’s time to replace it.
No cherry preserves? Cherry jam works at a 1:1 ratio, though preserves give better texture. Swap cola for Dr Pepper for a different caramel note. If avoiding vinegar, lemon juice at half the amount provides acidity. Brown sugar can be replaced with maple syrup at three-quarters the volume—just reduce the liquid elsewhere slightly.
This sauce keeps 2 weeks refrigerated in a sealed jar. For longer storage, freeze in ice cube trays, then transfer to bags for up to 6 months. The flavors meld and deepen after a day, so make it ahead if possible.
Why You’ll Love This Recipe
- 5-Minute Simmer: I just dump everything in a pot and let it bubble while I prep the rest of dinner.
- Sweet-Tangy Kick: The cherry preserves and cola give it this bright, caramelized depth that beats store-bought every time.
- Slathers on Anything: I’ve used it on ribs, meatloaf, even as a glaze for roasted carrots—honestly, it works on more than I expected.
- Makes Extra: One batch gives me enough for dinner plus a jar to stash in the fridge for next week’s leftovers.
Step-by-Step Instructions for Cherry Cola BBQ Sauce
This method ensures a perfectly balanced sauce with sweet, smoky, and tangy notes every time.
Step 1: Combine the Base Ingredients
In a medium saucepan, add 1 cup Cherry Preserves, 1 cup Cola, and 1 cup Ketchup. Stir these together over medium heat until the preserves begin to dissolve into the liquid. This creates the sweet foundation of your sauce.
The mixture will start to bubble gently at the edges—that’s your signal the ingredients are blending properly. Keep stirring occasionally to prevent sticking as the preserves melt completely into the cola and ketchup.
Step 2: Add the Aromatics and Seasonings
Once the base is smooth, stir in 1 tsp Smoked Paprika, 1 tsp Garlic Powder, 1 tsp Onion Powder, 0.5 tsp Salt, and 0.5 tsp Black Pepper. These dry spices will bloom in the warm liquid, infusing the sauce with depth.
Next, add 0.25 cup Brown Sugar, 2 tbsp Apple Cider Vinegar, and 1 tbsp Worcestershire Sauce. The vinegar and Worcestershire balance the sweetness while adding complexity. Stir well to ensure the brown sugar fully dissolves into the mixture.
Step 3: Simmer to Thicken the Sauce
Reduce the heat to medium-low and let the sauce simmer uncovered for 20-25 minutes. You’ll notice the mixture gradually darken and thicken as the liquids reduce. Stir every 5 minutes to prevent scorching at the bottom of the pan.
The sauce is ready when it coats the back of a spoon and has reduced by about one-third. At this stage, it should have a glossy sheen and a consistency that ribbons off the spoon when lifted. The flavors will have melded into a rich, cohesive blend of sweet, smoky, and tangy notes.
Step 4: Cool and Adjust Consistency
Remove the saucepan from the heat and let the sauce cool to room temperature. As it cools, it will thicken slightly more. This is the perfect time to adjust the seasoning if needed—taste and add a pinch more salt or a splash of Apple Cider Vinegar if it needs brightness.
For a smoother texture, you can blend the sauce briefly with an immersion blender, though I prefer leaving it slightly rustic. Transfer to an airtight container once fully cooled. The sauce will keep in the refrigerator for up to 2 weeks.
Pro Tips For Making Cherry Cola Bbq Sauce
- Simmer Low and Slow: Keep the heat at a gentle simmer—too high and the cola will reduce too fast, leaving a bitter, syrupy mess. I learned this the hard way after scorching my first batch.
- Strain the Preserves: Run the cherry preserves through a fine-mesh strainer to remove any large fruit chunks. Sounds tedious, but it guarantees a smooth, glossy sauce that clings to ribs instead of sliding off.
- Skip Flat Cola: Use freshly opened cola, not the flat stuff from yesterday’s leftovers. The carbonation actually changes the outcome, giving the sauce a brighter, more balanced sweetness.
- Reduce First: Simmer the cola alone for 5-7 minutes before adding the other ingredients. This burns off excess sugar and prevents the sauce from tasting like a candy glaze rather than a tangy BBQ staple.
Essential Equipment for cherry cola bbq sauce
Saucepan Selection
I always reach for my 3-quart All-Clad stainless steel saucepan for this sauce. The heavy bottom prevents scorching during the 20-25 minute simmer. A medium saucepan gives enough room for stirring while allowing proper reduction. 🔥
Stirring Tools
A wooden spoon is my go-to for stirring—it won’t scratch your pan and lets you scrape the bottom effectively. For blending the final sauce, an immersion blender from Cuisinart creates a silky texture without transferring to another container.
Measuring Accuracy
Precise measurements matter with sticky ingredients like Cherry Preserves and Brown Sugar. I use a Pyrex 1-cup measuring cup for the preserves and cola, then switch to OXO Good Grips measuring spoons for the spices. The difference between 1 tsp and a heaping teaspoon can affect your sauce’s balance.
Thermometer Option
While not essential, an instant-read thermometer helps monitor the sauce temperature. I aim to keep it between 200-220°F during simmering. This prevents burning while ensuring proper reduction. ThermoWorks makes reliable, affordable options.
Storage Containers
For storing, I prefer 16-ounce mason jars with airtight lids—they’re perfect for the finished sauce and look great in my pantry. For freezing, silicone ice cube trays let me portion the sauce for future use. Always ensure containers are fully cooled before sealing. ❄️
Cleanup Essentials
This sauce can be sticky, so I keep hot, soapy water ready to soak my tools immediately after use. A nylon scrubber helps remove any caramelized bits from the saucepan without damaging the surface. Quick cleanup means I’m ready for my next cooking adventure.
Nutrition Facts

Trained in classic French technique but raised on slow-cooked ribs and spicy rubs, she blends culinary skill with smoke and soul.