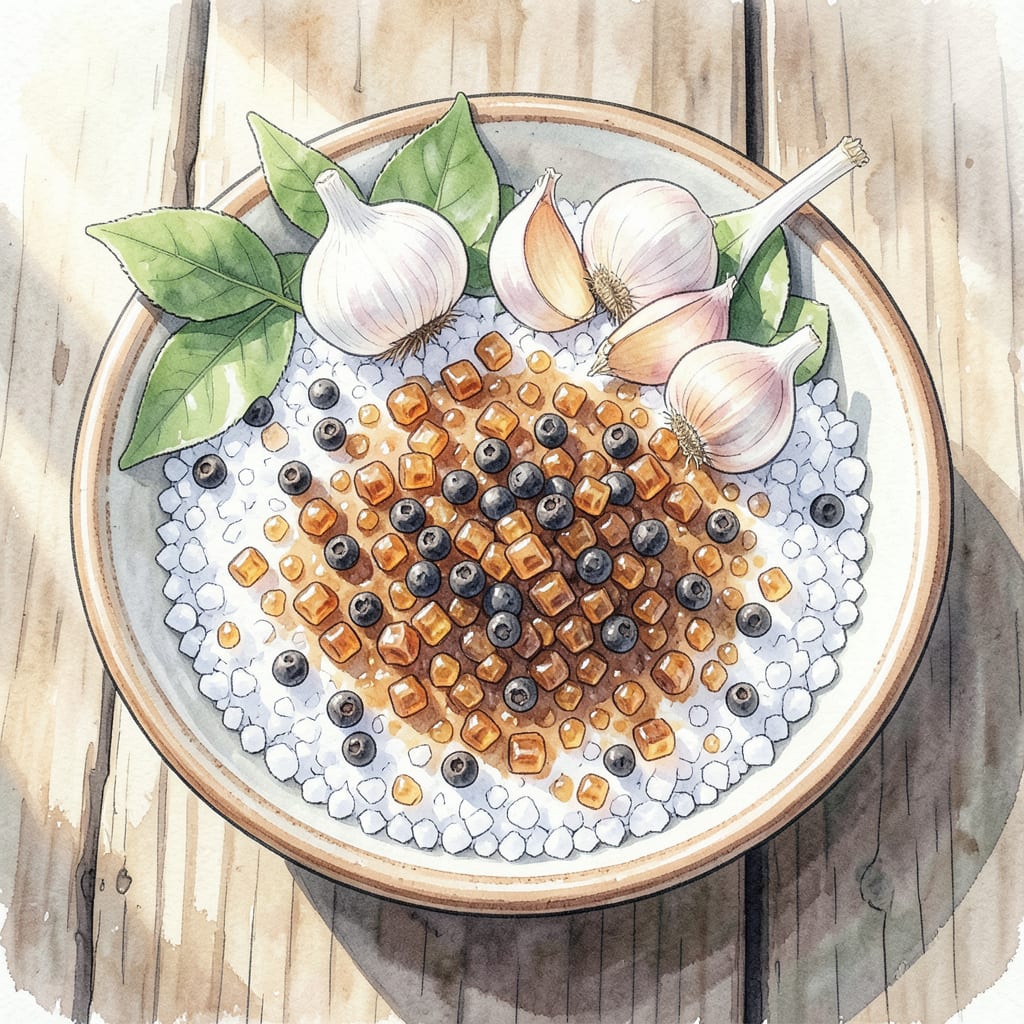
A perfectly brined chicken is a game-changer for grilling. I’ve found that a simple salt-sugar brine transforms chicken into tender, juicy perfection every time. The key is getting the proportions right.
This brine recipe uses a basic ratio of salt, sugar, and water, with additional flavorings to enhance the chicken’s natural taste. By brining your chicken, you’ll achieve consistently tender results that will elevate your grilling game.
Ingredients for Chicken Brine Recipe for Grilling
Simple brine ingredients that transform chicken into tender, juicy perfection every time for grilling.
| Ingredient | Amount | Notes |
|---|---|---|
| Kosher Salt 🧂 | 1 cup | Use kosher salt for best results |
| Brown Sugar 🍮 | ½ cup | Dark or light brown sugar |
| Water 💧 | 1 cup | Cold water preferred |
| Black Peppercorns 🌶️ | 2 tbsp | Freshly cracked preferred |
| Bay Leaves 🌿 | 2 whole | Fresh or dried |
| Garlic Cloves 🧄 | 4 cloves | Smashed or minced |
| Fresh Thyme 🌿 | 2 tbsp | Chopped fresh thyme |
| Lemon Slices 🍋 | 2 slices | Optional for added flavor |
[recipe_ingredient_scaler]
The salt and sugar proportions are crucial here. Kosher salt is ideal because of its mild flavor and ability to dissolve well. For the sugar, either dark or light brown works—dark adds a slight molasses flavor. Most grocery stores carry kosher salt, but if you’re shopping at Whole Foods, they often have various salt options.
No black peppercorns? Use pre-ground black pepper at half the amount. Bay leaves can be omitted if you don’t have them, but they add depth. Fresh thyme is preferred, but dried thyme at one-third the amount is a decent substitute. For added flavor, the lemon slices are a nice touch, but they’re optional.
This brine keeps in the fridge for up to 5 days. Store it in an airtight container and give it a good stir before using. If you’re making it ahead, keep it chilled until you’re ready to brine the chicken. The flavors meld together nicely when it’s refrigerated.
Step-by-Step Instructions for Chicken Brine
Creating the perfect brine is simpler than you think – let’s get started with the basics.
Step 1: Combine Dry Ingredients
In a small bowl, mix together the 1 cup Kosher Salt, 0.5 cup Brown Sugar, and 2 tbsp Black Peppercorns. I like to use my fingers to ensure the black peppercorns are evenly distributed throughout the mixture. This dry blend is the foundation of your brine, providing both flavor and the necessary salt concentration to tenderize the chicken.
Make sure to use kosher salt as specified – its coarser texture and milder flavor work best for brining. The brown sugar adds a touch of sweetness that balances out the saltiness and promotes browning during grilling.
Step 2: Create the Brine Solution
In a large pot, combine the 1 cup Water and the dry ingredient mixture. Heat the mixture over medium heat, stirring until the salt and sugar have completely dissolved. You’ll know it’s ready when the liquid is clear and there’s no grainy texture at the bottom of the pot.
Remove the pot from the heat and add the 2 whole Bay Leaves, 4 cloves Garlic Cloves, and 2 tbsp Fresh Thyme. Let this mixture steep for 10-15 minutes to allow the aromatics to infuse into the brine. The longer it steeps, the more flavorful your brine will be.
Step 3: Cool the Brine
Strain the brine into a large container, discarding the solids. I use a fine-mesh sieve to catch all the spices and herbs. Add the 2 slices Lemon Slices to the strained brine for an extra layer of flavor. If you’re using a metal container, make sure it’s non-reactive, like stainless steel, to prevent any unwanted chemical reactions with the brine.
Cool the brine to below 40°F as quickly as possible. I often place the container in an ice bath to speed up the cooling process. Never add raw chicken to warm brine, as this can promote bacterial growth. The brine is ready to use once it’s cold.
Step 4: Brine the Chicken
Place your chicken pieces in the cooled brine, ensuring they’re fully submerged. If necessary, weigh down the chicken with a plate to keep it under the surface. Cover the container and refrigerate for at least 2 hours or overnight for best results.
The brine works its magic by increasing the moisture content of the chicken, resulting in juicier meat after grilling. When you’re ready to grill, remove the chicken from the brine, pat it dry with paper towels, and proceed with your grilling recipe.
Dietary Considerations for chicken brine recipe for grilling
Low-Sodium Brine Option
For those watching their sodium intake, you can reduce the kosher salt to ½ cup while maintaining the other ingredients. This still provides flavor while cutting sodium by 50%. I’ve found that using sea salt as an alternative can also work well.
Keto-Friendly Considerations
This brine recipe is naturally keto-friendly as it contains no carbohydrates aside from the ½ cup brown sugar. For a keto version, replace the brown sugar with ¼ cup granulated sweetener like Swerve or Erythritol. The result is just as effective at promoting tender chicken.
Gluten-Free Status
Fortunately, this brine is naturally gluten-free since it doesn’t contain any wheat products. Just be sure to check that your black peppercorns and other spices are processed in a gluten-free facility to avoid cross-contamination. I always choose Penzeys Spices for this reason.
Other Dietary Adjustments
To make this brine more versatile, you can customize it with different herbs. For example, swap the fresh thyme for fresh rosemary or fresh oregano to change the flavor profile. If you’re catering to different tastes, consider making a few variations with different herbs to see what works best. 🌿
Brine Storage Tips
You can prepare this brine ahead of time and store it in the refrigerator for up to 5 days. Keep it in an airtight container and give it a good stir before using. If you’re making it well in advance,
Safety Considerations
Always cool the brine to below 40°F before adding raw chicken to prevent bacterial growth. I like to place the container in an ice bath to speed up cooling. When brining, ensure the chicken is fully submerged and refrigerated at 40°F or below. 🔥
Nutrition Facts
15kcal

Trained in classic French technique but raised on slow-cooked ribs and spicy rubs, she blends culinary skill with smoke and soul.
- Recipe for Oven Roasted: Golden Crisp Perfection Without the Fryer - October 3, 2026
- Recipe for Fried Pork Chops With Flour: Crispy Crust and Juicy Centers - October 3, 2026
- Octopus Recipe Pan Fried: Crispy Edges With Tender Bites - October 3, 2026