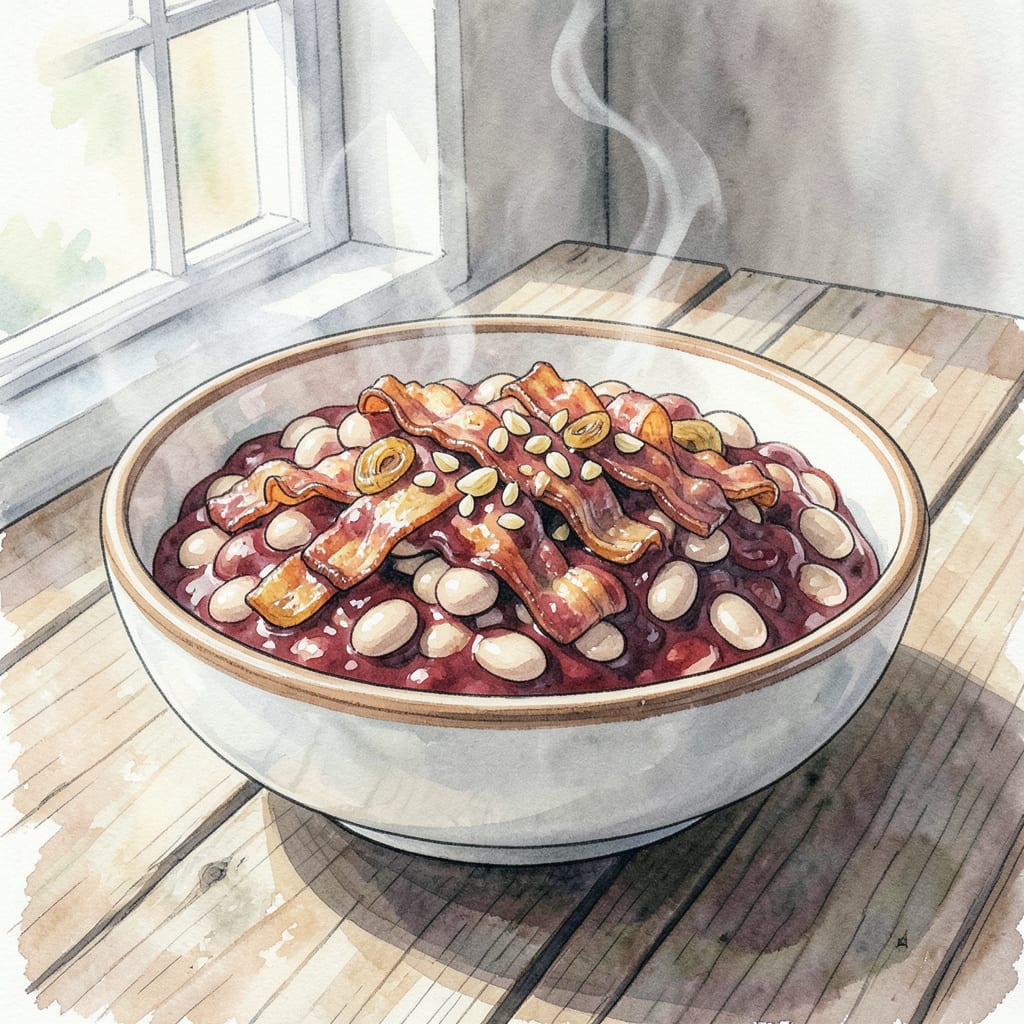
I’m sharing my secret chuck wagon beans BBQ recipe that’s perfect for your next backyard gathering. 🔥 These slow-cooked beans are a classic BBQ side dish that’s sure to impress your guests with its rich, smoky flavor and tender texture.
With simple ingredients and straightforward instructions, you’ll achieve perfect results every time. Let’s get started on this delicious side dish that’ll be the star of your BBQ!
Ingredients for Chuck Wagon Beans Bbq
Simple ingredients come together for a rich, smoky BBQ side dish that’s perfect for gatherings.
| Ingredient | Amount | Notes |
|---|---|---|
| Dried Navy Beans 🌽 | 1 lb | Rinsed and sorted |
| Bacon 🥓 | 6 slices | Thick-cut, smoked |
| Onion 🧅 | 1 whole | Chopped, yellow or white |
| Garlic Cloves 🧄 | 3 cloves | Minced |
| BBQ Sauce 🍅 | 1 cup | Sweet or tangy variety |
| Brown Sugar 🍮 | ¼ cup | Packed, dark or light |
| Apple Cider Vinegar 🍎 | ¼ cup | Or white vinegar |
| Smoked Paprika 🌶️ | 1 tbsp | For smoky flavor |
| Ground Black Pepper 🌶️ | 1 tsp | Freshly ground |
| Salt 🧂 | 1 tsp | Kosher or sea salt |
| Water 💧 | 4 cups | Or chicken broth |
[recipe_ingredient_scaler]
For the best flavor, use thick-cut smoked bacon—the smokiness really comes through in the finished dish. If you can’t find smoked, regular bacon works too. For the beans, northern or navy beans work best as they hold their shape well during slow cooking. You can find them at most grocery stores in the bulk or canned goods section.
No BBQ sauce on hand? Mix ketchup, brown sugar, and apple cider vinegar for a quick substitute. For an extra smoky flavor, add 1-2 tbsp liquid smoke to the pot. If you prefer a less sweet version, reduce the brown sugar to 2 tbsp. The smoked paprika is worth keeping for that authentic BBQ flavor.
These beans keep beautifully—store in an airtight container in the fridge for up to 5 days. They actually taste better the next day once the flavors have melded together. You can freeze portions for up to 3 months—just thaw overnight in the fridge before reheating.
Step-by-Step Instructions for Chuck Wagon Beans BBQ
Let’s cook up some tender, flavorful beans that’ll be the star of your next BBQ.
🔥 Step 1: Cook the Bacon Until Crispy
In a large Dutch oven or heavy pot, cook the 6 slices of bacon over medium heat until crispy. I like to use thick-cut, smoked bacon for that extra layer of flavor. You’ll know it’s ready when the bacon is golden brown and crunchy. Remove the bacon from the pot and set it aside on a paper towel-lined plate.
Leave the rendered bacon fat in the pot as it’ll add a rich, smoky flavor to your beans. If there’s excessive fat, you can drain some off, but don’t worry if there’s still a good amount – it’s all part of the charm.
👨🍳 Step 2: Sauté the Onion and Garlic
Add the 1 whole chopped onion to the pot with the bacon fat. Cook over medium heat for 5-7 minutes until the onion is softened and translucent. Stir occasionally to prevent burning. Once the onion is ready, add the 3 cloves of minced garlic and cook for another 1-2 minutes until fragrant.
Be careful not to burn the garlic – it can go from perfectly cooked to burnt quickly. You’ll know it’s done when you can smell that wonderful garlic aroma filling your kitchen.
🥘 Step 3: Combine Beans, Liquid, and Spices
Add the 1 lb of dried navy beans, 4 cups of water, 1 tsp of salt, 1 tsp of ground black pepper, and 1 tbsp of smoked paprika to the pot. Stir well to combine all the ingredients. Bring the mixture to a boil, then reduce the heat to low and let it simmer for 1 hour or until the beans are tender.
Check the beans periodically to ensure they’re not sticking to the bottom of the pot. If the liquid level gets too low, you can add a bit more water to keep the beans covered.
🔥 Step 4: Add BBQ Sauce and Finish
Once the beans are tender, add the 1 cup of BBQ sauce, 0.25 cup of brown sugar, and 0.25 cup of apple cider vinegar to the pot. Stir well to combine. Crumble the cooked bacon back into the pot and stir to distribute evenly. Let the beans simmer for another 30 minutes to allow the flavors to meld together.
Taste and adjust the seasoning as needed. If you prefer a thicker consistency, you can simmer for a bit longer or mash some of the beans against the side of the pot to thicken the mixture.
⏰ Step 5: Serve and Enjoy
Serve the chuck wagon beans hot, garnished with additional chopped onion or crispy bacon if desired. These beans are perfect as a side dish for your favorite BBQ meats or as a main course with some crusty bread. Enjoy the rich, smoky flavors and the tender texture of these slow-cooked beans.
Leftovers can be stored in an airtight container in the refrigerator for up to 5 days. Reheat gently on the stovetop or in the microwave, adding a splash of water if needed to achieve the desired consistency.
Essential Equipment for This Dish
Essential Equipment
To make these delicious chuck wagon beans, you’ll need some essential equipment. I recommend a large Dutch oven or a heavy pot that can handle slow cooking. A 6-quart capacity is ideal to accommodate all the ingredients comfortably. 🔥
Must-Have Tools
A sharp chef’s knife is necessary for chopping the onion and mincing the garlic. You’ll also need a cutting board for prep work. For cooking, a long-handled spoon or spatula is helpful for stirring the beans and scraping the bottom of the pot. Make sure you have a plate or tray for the cooked bacon.
Optional Equipment
While not necessary, a slow cooker can be a great alternative for cooking the beans. Simply brown the bacon and sauté the onion and garlic in a pan, then transfer everything to the slow cooker. You can also use a thermometer to ensure the beans are cooked to a safe temperature.
Cookware Recommendations
I prefer using a cast-iron Dutch oven for this recipe as it distributes heat evenly and retains it well. If you don’t have one, a heavy stainless steel pot works well too. Avoid using non-stick pots as they can’t handle the high heat needed for browning the bacon.
Storage Containers
After cooking, you’ll need airtight containers to store leftovers. I like using glass containers with snap-on lids as they’re non-reactive and easy to clean. Make sure they’re BPA-free and can withstand refrigeration and reheating.

Trained in classic French technique but raised on slow-cooked ribs and spicy rubs, she blends culinary skill with smoke and soul.
- Meatball Curry Recipe Kerala Style: Coconut-Spiced Gravy With Tender Bites - October 3, 2026
- Recipe for Curried Tofu: Aromatic Spices With Crispy Edges - October 3, 2026
- Recipe for Dumplings in Crock Pot: Fluffy Pillows with Minimal Effort - October 3, 2026