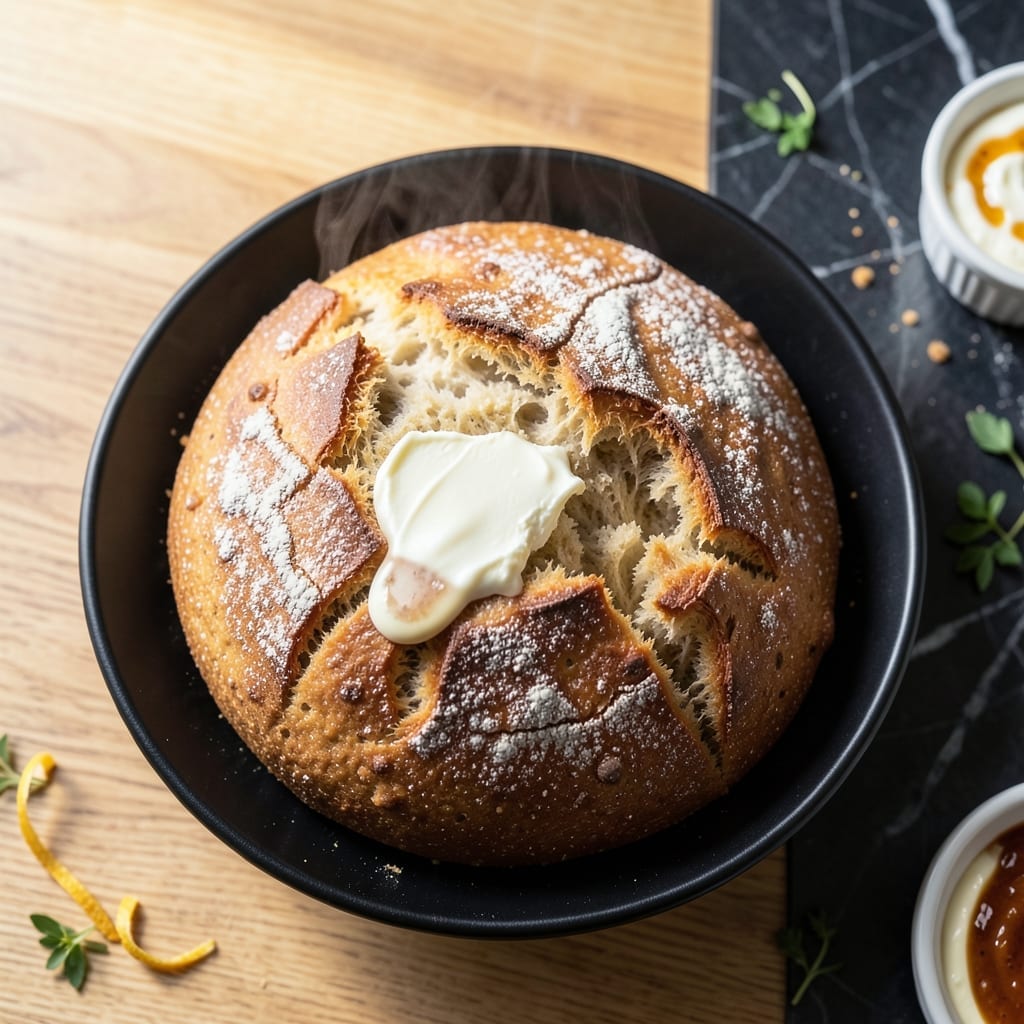
I’ve spent years perfecting gluten-free bread that doesn’t taste like a compromise. This air fryer method delivers a fluffy, golden loaf with a tender crumb in just 20 minutes.
The air fryer’s even heat circulation creates the ideal environment for gluten-free flour blends to rise and set properly. No dense, dry results—just a soft, sliceable loaf that holds up to sandwiches or toast.
With a simple mix of gluten-free flour, eggs, and a few pantry staples, you’ll achieve bakery-style texture without a traditional oven. The air fryer handles the work, ensuring consistent results every time.
Perfect for those who miss fresh bread but need a quick, reliable method. This technique changes everything.
Ingredients for Gluten Free Bread Recipe for Air Fryer
A few pantry staples plus eggs and yogurt create this air-fryer bread with bakery-style texture.
| Ingredient | Amount | Notes |
|---|---|---|
| Gluten-Free All-Purpose Flour Blend 🌾 | 2 ½ cups | 1:1 baking blend recommended |
| Large Eggs 🥚 | 4 whole | Room temperature preferred |
| Greek Yogurt 🥛 | ¾ cup | Plain, full-fat for richness |
| Unsalted Butter 🧈 | 4 tbsp | Melted and cooled |
| Granulated Sugar 🍚 | 2 tbsp | Fine grain for even distribution |
| Instant Yeast 🍞 | 2 ¼ tsp | Active dry works too |
| Salt 🧂 | 1 tsp | Fine sea salt preferred |
| Apple Cider Vinegar 🍏 | 1 tbsp | Enhances rise and structure |
| Warm Water 💧 | ½ cup | 110°F for yeast activation |
| Xanthan Gum 🧪 | 1 tsp | Omit if blend includes it |
| Honey 🍯 | 1 tbsp | Adds moisture and sweetness |
[recipe_ingredient_scaler]
The gluten-free flour blend is critical here—King Arthur or Bob’s Red Mill 1:1 produce the best crumb. Look for blends labeled as baking mixes, which already include xanthan gum. Avoid single-flour options like almond or coconut, as they lack the structure needed. Costco carries excellent gluten-free blends at a reasonable price if you’re stocking up.
No Greek yogurt? Sour cream at the same quantity works as a substitute. For a dairy-free version, use unsweetened applesauce (add 1 extra tablespoon for moisture). If your flour blend already includes xanthan gum, skip the added teaspoon. The apple cider vinegar can be swapped with white vinegar or lemon juice—any acid helps with rise.
This bread stays fresh for 2-3 days in an airtight container at room temperature. For longer storage, slice and freeze for up to 3 months. Reheat slices in the air fryer for 2-3 minutes to restore that fresh-baked feel. The dough rises quickly, so work efficiently once mixed.
Why You’ll Love This Recipe
- One Bowl Wonder: No mixing bowls to stack—just toss the flour, eggs, yogurt, butter, and sugar together in one and go.
- Buttery Rich Crust: The butter and Greek yogurt give it that golden, slightly crisp edge with a soft, tender crumb inside.
- Feeds My Morning Rush: I prep a loaf on Sunday and toast slices all week—breakfast sorted without the 6 a.m. scramble.
- Stays Fresh Longer: Honestly, it’s still soft three days later, which beats every store-bought gluten-free loaf I’ve tried.
Step-by-Step Instructions for Gluten Free Bread in Air Fryer
Master this method for a perfectly risen, tender loaf with a golden crust in record time.
Step 1: Activate the Yeast and Combine Wet Ingredients
In a large mixing bowl, whisk together the warm water, granulated sugar, and instant yeast. Let it sit for 5-7 minutes until the mixture becomes frothy and cloudy—this confirms the yeast is active and ready to leaven your dough.
Add the melted and cooled unsalted butter, greek yogurt, large eggs, apple cider vinegar, and honey. Whisk vigorously until the wet ingredients are fully emulsified. The vinegar and honey work synergistically to enhance the bread’s structure and moisture retention.
Step 2: Incorporate Dry Ingredients for Optimal Texture
In a separate bowl, sift together the gluten-free all-purpose flour blend, xanthan gum, and salt. The xanthan gum is critical here—it mimics the elasticity of gluten, ensuring your loaf holds together without crumbling.
Gradually add the dry ingredients to the wet mixture, stirring with a spatula until just combined. Avoid overmixing, as this can make the bread dense. The batter will be thick but pourable, similar to a muffin batter. Let it rest for 5 minutes to allow the flour to fully hydrate.
Step 3: Shape and Proof the Dough
Line a small loaf pan that fits inside your air fryer basket with parchment paper. Pour the batter into the pan, smoothing the top with a wet spatula to create an even surface. This step ensures even cooking and a uniform crust.
Cover loosely with a damp towel and place in a warm spot to proof for 20-25 minutes. The dough should rise to about double its original size and develop a slightly domed top. If your kitchen is cool, place the pan in a turned-off oven with a bowl of hot water to accelerate the process.
Step 4: Air Fry to Golden Perfection
Preheat your air fryer to 350°F for 3 minutes. Place the loaf pan in the basket and air fry for 18-20 minutes. Rotate the pan halfway through cooking to ensure even browning.
You’ll know it’s done when the top is deep golden brown and a toothpick inserted in the center comes out clean. If the top browns too quickly, tent the pan with foil for the remaining time. The internal temperature should reach 205-210°F for a fully baked loaf.
Step 5: Cool and Slice for Best Results
Remove the pan from the air fryer and let the bread cool in the pan for 5 minutes. Then transfer it to a wire rack to cool completely for at least 30 minutes. This cooling period is essential—it allows the structure to set, making the bread easier to slice without crumbling.
Once cooled, slice with a serrated knife using a gentle sawing motion. The bread will have a soft, fluffy interior with a delicate crust. Serve warm or at room temperature, and store any leftovers in an airtight container to maintain freshness.
Pro Tips For Making Gluten Free Bread Recipe For Air Fryer
- Preheat the Basket: I learned this the hard way—always preheat your air fryer for 3 minutes at 350°F before adding the pan. Gluten-free batters need that immediate heat to set properly and avoid a gummy texture.
- Room Temp Eggs: Sounds fussy, but cold eggs can make your bread dense. After ruining a loaf with fridge-cold eggs, I now let them sit out for 15 minutes before mixing.
- Don’t Overmix: Gluten-free flour blends get tough if you beat them too much. Mix just until the batter comes together—lumps are fine and actually make for a lighter crumb.
- Butter Your Pan Well: Use about a tablespoon of melted butter to thoroughly grease your pan, even if it’s nonstick. Gluten-free bread sticks like nothing else, and this guarantees easy release every time.
Dietary Considerations for These Flavors
Gluten-Free Flour Blends
For best results, use a 1:1 gluten-free baking blend like King Arthur or Bob’s Red Mill. These contain xanthan gum, which mimics gluten’s elasticity. Single flours like almond or coconut lack the structure needed for this recipe.
Dairy-Free Adaptations
Swap Greek yogurt with unsweetened applesauce—add an extra 1 tablespoon for moisture. Use dairy-free butter and ensure your flour blend is certified gluten-free to avoid cross-contamination.
Egg Substitutes
For vegan versions, replace each egg with 1 tbsp ground flaxseed + 3 tbsp water. Let the mixture sit for 5 minutes to thicken. This works well but may yield a slightly denser crumb.
Sugar Alternatives
You can replace granulated sugar with coconut sugar or maple syrup. Use the same 2 tablespoon amount. The yeast needs sugar to activate, so don’t skip it entirely.
Honey can also be swapped with agave or maple syrup in equal parts. 💛
Allergen Notes
Check all labels carefully, especially for oats in some blends. Certified gluten-free oats are safe, but regular oats often have cross-contamination. Always verify your ingredients.
Nutrition Facts
Frequently Asked Questions
Can I use almond flour instead of a blend?
Almond flour lacks the structure needed for this recipe. Use a 1:1 gluten-free baking blend with xanthan gum for best results. Single flours often create dense, crumbly texture.
Why does my bread sink in the middle?
This usually means the dough wasn’t fully baked. Check for 205-210°F internal temperature and tent with foil if browning too fast. Also, avoid opening the air fryer during cooking.
Can I make this without yeast?
Yes, replace yeast with 1 tbsp baking powder and skip the proofing step. The texture will be denser but still delicious. Bake for 15-18 minutes at 350°F.
How do I store leftovers?
Keep in an airtight container at room temperature for 2-3 days. For longer storage, slice and freeze for up to 3 months. Reheat in the air fryer for 2-3 minutes to refresh.

Trained in classic French technique but raised on slow-cooked ribs and spicy rubs, she blends culinary skill with smoke and soul.
- Recipe for Fried Prawns Batter: Ultra-Crispy Golden Shell - October 3, 2026
- Indian Lamb Curry Recipe Pressure Cooker: Fragrant Spices in a Fraction of the Time - October 3, 2026
- Recipe for Oven Roasted: Golden Crisp Perfection Without the Fryer - October 3, 2026