My years of pitmaster experience taught me that bone-in chicken breast on the grill delivers unmatched flavor and moist results. The bone acts as a natural insulator, keeping the meat juicy while the skin crispens to perfection.
This technique combines precise heat control with simple seasoning to create chicken that’s tender inside with beautifully charred skin. It’s a method I’ve refined through countless cookouts and competitions.
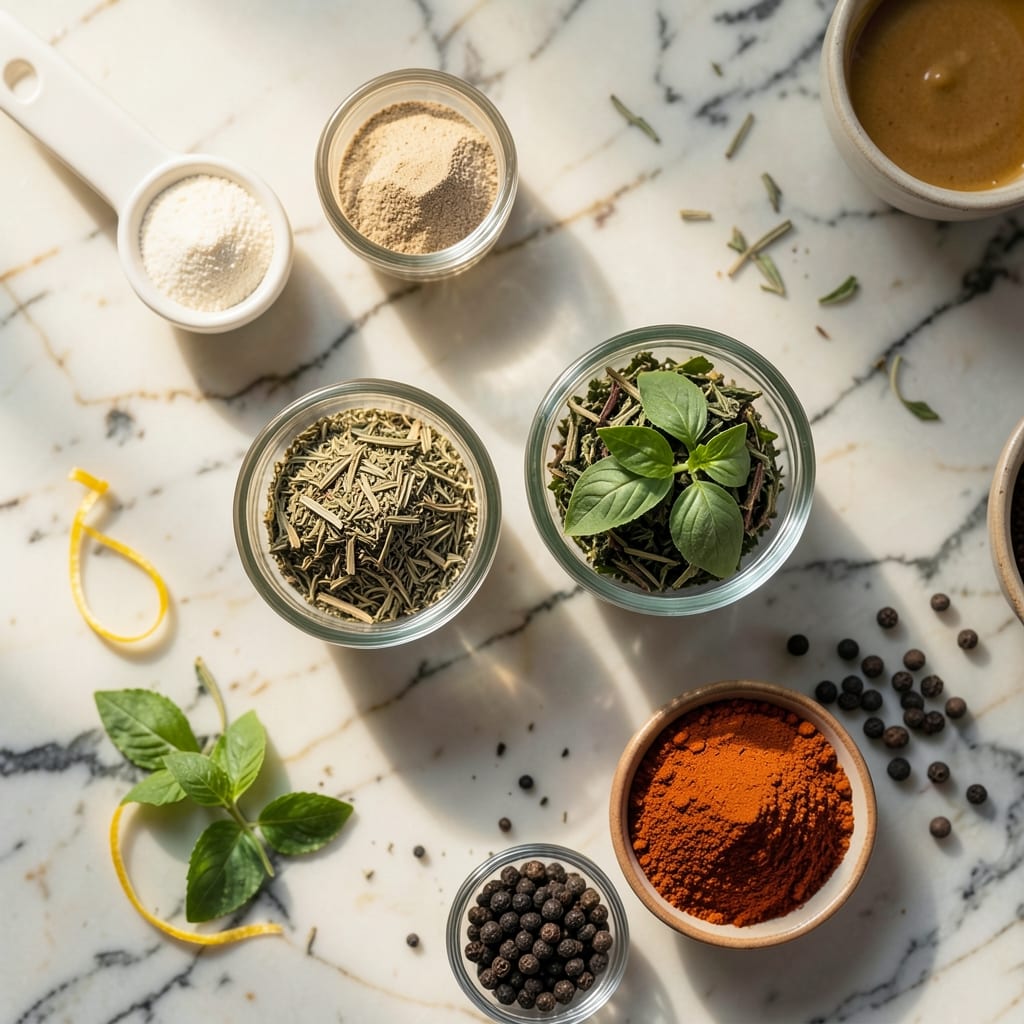
Ingredients for Grilled Bone in Chicken Breast
Simple seasonings let the bone-in chicken breast shine with juicy, charred perfection.
| Ingredient | Amount | Notes |
|---|---|---|
| Bone-In Chicken Breasts 🍗 | 4 whole | Skin-on, about 1.5 lb total |
| Kosher Salt 🧂 | 1 ½ tsp | Diamond Crystal preferred |
| Freshly Ground Black Pepper 🌶️ | 1 tsp | Coarse grind for texture |
| Garlic Powder 🧄 | 1 tsp | Not garlic salt |
| Smoked Paprika 🌶️ | 1 tsp | Sweet or hot variety |
| Onion Powder 🧅 | 1 tsp | Fresh ground preferred |
| Dried Thyme 🌿 | ½ tsp | Crushed for better adhesion |
| Olive Oil 🫒 | 2 tbsp | For coating chicken |
| Unsalted Butter 🧈 | 2 tbsp | Melted for basting |
| Lemon 🍋 | 1 whole | Cut into wedges for serving |
| Fresh Rosemary Sprigs 🌿 | 2 whole | Optional for aromatics |
| Fresh Parsley 🌿 | ¼ cup | Chopped for garnish |
[recipe_ingredient_scaler]
The chicken is everything here. Bone-in, skin-on breasts (about 6-8 oz each) give you that juicy interior and crispy skin. I grab mine from Whole Foods or Costco—look for plump, moist pieces with no grayish tint. The skin should be smooth, not shriveled. If you can only find boneless, save this recipe for another day (trust me, it’s not the same).
No smoked paprika? Regular paprika plus a pinch of cayenne gets you close. Fresh garlic can stand in for powder at 1 clove per teaspoon. The butter for basting is non-negotiable for that golden skin—vegetable oil works in a pinch but won’t add the same depth. If you’re watching calories, skip the butter basting (but the skin won’t char as nicely).
Chicken stays safe in the fridge for 2 days before cooking—keep it in its original packaging on a plate. Leftovers? They’ll dry out, so eat within 3 days or freeze for up to 3 months. That crispy skin won’t survive reheating, but the meat stays moist.
Why You’ll Love This Recipe
- No Fuss Seasoning: That’s just salt, pepper, garlic powder, and smoked paprika—nothing to measure beyond a pinch or two.
- Smoky Backyard Bite: Honestly, the grill turns that paprika into a deep, campfire-like flavor that clings to every juicy bite.
- Feeds the Week: One batch gives me leftovers for salads, tacos, or a quick next-day sandwich.
- Budget Hero: Bone-in breasts cost half what boneless do, and they stay moist on the grill every time.
Step-by-Step Instructions for Grilled Bone-In Chicken Breast
Here’s how to nail that perfect char while keeping the inside incredibly juicy.
Step 1: Season and Rest the Chicken
Pat the 4 whole Bone-In Chicken Breasts completely dry with paper towels—this is non-negotiable for crispy skin. In a small bowl, mix the 1.5 tsp Kosher Salt, 1 tsp Freshly Ground Black Pepper, 1 tsp Garlic Powder, 1 tsp Smoked Paprika, 1 tsp Onion Powder, and 0.5 tsp Dried Thyme.
Rub this blend all over the chicken, including under the skin. I press it in firmly so it adheres well. Let the chicken sit at room temperature for 20-30 minutes while you prep the grill—this ensures even cooking and better flavor penetration.
Step 2: Prep the Grill for Two-Zone Heat
Set up your grill for two-zone cooking: one side with direct high heat (all burners on high) and one side with indirect heat (burners off). This gives you control for searing and then gentle cooking. Clean and oil the grates thoroughly—sticky grates ruin that beautiful char.
While the grill heats, brush the chicken with the 2 tbsp Olive Oil. The oil helps the seasoning stick and promotes even browning. I like to let the grill preheat for at least 10-15 minutes to get it screaming hot—this is key for that restaurant-quality sear.
Step 3: Sear and Baste for Maximum Flavor
Place the chicken skin-side down over direct high heat. Don’t move it for 4-5 minutes—you want a deep golden-brown crust. If the skin starts to blacken, move it to the cooler side briefly. Flip and cook the other side for 3-4 minutes.
Move the chicken to the indirect heat side, cover the grill, and cook for another 10-12 minutes. Baste with the 2 tbsp Unsalted Butter during the last 5 minutes—this adds richness and helps crisp the skin. Insert an instant-read thermometer into the thickest part; it’s done at 165°F.
Step 4: Rest and Garnish for Serving
Transfer the chicken to a cutting board and tent loosely with foil. Let it rest for 5-10 minutes—skipping this step means dry meat. The juices will redistribute, keeping every bite moist and flavorful.
Garnish with the 1 whole Lemon cut into wedges, the 2 whole Fresh Rosemary Sprigs, and a sprinkle of the 0.25 cup Fresh Parsley. The lemon adds brightness, while the parsley brings freshness. Serve immediately while the skin is still crispy.
Pro Tips For Making Grilled Bone In Chicken Breast
- Preheat the Grill: I learned this the hard way—crank the grill to medium-high (about 400°F) and let it sit for 10 minutes before adding the chicken. Otherwise, you’ll get uneven cooking and sad grill marks.
- Pat the Chicken Dry: Sounds tedious, but it works: blot the bone-in breasts with paper towels before seasoning. Wet skin steams instead of crisps, and nobody wants rubbery grilled chicken.
- Skip the Overcrowding: After burning a few batches, I finally figured out to leave at least an inch between pieces. Crowding drops the grill temp, and you’ll end up with pale, undercooked spots.
- Rest Under Foil: Give it a solid 5-10 minutes under foil after grilling—yes, even if you’re starving. It redistributes the juices so the meat near the bone stays moist, not dry.
Storing and Reheating This Recipe
Refrigerator Storage
Let your chicken cool for no more than 2 hours before transferring to airtight containers. Store at 40°F or below for up to 3 days. I use glass containers with snap-on lids from my local farmers market—they keep the meat from absorbing fridge odors. ❄️
Freezer Storage
For longer storage, freeze in heavy-duty freezer bags with as much air removed as possible. The chicken stays at peak quality for up to 3 months. I like to portion into individual servings for easy thawing. Always label with the date—trust me, you’ll forget otherwise.
Stovetop Reheating
This is my preferred method for maintaining moisture. Heat in a skillet with 2 tbsp olive oil over medium-low heat for 5-7 minutes, turning occasionally. Add a splash of chicken broth to keep it from drying out. The skin won’t be as crispy, but the flavor stays intact. 🔥
Oven Reheating
Preheat your oven to 350°F. Place chicken on a baking sheet, add 1 tbsp butter on top, and cover with foil. Heat for 15-20 minutes until reaching 165°F internal temperature. This method works well for larger batches.
Microwave Option
For quick reheating, place chicken on a microwave-safe plate, cover with a damp paper towel, and heat on 70% power for 2-3 minutes. Check temperature and continue in 30-second intervals if needed. This is the fastest method but sacrifices texture.
Nutrition Facts

Trained in classic French technique but raised on slow-cooked ribs and spicy rubs, she blends culinary skill with smoke and soul.
- Recipe for Fried Prawns Batter: Ultra-Crispy Golden Shell - October 3, 2026
- Indian Lamb Curry Recipe Pressure Cooker: Fragrant Spices in a Fraction of the Time - October 3, 2026
- Recipe for Oven Roasted: Golden Crisp Perfection Without the Fryer - October 3, 2026