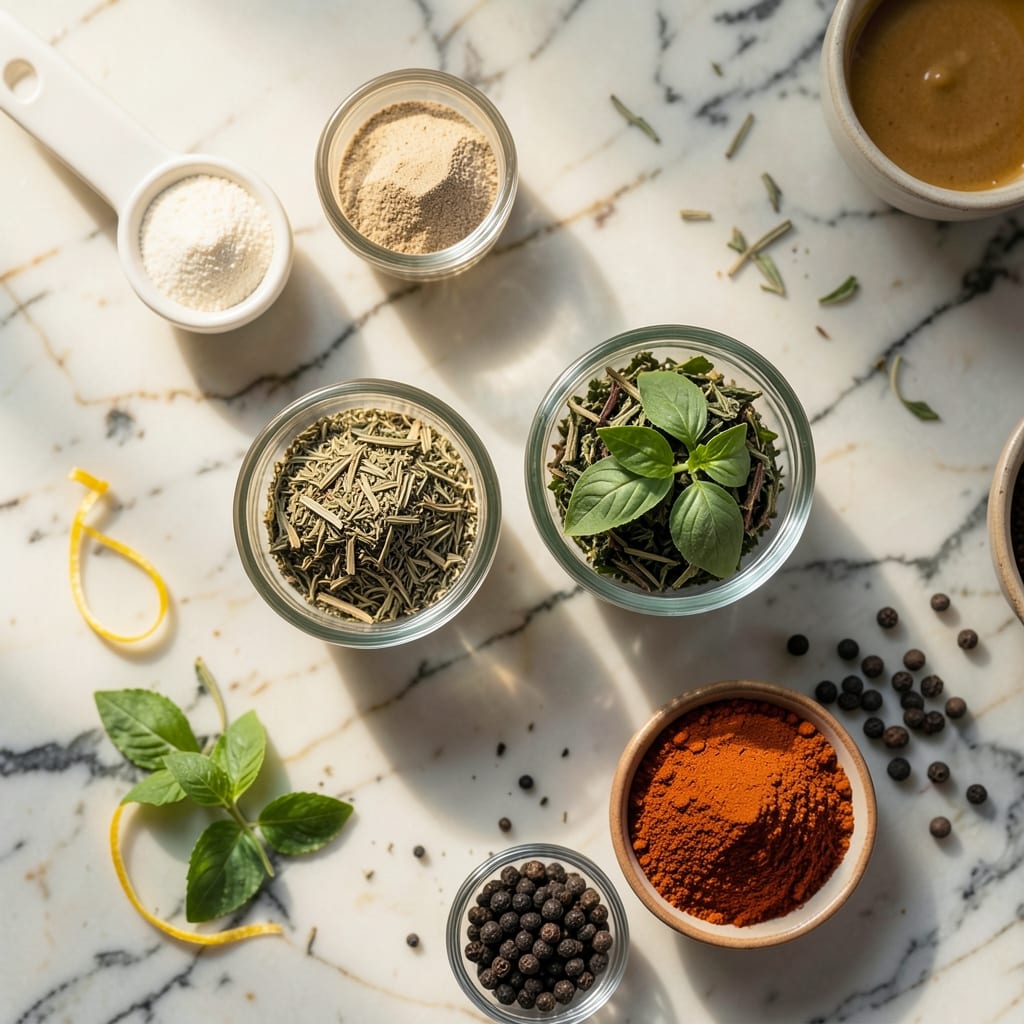
There’s nothing like the smoky depth of a grilled pizza crust to elevate your homemade pie. My pitmaster roots taught me that fire transforms simple dough into something extraordinary.
This method delivers a crispy, char-kissed base that holds up to any artisanal topping. The high heat creates those perfect leopard spots while keeping the interior tender and chewy.
Ingredients for Grilled Pizza Crust
Simple ingredients transform into a smoky, char-kissed base ready for your favorite toppings.
| Ingredient | Amount | Notes |
|---|---|---|
| Bread Flour 🌾 | 3 ½ cups | High-protein for chewy texture |
| Active Dry Yeast 🍞 | 2 ¼ tsp | One packet, proofed in warm water |
| Warm Water 💧 | 1 ¼ cups | 110-115°F for yeast activation |
| Extra-Virgin Olive Oil 🫒 | 2 tbsp | Plus extra for grilling |
| Kosher Salt 🧂 | 2 tsp | Diamond Crystal preferred |
| Granulated Sugar 🍚 | 1 tsp | Feeds the yeast |
| Cornmeal 🌽 | ½ cup | For dusting peel and grill |
| Semolina Flour 🌾 | ¼ cup | Optional for extra crispiness |
| Garlic Powder 🧄 | 1 tsp | For flavor variation |
| Dried Oregano 🌿 | 1 tsp | Crushed for depth |
| Red Pepper Flakes 🌶️ | ½ tsp | Adjust for heat preference |
[recipe_ingredient_scaler]
The flour is non-negotiable here—bread flour gives you that chewy, restaurant-quality texture. King Arthur is my go-to brand, but any high-protein flour works. Yeast freshness matters too; if it doesn’t bubble within 5 minutes in warm water, it’s dead. I grab mine from Costco in bulk (cheaper and stays fresh in the freezer). The olive oil? Use California Olive Ranch or whatever robust extra-virgin you’ve got on hand.
No bread flour? All-purpose plus 1 tbsp vital wheat gluten per cup gets you close. Short on time? Swap yeast for instant yeast—skip the proofing step. The cornmeal can be fine or coarse (I prefer coarse for texture). For extra flavor, add a pinch of garlic powder or dried herbs to the dough. The sugar is just to wake up the yeast—honey works too if that’s what you’ve got.
Dough rises best in a warm spot—turn your oven light on for 30 minutes before proofing. Leftovers? Wrap tight and refrigerate for 2 days or freeze for 1 month. The grilled crust reheats beautifully in a toaster oven (trust me, it’s worth the extra minute).
Why You’ll Love This Recipe
- One Bowl Wonder: I mix the flour, yeast, water, and olive oil right in the bowl—no fancy equipment, just my hands and 10 minutes of kneading.
- Smoky Char Flavor: The grill gives the crust that irresistible smoky edge, while the olive oil brushed on top adds a rich, golden crisp.
- Weeknight Hero: Honestly, I throw this together on busy evenings—dough rests while I prep toppings, and it’s ready before the kids start asking for snacks.
- Budget Stretch: Five simple pantry staples and a hot grill is all it takes. I’ll be real: it costs less than takeout and tastes twice as good.
Step-by-Step Instructions for Grilled Pizza Crust
Here’s my tested method for achieving that perfect smoky, crisp crust with a chewy interior.
Step 1: Proof the Yeast and Mix the Dough
In a small bowl, combine the 1.25 cups warm water with the 1 tsp granulated sugar and 2.25 tsp active dry yeast. Let it sit for 5-7 minutes until the mixture becomes frothy—this confirms the yeast is active and ready to work.
In a large mixing bowl, whisk together the 3.5 cups bread flour, 2 tsp kosher salt, 1 tsp garlic powder, 1 tsp dried oregano, and 0.5 tsp red pepper flakes. Pour in the yeast mixture and 2 tbsp extra-virgin olive oil, then stir until a shaggy dough forms. The dough should feel slightly tacky but not sticky.
This is where the magic starts. Bread flour’s high protein content ensures a chewy texture, while the spices infuse the dough with subtle, savory depth from the very beginning.
Step 2: Knead and Let the Dough Rise
Turn the dough out onto a lightly floured surface and knead for 8-10 minutes until smooth and elastic. If it sticks, add a dusting of flour, but use a light hand—too much will make the crust dense. The dough should pass the windowpane test: stretch a small piece thin, and it should be translucent without tearing.
Place the dough in a lightly oiled bowl, cover with a damp towel, and let it rise in a warm spot for 1-2 hours, or until doubled in size. I like to turn my oven on to 100°F for 5 minutes, then turn it off and place the bowl inside. The warmth speeds up the process without killing the yeast.
Real talk: if your kitchen is cold, this might take closer to 2 hours. Don’t rush it—proper rising is what gives your crust that airy, pillowy structure.
Step 3: Shape and Prepare for the Grill
Punch down the risen dough to release the air, then divide it into 4 equal portions for individual pizzas. On a surface dusted with 0.5 cup cornmeal and 0.25 cup semolina flour, roll out each portion into a ¼-inch thick round. The cornmeal and semolina prevent sticking and add a delightful crunch to the crust.
Here’s the thing—the dough might resist at first. Let it rest for 5 minutes if it shrinks back, then try rolling again. This relaxation step ensures you can stretch it thin without tearing.
Brush one side of each round lightly with extra-virgin olive oil. This not only prevents sticking but also promotes even browning and that coveted char.
Step 4: Grill to Charred Perfection
Preheat your grill to medium-high heat (about 400-450°F). Place the dough rounds oiled-side down on the grill grates and cook for 2-3 minutes until the underside is golden brown with distinct grill marks. Watch closely—this happens fast, and you don’t want to burn the crust.
Using tongs, flip the crusts and cook for another 1-2 minutes until lightly charred. Transfer to a platter, charred-side up. The residual heat will continue cooking the dough slightly, so pull it off the grill just before it reaches your desired doneness.
Now you’re ready to add your toppings to the grilled side and return it to the grill for a final cook. The pre-grilled crust ensures a sturdy base that won’t sog out under sauces and cheeses.
Pro Tips For Making Grilled Pizza Crust
- Preheat the Grill: I learned this the hard way—crank the grill to medium-high (around 400°F) and let it heat for at least 10 minutes before adding dough. A hot grill prevents soggy crust and gives those perfect char marks.
- Use Bread Flour: Skip all-purpose and stick with bread flour—its higher protein content creates a chewier, sturdier crust that holds up to grilling. My first few attempts with the wrong flour ended in floppy disasters.
- Oil the Dough: Brush both sides of the rolled-out dough with olive oil before grilling, about 1 tablespoon total. This keeps it from sticking and adds a crisp, golden finish—sounds simple, but it actually changes the outcome.
- Grill One Side First: Cook the dough for 2-3 minutes on the first side until lightly charred, then flip and add toppings. This prevents a burnt bottom and ensures the crust cooks through without overcooking the cheese.
Storing and Reheating This Dish
Refrigerator Storage
Let your grilled crusts cool completely before storing to prevent condensation. Place in an airtight container with parchment between layers. They’ll keep in the fridge for up to 3 days—the charred flavor actually intensifies overnight. ❄️
Freezer Method
For longer storage, wrap each cooled crust individually in plastic wrap, then place in a freezer bag. Squeeze out all air before sealing. They’ll maintain quality for up to 1 month at 0°F or below.
I always label with the date—I’ve learned the hard way that mystery crusts lose their appeal after too long.
Reheating on Grill
The best way to revive that smoky flavor is right back on the grill. Preheat to medium-high heat and warm each crust for 30-60 seconds per side. This restores the crispness without drying it out. 🔥
Oven Reheating
Preheat your oven to 375°F and place crusts directly on the rack for 3-5 minutes. For extra crispiness, spritz with water before reheating. This mimics the steam effect of a pizza oven.
Toaster Oven Trick
My go-to for quick reheating: use the toaster oven at 400°F for 2-3 minutes. It’s more efficient than the full oven and gives better results than the microwave. Watch closely to avoid over-browning.
Nutrition Facts

Trained in classic French technique but raised on slow-cooked ribs and spicy rubs, she blends culinary skill with smoke and soul.
- Recipe for Pan Fried: Golden Crust with Savory Depth - October 3, 2026
- Recipe For Fried Chicken In A Pressure Cooker: Crispy Golden Bites in Half the Time - October 3, 2026
- Recipe For Leftover Fried Fish: Crunchy Leftovers Transformed - October 3, 2026