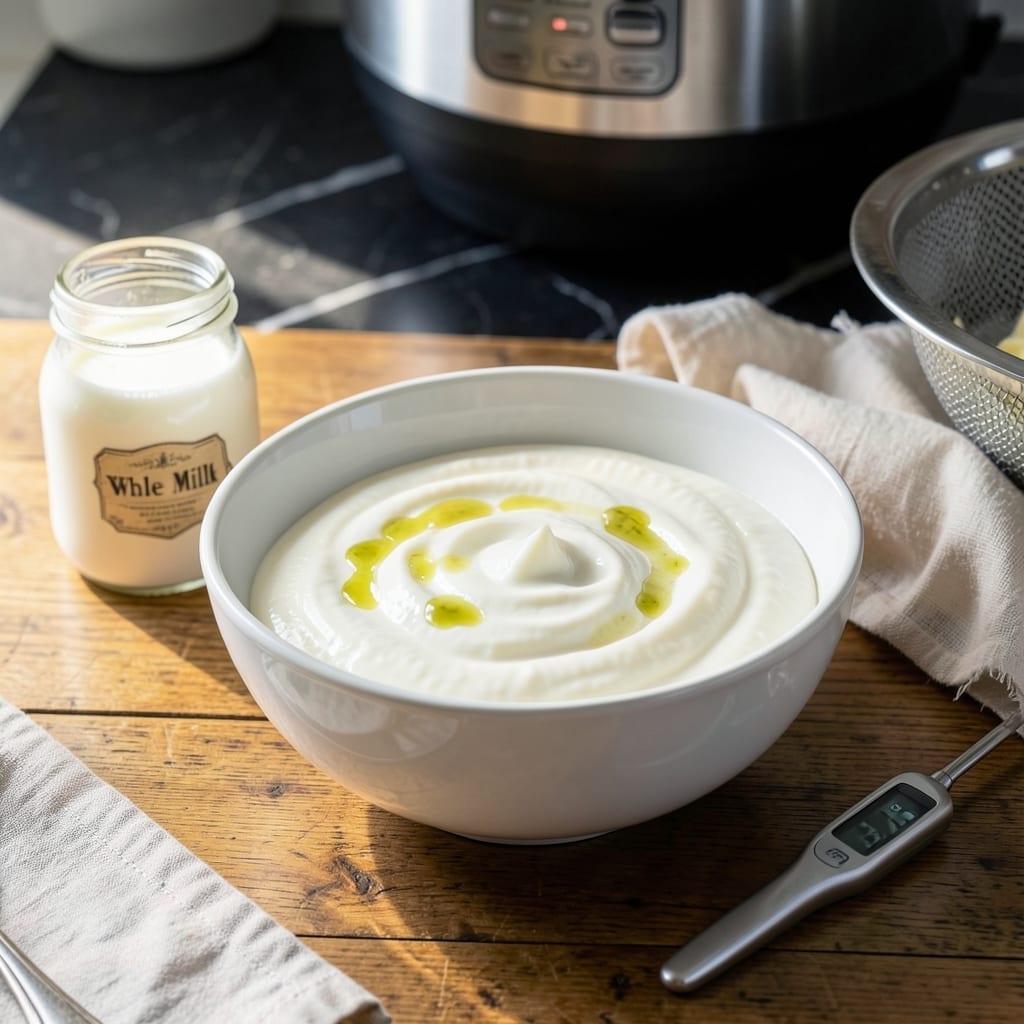
Making homemade Greek yogurt in your Instant Pot is simpler than you might expect. This method delivers thick, tangy results with minimal hands-on time.
The process starts with pasteurizing milk, then culturing it with a small amount of store-bought yogurt. The Instant Pot maintains the perfect temperature for fermentation without constant monitoring.
After culturing, straining the yogurt through cheesecloth removes excess whey, creating that signature creamy texture. The longer you strain, the thicker your yogurt becomes.
This approach gives you full control over texture and flavor, with no artificial additives. The result is fresh, homemade yogurt that puts store-bought versions to shame.
Ingredients for Homemade Greek Yogurt Recipe Instant Pot
Just milk and a little store-bought yogurt transform into thick, tangy homemade goodness.
| Ingredient | Amount | Notes |
|---|---|---|
| Whole Milk 🥛 | 8 cups | Pasteurized, not ultra-pasteurized |
| Plain Greek Yogurt 🥣 | 2 tbsp | Store-bought, live cultures |
| Cheesecloth 🧻 | 1 piece | For straining yogurt |
| Colander 🪣 | 1 whole | To hold cheesecloth |
| Instant Pot 🍲 | 1 whole | 6-quart or larger |
| Thermometer 🌡️ | 1 whole | Digital, for accuracy |
| Spoon 🥄 | 1 whole | For stirring milk |
| Bowl 🍲 | 1 whole | To catch whey |
| Whisk 🥄 | 1 whole | For mixing starter |
| Lid 🏠 | 1 whole | For Instant Pot |
[recipe_ingredient_scaler]
The milk is the foundation here. Whole milk gives the creamiest texture, but 2% works if that’s what you’ve got. Look for pasteurized (not ultra-pasteurized) at Whole Foods or any major grocery store. The starter yogurt needs to have live active cultures—check the label. Fage or Chobani are reliable brands. Avoid any with gelatin or added thickeners.
No Greek yogurt for the starter? Plain regular yogurt with live cultures works just as well. If you’re worried about cleanliness, cheesecloth from the kitchen aisle is fine, but unbleached is better. No cheesecloth? A clean kitchen towel or coffee filter in a pinch. The straining time is flexible—4 hours for thick, 8 hours for extra-thick like store-bought Greek.
Strained yogurt keeps in the fridge for 2 weeks in a sealed container. The whey can be saved for smoothies or baking. I usually make a double batch on Sunday—enough for the week. Don’t forget to reserve 2 tbsp of your homemade yogurt as the starter for your next batch.
Why You’ll Love This Recipe
- Set and Forget: The Instant Pot does all the work—I just pour in the whole milk, press a button, and walk away until it’s ready to strain.
- Creamy Perfection: The tangy richness of homemade yogurt made from whole milk blows store-bought out of the water every single time.
- Breakfast to Dessert: I use it in smoothies, dollop it on tacos, or sweeten it with honey for a quick dessert that feels fancy.
- Penny-Wise Protein: Honestly, making a big batch costs less than half of buying those tiny tubs, and I get a week’s worth of protein-packed yogurt.
Step-by-Step Instructions for Homemade Greek Yogurt in Instant Pot
Here’s my tested method for achieving that perfect tangy thickness with minimal hands-on time.
Step 1: Heat the Milk to the Perfect Temperature
Pour the 8 cups Whole Milk into the Instant Pot and secure the Lid in place. Select the “Yogurt” function and adjust until it displays “Boil.” This setting will heat the milk to 180°F, the ideal temperature to pasteurize and denature the proteins for thicker yogurt.
I use the Thermometer to verify the temperature—this ensures accuracy since some Instant Pot models may vary slightly. Stir the milk occasionally with the Spoon to prevent a skin from forming on top. You’ll see tiny bubbles at the edges when it’s ready.
Step 2: Cool the Milk to Culturing Temperature
Once the milk reaches 180°F, remove the Lid and let it cool naturally. You want it to drop to 110°F, which is the sweet spot for the live cultures to thrive. This cooling process typically takes 30-45 minutes at room temperature.
I speed this up slightly by placing the Instant Pot in a sink with a few inches of cool water, stirring occasionally with the Spoon. Check the temperature frequently with the Thermometer—if it drops below 110°F, gently reheat it to maintain that target range.
Step 3: Whisk in the Starter Culture
In a small Bowl, whisk the 2 tbsp Plain Greek Yogurt with a Whisk until smooth and free of lumps. This store-bought yogurt with live cultures is your starter—it contains the bacteria that will ferment the milk into yogurt.
Once the milk cools to 110°F, pour about 1 cup of the warm milk into the bowl with the starter. Whisk it thoroughly to temper the cultures, then pour this mixture back into the Instant Pot. Stir everything together gently with the Spoon to distribute the cultures evenly.
Step 4: Incubate for Thick, Tangy Yogurt
Secure the Lid back on the Instant Pot and select the “Yogurt” function again, adjusting the time to 8-10 hours. The longer you incubate, the tangier your yogurt will become. I prefer 9 hours for that perfect balance of thickness and tang.
The Instant Pot maintains a consistent warm environment, ideal for the cultures to ferment the milk. Don’t open the Lid during this time—consistent temperature is key for the best texture. When finished, the yogurt should look slightly thickened but will firm up more after straining.
Step 5: Strain for Greek-Style Thickness
Line the Colander with the Cheesecloth and place it over the Bowl to catch the whey. Pour the finished yogurt into the lined colander. Let it strain for at least 2 hours at room temperature, or up to 4 hours in the refrigerator for a thicker consistency.
Resist the urge to press or squeeze the Cheesecloth—this can make the yogurt too dense. Instead, let gravity do the work. The result should be creamy, rich, and perfectly thick, with the Bowl collecting the clear whey liquid that can be used for baking or discarded.
Pro Tips For Making Homemade Greek Yogurt Recipe Instant Pot
- Boil the Milk First: Heat the whole milk to 180°F in the Instant Pot before cooling—this kills unwanted bacteria and gives your yogurt a cleaner, tangier flavor.
- Use Ultra-Filtered Milk: I learned this the hard way—regular milk works, but ultra-filtered whole milk makes thicker, creamier yogurt with less whey to strain out.
- Skip the Tap Water: After boiling, cool your milk in a clean bowl of ice water, not under the tap—tap water can introduce contaminants that ruin your batch.
- Strain with Cheesecloth Only: Sounds weird, but it works: line your colander with cheesecloth and nothing else—paper towels or coffee filters can tear and leave fibers in your yogurt.
Health Benefits of This homemade greek yogurt recipe instant pot
Probiotic Powerhouse
This creation is packed with live probiotics that support gut health and digestion. Just 1 cup provides billions of beneficial bacteria like Lactobacillus and Bifidobacterium. I notice better digestion when I eat it regularly.
Rich in Protein
You’ll get about 20 grams of protein per cup—more than many store-bought versions. This makes it excellent for muscle repair and keeping you full. The straining process concentrates the protein, giving it that thick, satisfying texture.
Calcium Boost
One serving delivers about 30% of your daily calcium needs, crucial for strong bones and teeth. Since it’s made from whole milk, it also contains vitamin D to help your body absorb that calcium efficiently.
Low in Sugar
Unlike flavored store-bought yogurts, this version contains only the natural sugars from milk—about 7 grams per cup. No added sweeteners means you control exactly what goes into your body. 💪
Vitamin B12 Source
It’s an excellent source of vitamin B12, with one serving providing about 20% of your daily value. This vitamin is essential for nerve function and red blood cell production. I feel more energized when I include it in my diet.
Weight Management
The high protein content helps regulate appetite hormones, keeping you satisfied longer. Studies show that people who eat yogurt regularly tend to have lower body fat percentages. Plus, it’s only about 150 calories per cup. ✨
Nutrition Facts
Frequently Asked Questions
What kind of milk works best?
Use whole milk for the creamiest texture. 2% works but produces thinner results. Avoid ultra-pasteurized milk as it may not culture properly.
How long does fermentation take?
Set your Instant Pot to 8-10 hours for ideal tang. 9 hours gives the best balance of flavor and thickness. Longer times create more tartness.
Can I reuse my homemade yogurt as a starter?
Yes, reserve 2 tablespoons from each batch. It works for 5-7 generations before the cultures weaken. Always use fresh starter if batches fail to set.
Why isn’t my yogurt thickening?
Common causes: milk didn’t reach 180°F, cultures were killed by too-hot milk, or incubation temperature dropped. Use a thermometer for accuracy.

Trained in classic French technique but raised on slow-cooked ribs and spicy rubs, she blends culinary skill with smoke and soul.
- Meat and Potato Recipe Ideas: Savory Pairings for Hearty Meals - October 3, 2026
- Recipe for Fried Prawns Batter: Ultra-Crispy Golden Shell - October 3, 2026
- Indian Lamb Curry Recipe Pressure Cooker: Fragrant Spices in a Fraction of the Time - October 3, 2026