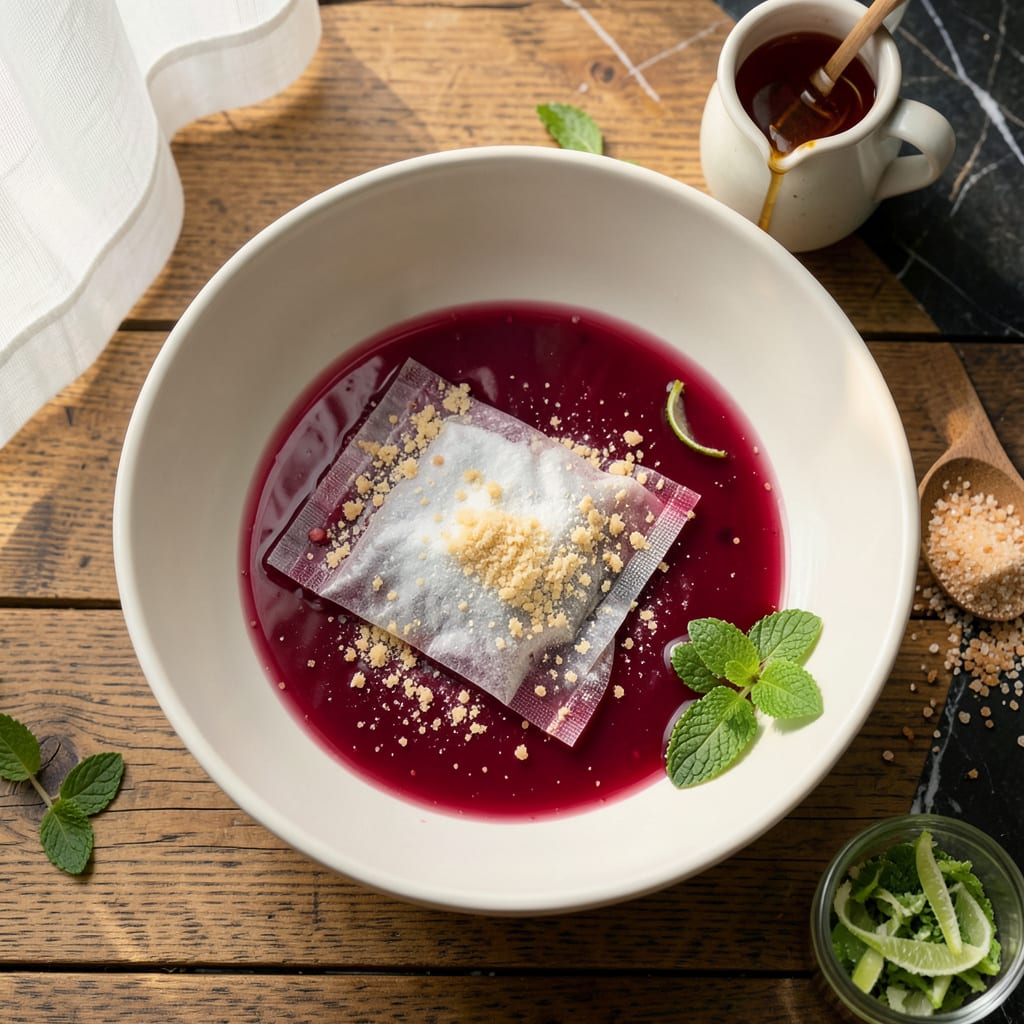
Unflavored gelatin is your secret weapon for creating custom desserts that look and taste like they came from a fancy patisserie. I’ve been using this technique for years to make everything from elegant fruit terrines to playful cocktail gummies. The beauty is in the control—you choose the flavors, textures, and presentation.
The process is simpler than you might think. Start with the right liquid-to-gelatin ratio (usually 2 cups liquid to 1 packet gelatin), then add your flavorings—fruit juices, extracts, or even purees work beautifully. I love using fresh-squeezed citrus juices for bright, clean flavors or vanilla extract for something more classic. The key is dissolving the gelatin completely before chilling.
Once you’ve mastered the basics, the possibilities are endless. Set the mixture in molds for elegant shapes, layer different flavors for visual impact, or cut into cubes for fun textures. My personal favorite is making champagne-infused gelatin cups for special occasions—they’re always a hit. The gelatin sets in about 4 hours, but overnight gives the best texture.
This technique works for desserts, cocktails, or even savory dishes if you’re feeling adventurous. The best part? You can adjust sweetness levels and flavors to match exactly what you’re craving. Let’s get started on your gelatin masterpiece—it’s easier than you think to create something truly impressive.
📚 In This Guide
- What You’ll Need
- Instructions
- Tips and Common Mistakes
What Youll Need
- ● Unflavored gelatin powder – 1 packet (2½ tsp or 7g) or bulk gelatin (check package for bloom strength—200-250 bloom works best for desserts).
- ● Liquid base – 2 cups (480ml) of cold water, juice, broth, or plant-based milk (adjust for dietary needs).
- ● Sweetener (required for balance) – ¼–½ cup (50–100g) of granulated sugar, honey, maple syrup, or sugar substitute (adjust to taste).
- ● Flavorings (pick 1–2): 1–2 tsp vanilla, almond, or peppermint extract.
- ● 2–3 tbsp fruit purée, citrus zest, or jam (strain seeds if needed).
- ● 1–2 tbsp instant coffee, cocoa powder, or matcha (dissolve fully).
- ● 1–2 drops food-grade essential oils (e.g., lemon, orange—use sparingly!).
- ● Tools: Medium saucepan (for heating liquids).
- ● Whisk or fork (to dissolve gelatin smoothly).
- ● Measuring cups/spoons (precision matters!).
- ● Molds or dish (silicone molds, ramekins, or a 8×8-inch pan).
- ○ Optional upgrades: 🌟 Fresh fruit, nuts, or coconut flakes (for texture).
- ● Edible glitter or sprinkles (for fun presentations).
- ● Whipped cream or yogurt (as a topping).
Step-by-Step Instructions for Flavoring Unflavored Gelatin
Transforming plain gelatin into something extraordinary is easier than you might think—let me show you how.
Bloom the Gelatin Properly
Start by sprinkling the unflavored gelatin evenly over cold liquid in a bowl. I always use ¼ cup cold water or fruit juice per 1 packet (2½ teaspoons) of gelatin. This ratio ensures proper hydration without clumping. Let it sit undisturbed for 5-10 minutes—you’ll see it transform into a spongy, rubbery mass.
The blooming process is critical because it allows the gelatin granules to absorb liquid evenly. If you rush this step or use hot liquid, you’ll end up with weak, unevenly set gelatin. I like to use a wide, shallow bowl for this step—it gives the gelatin more surface area to bloom properly.
Dissolve the Bloomed Gelatin Completely
After blooming, gently heat the mixture to dissolve the gelatin. I prefer using a double boiler or placing the bowl over a pot of simmering water—this indirect heat prevents scorching. Stir constantly with a silicone spatula until the mixture becomes completely clear and smooth, with no visible granules.
The ideal temperature for dissolving gelatin is between 140-160°F. If you don’t have a thermometer, look for the first signs of steam rising from the surface—that’s your visual cue. Never let the mixture boil, as this will weaken the gelatin’s setting properties and create a rubbery texture in your final product.
Infuse Your Base Flavor
Now comes the creative part—adding your primary flavor. For fruit flavors, I recommend using strained fruit purées (about ½ cup per packet of gelatin) or fruit juices. Heat your chosen flavor base gently to 120°F—warm enough to blend smoothly with the dissolved gelatin but not so hot it degrades the gelatin’s structure.
For more complex flavors like coffee or tea, steep your ingredients in hot liquid first, then strain before combining with the gelatin. I’ve found that 2 tablespoons of instant espresso powder or 3 tea bags per cup of liquid creates a perfectly balanced flavor without bitterness. Remember that flavors will intensify slightly as the gelatin sets, so err on the side of slightly weaker flavor at this stage.
Sweeten and Enhance the Flavor Profile
With your base flavor established, it’s time to balance the sweetness and add depth. I typically use 2-3 tablespoons of sugar or honey per cup of liquid, but adjust to your taste. For sugar, dissolve it completely in a small amount of warm liquid before adding to the gelatin mixture to prevent graininess.
This is also when I add complementary flavors—a pinch of citric acid to brighten fruit flavors, a dash of vanilla extract for warmth, or a sprinkle of spices like cinnamon or cardamom. For creamy desserts, I’ll whisk in 2 tablespoons of heavy cream per cup of liquid at this stage. The key is to add these elements while the mixture is still warm enough to incorporate them fully but cool enough to preserve their delicate flavors.
Set and Finish Your Creation
Pour your flavored gelatin mixture into molds or a serving dish and refrigerate for at least 4 hours, though I prefer overnight for the cleanest release and best texture. The gelatin should be firm to the touch and hold its shape when pressed lightly with a finger.
For perfect presentation, dip your molds in warm water for 5-10 seconds before unmolding. This creates just enough separation between the gelatin and the mold for clean release. Serve your creation chilled, and consider garnishing with complementary elements—whipped cream for fruit flavors, chocolate shavings for coffee, or fresh herbs for citrus-based gelatin. The possibilities are truly endless once you’ve mastered this basic technique.
Tips and Common Mistakes for Perfectly Flavored Gelatin
Mastering the art of flavoring gelatin comes down to understanding the science behind each step. Here’s what I’ve learned through years of experimentation.
The Blooming Process: In Step 1, those 5-10 minutes of blooming time are absolutely critical. I’ve found that using a wide, shallow bowl gives the gelatin more surface area to absorb liquid evenly, preventing clumps. If you notice any dry spots after the initial bloom, gently press them into the liquid with your fingers—don’t stir, as this can create uneven hydration that leads to weak gelatin structure.
Temperature Control: When dissolving the bloomed gelatin in Step 2, maintaining that 140-160°F range is non-negotiable. I always use a double boiler to prevent overheating, which can degrade the gelatin’s setting properties. Watch for the first wisps of steam—this visual cue tells you you’re in the ideal temperature zone without needing a thermometer. Never let the mixture boil, as this will create a rubbery texture in your final product.
Flavor Infusion Technique: For Step 3, when adding your flavor base, heating it to exactly 120°F ensures proper incorporation without breaking down the gelatin structure. I recommend using a separate thermometer for your flavor base to maintain precision. For fruit purées, strain them through a fine-mesh sieve to remove any fibers that could disrupt the smooth texture of your final gelatin.
Setting for Success: The 4-hour refrigeration time in Step 5 might seem long, but it’s essential for achieving the perfect firm yet silky texture. I prefer overnight setting when possible, as this gives the gelatin ample time to fully stabilize. When testing for doneness, press the surface lightly—it should feel firm but still have a slight give, similar to the texture of a well-set custard.
Pro Tips for Flavor Unflavored Gelatin
- Mastering the art of flavoring gelatin comes down to understanding the science behind each step. Here’s what I’ve lea…
- The Blooming Process: In Step 1, those 5-10 minutes of blooming time are absolutely critical. I’ve found that using a…
- Temperature Control: When dissolving the bloomed gelatin in Step 2, maintaining that 140-160°F range is non-negotiabl…
Frequently Asked Questions
Can I use fresh fruit instead of juice or extracts to flavor gelatin?
Yes! Fresh fruit works beautifully, but puree it first and strain out seeds/pulp to avoid texture issues. Pineapple, kiwi, and papaya contain enzymes that prevent gelatin from setting—cook them briefly (5 mins) to deactivate enzymes before adding. Citrus zest or mashed berries add vibrant flavor without altering texture.
How long does flavored gelatin take to set in the fridge?
Most recipes set in 2–4 hours, but thicker layers (like panna cotta) may need 6+ hours or overnight. Pro tip: Chill in the coldest part of your fridge (not the door) and avoid moving the dish. Test doneness by gently pressing the surface—it should hold its shape.
What’s the best sugar alternative for sugar-free gelatin?
Liquid sweeteners like stevia, monk fruit, or erythritol syrup blend smoothly without graininess. Avoid granular substitutes unless dissolved in warm liquid first. For a natural touch, try mashed dates or applesauce (adjust liquid ratios). Note: Sugar substitutes may slightly alter setting time.
Why did my gelatin turn out rubbery or too firm?
Overheating gelatin breaks its structure—never boil it! Use warm (not hot) liquids (105–115°F). Too much gelatin? Reduce by ½ tsp per cup next time. For a softer texture, replace ¼ cup liquid with yogurt or coconut milk. If it’s already set, blend with a splash of warm water to salvage it.
Can I flavor gelatin with alcohol? Will it set properly?
Yes, but limit alcohol to ¼ cup per 2 cups liquid—higher amounts prevent setting. Use higher-proof spirits (like vodka or rum) for stronger flavor with less volume. For boozy gels, mix alcohol with cold liquid before adding gelatin to avoid evaporation.
Transforming plain gelatin into a burst of flavor is easier than you think! With simple ingredients like fruit juices, extracts, or even spices, you can create endless dessert possibilities—from wobbly fruit gems to creamy panna cotta. 🎉 Whether you’re a beginner or a kitchen pro, experimenting with flavors lets you turn basic gelatin into something uniquely delicious.
Ready to get creative? Pick a recipe from our suggestions, gather your favorite flavors, and start crafting your first batch today! For extra inspiration, check out our guide on layered gelatin desserts next.

Trained in classic French technique but raised on slow-cooked ribs and spicy rubs, she blends culinary skill with smoke and soul.
- Indian Lamb Curry Recipe Pressure Cooker: Fragrant Spices in a Fraction of the Time - October 3, 2026
- Recipe for Oven Roasted: Golden Crisp Perfection Without the Fryer - October 3, 2026
- Recipe for Fried Pork Chops With Flour: Crispy Crust and Juicy Centers - October 3, 2026