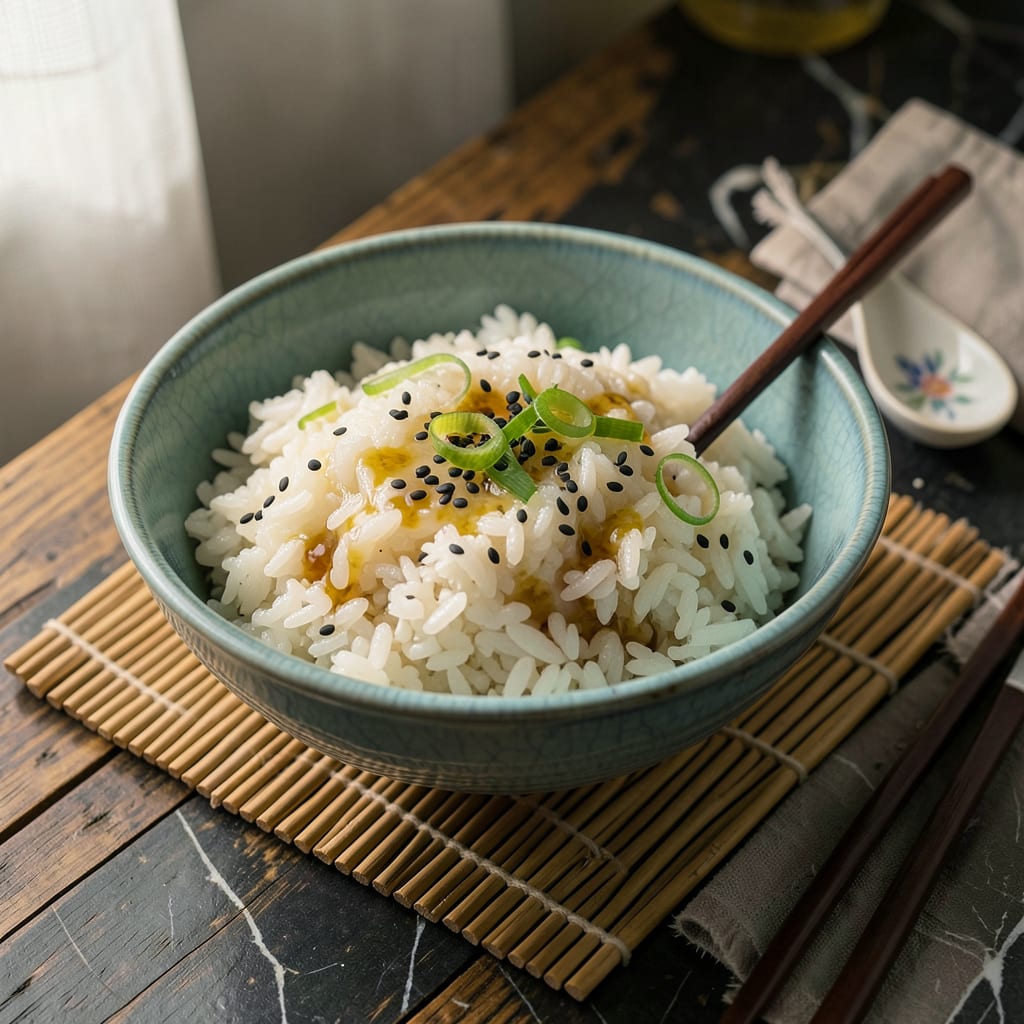
I’ll be real with you—turning regular rice into perfectly sticky grains isn’t magic, it’s all about technique. After years of making everything from sushi to sticky rice desserts, I’ve cracked the code for getting that ideal clingy texture without special equipment. The secret starts before you even turn on the stove.
Most people overlook the rinsing step, but it’s crucial for removing excess starch that can make rice gummy instead of pleasantly sticky. I use a 1:1.25 rice-to-water ratio (that’s 1 cup rice to 1¼ cups water) and let it soak for 30 minutes before cooking. This simple prep work makes all the difference in achieving those tender, slightly chewy grains.
Whether you’re using a pot or rice cooker, the cooking method matters just as much as the prep. I’ve found that letting the rice steam covered for 10 minutes after cooking creates that perfect stickiness. The result is rice that holds together beautifully for sushi rolls or sticks just enough to eat with chopsticks.
This method works with any white rice and keeps well for days. Perfect for meal prep, sushi nights, or as a base for stir-fries. Here’s exactly how to nail it every time.
📚 In This Guide
- What You’ll Need
- Instructions
- Tips and Common Mistakes
What Youll Need
- ● Rice: 1 cup of short-grain white rice (like sushi rice or Calrose rice)—this is the secret to stickiness! 🌾
- ● Water: 1¼ cups (adjust slightly for altitude; high altitudes may need a bit more).
- ○ Rice vinegar: 2 tbsp (optional, for that classic sushi-rice tang).
- ○ Sugar & salt: 1 tsp sugar + ½ tsp salt (optional, balances flavor if using vinegar).
- ● Tools: Heavy-bottomed pot (or a rice cooker for foolproof results).
- ● Fine-mesh strainer to rinse the rice thoroughly.
- ● Wooden spoon or rice paddle (avoids crushing grains).
- ● Clean kitchen towel (to cover rice while steaming).
- ● Prerequisites: Rinsed rice (wash until water runs almost clear to remove excess starch).
- ● Patience! Let rice soak for 20–30 minutes before cooking for best texture.
Instructions for Perfect Sticky Rice
Transform ordinary rice into perfectly clumpy, sushi-style grains with this foolproof method—it’s easier than you think!
Choose and Rinse the Right Rice
Start with short-grain white rice—this variety has higher starch content, which is essential for achieving that signature stickiness. Measure out 2 cups of rice for 4 servings, placing it in a fine-mesh strainer. Rinse under cold running water while gently swirling the grains with your fingers.
The water will turn cloudy from the excess starch—this is exactly what you want to remove. Continue rinsing until the water runs nearly clear, about 1-2 minutes. I can’t stress this enough: proper rinsing prevents gummy rice while still leaving enough starch for that perfect cling. Shake the strainer gently to remove excess water before cooking.
Master the Water Ratio and Soaking
Transfer the rinsed rice to your cooking pot and add 2 cups of water—this 1:1 rice-to-water ratio is crucial for sticky rice success. Gently level the rice with your hand or a spatula, but don’t press down. Here’s the secret step most people skip: let the rice soak in the water for 20-30 minutes before cooking.
This soaking time allows the grains to absorb moisture evenly, which leads to uniform cooking and that coveted sticky texture. You’ll notice the grains plump up slightly during soaking—that’s how you know it’s working. While waiting, resist the urge to stir; you want to maintain the starch distribution you created during rinsing.
Cook with Gentle, Even Heat
Cover the pot with a tight-fitting lid and bring to a boil over medium-high heat. As soon as you see steam escaping and hear a gentle rolling boil (about 3-5 minutes), immediately reduce the heat to low. This quick transition prevents the bottom from burning while ensuring even cooking.
Let the rice simmer undisturbed for 15 minutes. I know it’s tempting to peek, but every time you lift that lid, you’re letting out precious steam that’s crucial for perfect texture. The rice is done when all the water has been absorbed and you can see tiny steam holes dotting the surface—this is your visual cue that the grains are tender and ready.
Steam and Fluff for Ultimate Stickiness
Turn off the heat but keep the pot covered. Let the rice steam in its own residual heat for an additional 10 minutes. This final steaming step is what transforms good rice into perfectly sticky rice—the grains continue to soften and the starches fully gelatinize, creating that ideal cling.
After steaming, remove the lid and use a rice paddle or silicone spatula to gently fold the rice from the bottom up. Don’t stir vigorously—you want to preserve the individual grains while distributing the stickier bottom layer throughout. The rice should glisten slightly and hold together when pressed lightly with your fingers, but still separate easily when fluffed.
Keep Warm and Serve Immediately
For the stickiest results, serve the rice immediately while it’s still warm. The starches are most active when hot, giving you that perfect balance of individual grains that cling together just enough. If you need to hold it, keep the rice covered in the pot for up to 30 minutes—any longer and it may dry out.
When serving, use a damp rice paddle to portion the rice—this prevents sticking to your utensils. Press the rice gently into your serving bowl or sushi mold to showcase its sticky quality. Each grain should be tender yet distinct, with just enough resistance to hold its shape when molded, but melt-in-your-mouth softness when eaten. This is how you know you’ve achieved rice perfection!
Tips and Common Mistakes for Perfect Sticky Rice
These game-changing insights will transform your rice from ordinary to restaurant-quality sticky perfection!
The Rinsing Revelation: Don’t rush through the 1-2 minutes of rinsing in Step 1—this is where the magic begins! I learned the hard way that under-rinsed rice becomes gummy, while over-rinsed loses its cling. The water should run nearly clear with just a hint of cloudiness remaining. That residual starch is what creates the perfect stickiness while preventing mushiness.
Soaking Secret: The 20-30 minute soak in Step 2 isn’t just waiting time—it’s when the rice grains absorb moisture evenly for uniform cooking. Here’s what nobody tells you: if you’re in a hurry, even 10 minutes of soaking makes a noticeable difference, though the full 30 minutes delivers the absolute best texture. Watch for the grains to plump slightly—that’s your visual confirmation it’s working!
Heat Control Hack: When you reduce to low heat after the 3-5 minute boil in Step 3, make sure your burner is truly at its lowest setting. Too-high heat during the 15-minute simmer creates a crispy bottom layer, while too-low heat leaves the rice undercooked. The perfect simmer should produce just a few tiny bubbles breaking the surface—this gentle heat is key for even starch distribution.
Steaming Strategy: That final 10-minute steam in Step 4 is non-negotiable! I used to skip this until I realized it’s when the starches fully gelatinize. For extra insurance against dryness, place a clean kitchen towel over the pot before putting the lid back on during steaming—it absorbs excess moisture while keeping the environment perfectly humid.
Pro Tips for Make Normal Rice Sticky
- These game-changing insights will transform your rice from ordinary to restaurant-quality sticky perfection!
- The Rinsing Revelation: Don’t rush through the 1-2 minutes of rinsing in Step 1—this is where the magic begins! I lea…
- Soaking Secret: The 20-30 minute soak in Step 2 isn’t just waiting time—it’s when the rice grains absorb moisture eve…
Frequently Asked Questions
Can I use any type of rice to make it sticky?
Not quite! Short-grain white rice (like sushi rice or Calrose) works best for stickiness. Long-grain varieties (jasmine, basmati) stay fluffier. If you must use regular rice, rinse it well, soak for 30+ minutes, and reduce water slightly—but expect a softer (not gluey) texture. Pro tip: Mix 10% glutinous rice into long-grain for extra stick!
How long should I soak the rice before cooking?
Soak for 20–30 minutes minimum—this hydrates the grains for even stickiness. For ultra-sticky rice (like sushi), soak up to 1 hour. Short on time? Rinse thoroughly and let it sit in the cooking water for 10 minutes before turning on the heat.
Why is my sticky rice still dry or crumbly?
Three common culprits:
- Not enough water—use a 1:1.1 rice-to-water ratio (slightly more than usual).
- Skipped soaking—this step is non-negotiable for stickiness!
- Overcooking or high heat—simmer low and slow (10–12 mins), then steam covered for 10 mins off heat.
Can I make sticky rice in a rice cooker?
Use the same 1:1.1 water ratio, soak the rice first, and select the “sushi” or “sticky rice” setting if available. No special setting? Cook on the standard cycle, then let it steam for 10 extra minutes after it clicks off. Bonus: Add a splash of rice vinegar to the water for subtle tang!
What’s a quick alternative if I don’t have time to soak?
Rinse the rice 3–4 times until the water runs clear, then cook with 20% less water than usual (e.g., 1 cup rice to ¾ cup water). Stir in 1 tsp cornstarch or potato starch after cooking for instant stickiness.
Now you’ve got the secret to turning ordinary rice into perfectly sticky, sushi-worthy grains—no special equipment required! 🎉 Whether you’re whipping up homemade sushi, rice bowls, or just craving that satisfying chew, the right rice-to-water ratio and a little patience make all the difference. Don’t be afraid to experiment with soaking times or rice varieties to find your ideal texture.
Ready to put your new skills to the test? Grab a bag of short-grain rice and start practicing—your next meal could be your best one yet! 🍚✨

Trained in classic French technique but raised on slow-cooked ribs and spicy rubs, she blends culinary skill with smoke and soul.
- Recipe for Boneless Leg of Lamb Roast in the Oven: Herb-Crusted and Rosy Pink Inside - October 3, 2026
- Meat Loaf Recipe With Beef And Pork: Homestyle Blend With Rich Gravy - October 3, 2026
- Hamburger Patty Recipe No Egg: Juicy Bind With Breadcrumbs and Milk - October 3, 2026