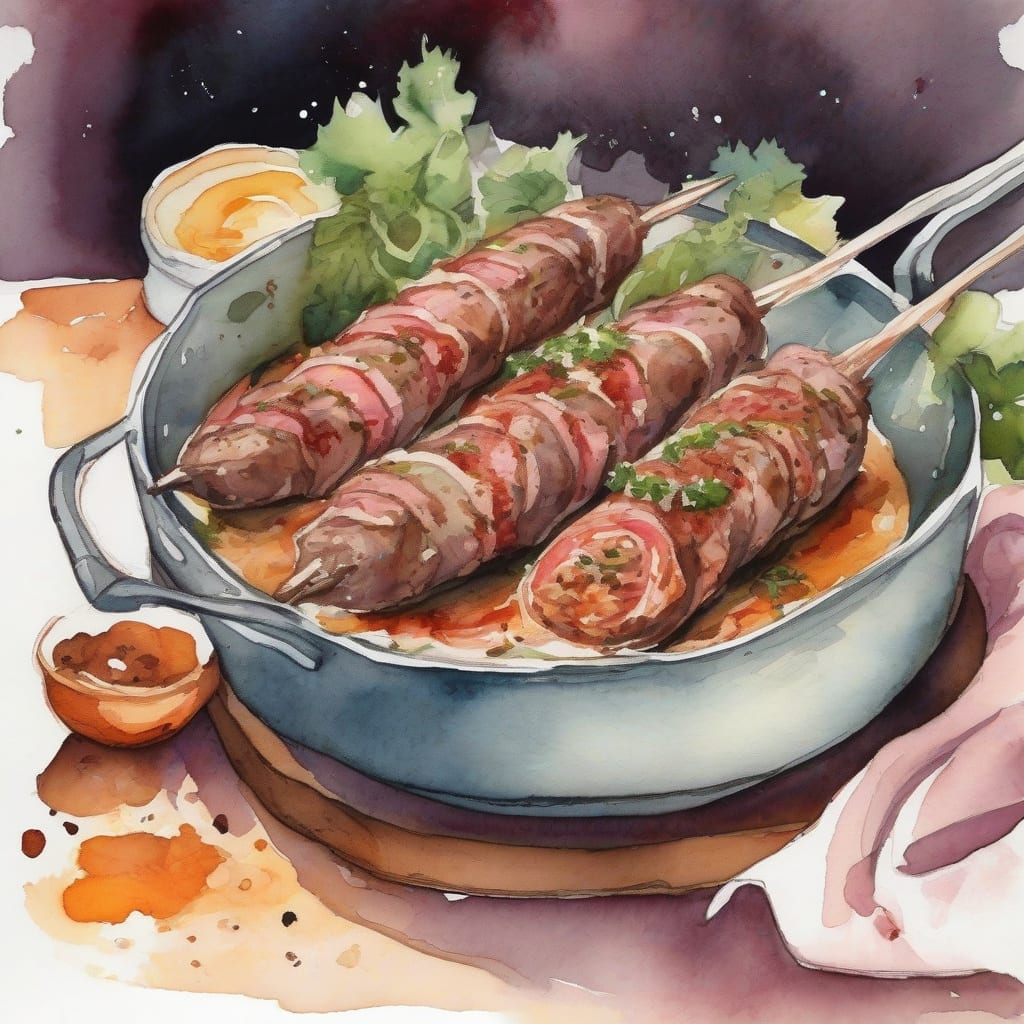
I’ve perfected a kafta recipe that delivers juicy, flavorful Middle Eastern-style skewers right from your oven. ✨ The secret lies in the mixture of ground meat, aromatic spices, and careful handling to prevent dryness.
To achieve that authentic kafta taste, we’ll blend ground meat with onions, parsley, and a blend of spices. The key is not to overmix, keeping the meat tender and juicy.
By baking these skewers in the oven, we achieve perfectly cooked kafta with a nice char on the outside and tender meat within. Serve with your favorite sides, like tzatziki sauce or grilled vegetables, for a complete meal.
Let’s get started and bring the flavors of the Middle East to your dinner table!
Ingredients for kafta recipe oven
Here’s everything needed to make juicy kafta skewers in your oven at home easily.
| Ingredient | Amount | Notes |
|---|---|---|
| Ground Lamb 🥩 | 1 lb | Or mix of lamb and beef |
| Yellow Onion 🧅 | 1 whole | Finely chopped |
| Fresh Parsley 🌿 | ½ cup | Chopped, fresh |
| Garlic Cloves 🧄 | 3 cloves | Minced |
| Cumin 🌿 | 1 tsp | Ground, toasted for depth |
| Coriander 🌶️ | 1 tsp | Ground, freshly toasted |
| Paprika 🌶️ | ½ tsp | Sweet or smoked |
| Cayenne Pepper 🔥 | ¼ tsp | Optional, for heat |
| Salt 🧂 | 1 tsp | Kosher or sea salt |
| Black Pepper 🌶️ | ½ tsp | Freshly ground |
| Olive Oil 🫒 | 2 tbsp | For brushing skewers |
| Wooden Skewers 🌴 | 8 pieces | Soaked in water 30 minutes |
[recipe_ingredient_scaler]
You can find ground lamb at Middle Eastern markets or quality butcher shops. For the best flavor, choose a mix of lamb and beef if available. Use fresh parsley from the produce section and high-quality spices from Penzeys or bulk bins. Look for firm onions without sprouting.
If you can't find ground lamb, use all beef or a beef-pork mix as a substitute. Adjust the cayenne pepper based on your heat preference—start with less if you're unsure. Fresh parsley can be replaced with cilantro for a different flavor profile, though traditional kafta uses parsley.
Store raw kafta mixture in an airtight container in the refrigerator for up to 24 hours before shaping. Once shaped onto skewers, they can be frozen on a baking sheet and transferred to a freezer bag for up to 3 months. Brush with olive oil before baking frozen skewers.
Step-by-Step Instructions for Kafta Recipe Oven
I’ll guide you through making delicious Middle Eastern-style kafta in the oven, ensuring juicy results every time.
👨🍳 Step 1: Prepare the Kafta Mixture
In a large bowl, combine 1 lb ground lamb, finely chopped yellow onion, chopped fresh parsley, minced garlic cloves, 1 tsp cumin, 1 tsp coriander, 0.5 tsp paprika, 0.25 tsp cayenne pepper (if using), 1 tsp salt, and 0.5 tsp black pepper. I like to use my hands to mix everything together until just combined—be careful not to overmix, as this can make the kafta dense.
Mixing with your hands allows you to feel when the ingredients are evenly distributed. Make sure to break up any clumps of spices or herbs so they’re evenly dispersed throughout the meat. The mixture should be cohesive but still retain some texture.
🥘 Step 2: Shape and Thread the Kafta
Divide the kafta mixture into 8 equal portions and shape each into a small log. Thread each log onto a soaked wooden skewer, pressing the meat firmly onto the skewer to ensure good contact. I like to leave a small space between each kafta piece to allow for even cooking.
Brush the kafta with 2 tbsp olive oil to prevent sticking and promote browning. Make sure the skewers are coated evenly—the oil will help create that beautiful golden-brown exterior while keeping the inside juicy.
🔥 Step 3: Bake the Kafta in the Oven
Preheat your oven to 425°F (220°C) with a baking sheet lined with parchment paper or aluminum foil for easy cleanup. Place the skewers on the prepared baking sheet, leaving some space between them for air circulation.
Bake for 12-15 minutes, turning the skewers halfway through, until the kafta is golden brown on the outside and cooked through. You’ll know it’s done when the internal temperature reaches 160°F (71°C) and the meat is firm to the touch. If you prefer a bit of char, broil for an additional 1-2 minutes after baking—watch closely to prevent burning.
⏰ Step 4: Rest and Serve
Remove the kafta from the oven and let it rest on the skewers for 5 minutes. This resting period allows the juices to redistribute, ensuring the kafta stays juicy. Serve hot with your favorite sides, such as grilled vegetables, rice, or pita bread.
Garnish with additional fresh parsley and a squeeze of lemon juice if desired. The kafta should be flavorful, with a nice balance of spices and a tender texture. Enjoy your delicious homemade kafta straight from the oven!
Now that you have your kafta mixture ready, it’s time to get it into the oven! 🍖️ To achieve that perfect Middle Eastern-style kafta, you’ll need to shape the mixture into skewers or logs, depending on your preference. If you’re using wooden skewers, make sure to soak them in water for at least 30 minutes before threading the kafta mixture onto them to prevent burning.
🔥 Preparing the Kafta for the Oven
Preheat your oven to 400°F (200°C). Line a baking sheet with aluminum foil or parchment paper, leaving enough space between each skewer for even cooking. You can also use a broiler pan if you have one. Place the shaped kafta on the prepared baking sheet or broiler pan.
⏰ Cooking Time and Temperature
Bake the kafta in the preheated oven for 15-20 minutes, or until it’s cooked through and slightly browned on the outside. You can check for doneness by cutting into one of the kafta; it should be juicy and not pink. If you’re using a meat thermometer, the internal temperature should reach 165°F (74°C). You can also broil the kafta for an additional 2-3 minutes to give it a nice char. Keep an eye on it to avoid burning.
💡 Pro tip: To enhance the flavor, you can brush the kafta with a little olive oil or melted butter before baking. This will also help keep it moist.
- Don’t overcrowd the baking sheet, as this can affect the cooking performance.
- If you prefer a crisper exterior, you can increase the oven temperature to broil (high) for the last few minutes.
By following these simple steps, you’ll be enjoying delicious, oven-baked kafta in no time! Serve it with your favorite sides, such as grilled vegetables, salad, or pita bread, and enjoy the flavors of the Middle East in the comfort of your own home.
Tips & Tricks for Perfect Kafta
To achieve juicy and flavorful kafta, follow these essential tips that make all the difference in this Middle Eastern-inspired dish.
Meat Preparation: In Step 1, when mixing the kafta mixture, be gentle to avoid compacting the meat too much. Overmixing can lead to dense, tough kafta. I like to use my hands to mix everything until just combined, ensuring all ingredients are evenly distributed without overworking the meat.
Skewer Management: When threading the kafta mixture onto skewers in Step 2, make sure to press the meat firmly onto the skewer. This helps the kafta cook evenly and prevents it from falling off during baking. Leaving a small space between each piece allows for proper air circulation, promoting that perfect golden-brown exterior.
Cooking Technique: In Step 3, baking at 425°F (220°C) helps achieve a nice char on the outside while keeping the inside juicy. Turning the skewers halfway through the baking time ensures even cooking. If you prefer a bit more char, broiling for an additional 1-2 minutes can enhance the color and texture, but watch closely to avoid burning.
Resting is Key: After baking, let the kafta rest on the skewers for 5 minutes as mentioned in Step 4. This resting period is crucial as it allows the juices to redistribute throughout the meat, ensuring the kafta remains juicy and flavorful when served.
Nutrition Facts
240kcal
[recipe_ingredient_scaler]

Trained in classic French technique but raised on slow-cooked ribs and spicy rubs, she blends culinary skill with smoke and soul.
- Recipe for Fried Prawns Batter: Ultra-Crispy Golden Shell - October 3, 2026
- Indian Lamb Curry Recipe Pressure Cooker: Fragrant Spices in a Fraction of the Time - October 3, 2026
- Recipe for Oven Roasted: Golden Crisp Perfection Without the Fryer - October 3, 2026