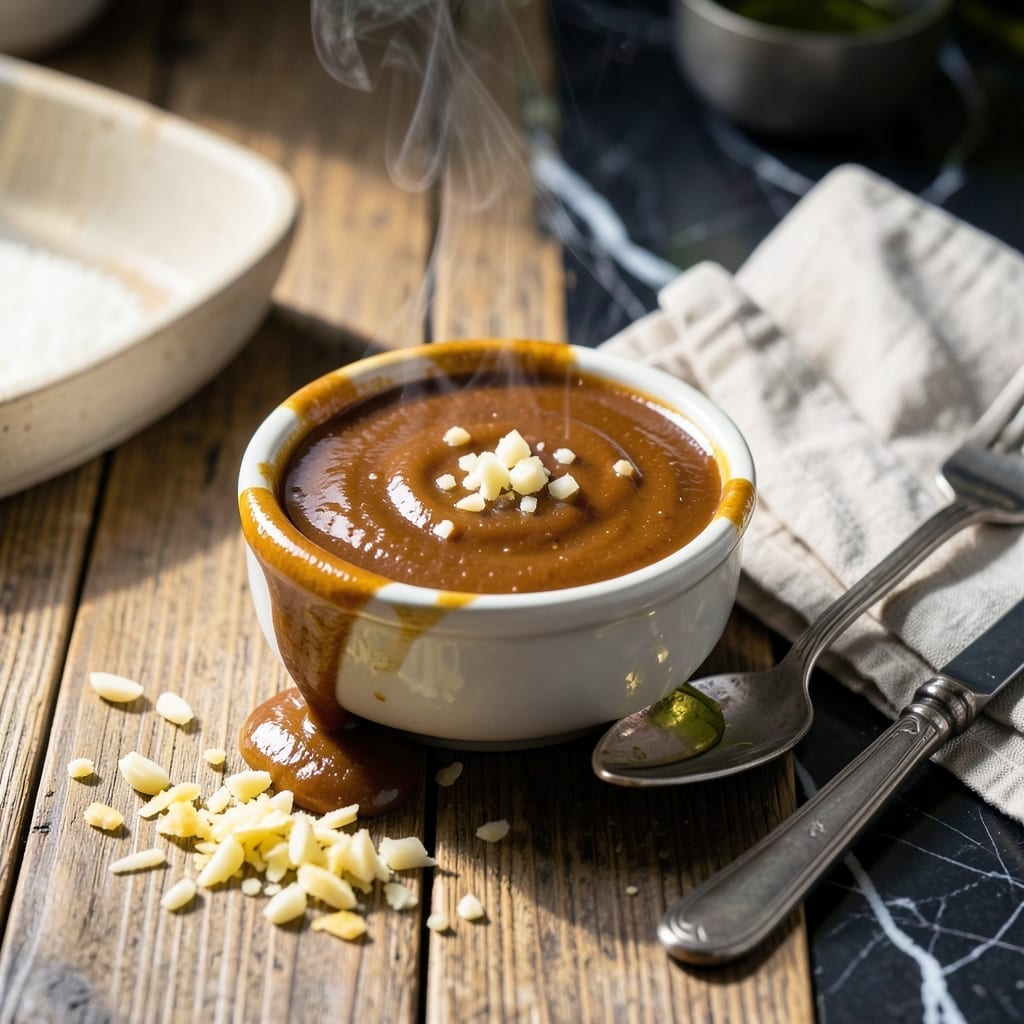
This umami-packed sauce transforms ordinary steaks into restaurant-quality masterpieces with minimal effort. The secret lies in a precise balance of sweet, salty, and savory elements that create depth of flavor in every bite.
I developed this version after testing countless combinations, focusing on simple ingredients that deliver complex results. The sauce comes together in under 10 minutes and keeps well for weeks in the refrigerator.
Use it as a finishing glaze for grilled meats, a marinade, or even a dipping sauce. Its versatility makes it a staple in any home cook’s repertoire.
The rich, glossy finish clings perfectly to food, adding a professional touch to your dishes without the restaurant price tag.
Ingredients for Kobe Sauce
Nine ingredients create this glossy, umami-rich sauce that elevates everything it touches.
| Ingredient | Amount | Notes |
|---|---|---|
| Soy Sauce 🥢 | ½ cup | Low-sodium preferred for balance |
| Worcestershire Sauce 🫒 | 2 tbsp | Anchovy-free if preferred |
| Brown Sugar 🍚 | ¼ cup | Light or dark works |
| Garlic Cloves 🧄 | 4 cloves | Minced finely for even flavor |
| Fresh Ginger 🌿 | 1 tbsp | Grated for smooth texture |
| Rice Vinegar 🍶 | 2 tbsp | Adds bright contrast |
| Sesame Oil 🫒 | 1 tsp | Toasted for nutty depth |
| Black Pepper 🌶️ | ½ tsp | Freshly ground for punch |
| Cornstarch 🌾 | 1 tsp | Slurry with water for thickening |
[recipe_ingredient_scaler]
The soy sauce is doing most of the heavy lifting here. Kikkoman or San-J are reliable brands—avoid those sad little packets. Brown sugar adds the sweet counterpoint to the salt; light brown keeps it mellow while dark gives a molasses note. Fresh ginger is non-negotiable (those jarred pastes work in a pinch). I always grab mine from the Asian market—fresher, cheaper, and you can pick your pieces.
No Worcestershire? Coconut aminos plus fish sauce gets you close. Fresh ginger out of stock? Ground ginger at a quarter the amount (but fresh is way better). The rice vinegar can be apple cider in a bind, though it’ll taste a hair sweeter. For extra shine, swap half the soy for oyster sauce—adds that sticky, caramelized depth.
This keeps for 3-4 weeks in the fridge in a sealed jar. The flavors actually deepen over time—taste after a week and you’ll see. Freezes for 6 months too, though I doubt it’ll last that long (it’s that good).
Why You’ll Love This Recipe
- 5-Minute Mix: I just dump everything in a saucepan and let it simmer—no fancy steps, just rich, savory goodness.
- Umami Bomb: The soy and Worcestershire blend with brown sugar for that sweet-salty depth I crave every time.
- Drizzle on Everything: Honestly, I’ve used it on steak, chicken, even veggies—it turns simple meals into something special.
- Stays Fresh: One batch lasts me a week in the fridge, so I’m never scrambling for flavor last-minute.
Step-by-Step Instructions for Kobe Sauce
Here’s the method. Straightforward, tested, works every time.
Step 1: Bloom Aromatics in Oil
Heat the 1 teaspoon sesame oil in a small saucepan over medium heat until it shimmers. Add the 4 cloves minced garlic and 1 tablespoon grated fresh ginger, stirring constantly for 30-45 seconds until fragrant and just beginning to turn light golden.
This quick bloom unlocks the full potential of the garlic and ginger, creating a flavor base that’s both pungent and warm. Watch carefully—you want to cook them just enough to soften their raw edge without letting them brown, which would make the sauce bitter.
Step 2: Build the Sauce Base
Pour in the ½ cup soy sauce, 2 tablespoons Worcestershire sauce, ¼ cup brown sugar, 2 tablespoons rice vinegar, and ½ teaspoon black pepper. Stir well to combine, then bring to a gentle simmer over medium heat.
As the mixture heats, the brown sugar will dissolve completely and the flavors will begin to meld. You’ll notice the sauce taking on a deeper color and more complex aroma as the ingredients marry together. This is the foundation of your umami-rich glaze.
Step 3: Thicken to Glaze Consistency
In a small bowl, mix the 1 teaspoon cornstarch with 1 tablespoon cold water until smooth. Once the sauce has simmered for 5 minutes, slowly pour in the cornstarch slurry while whisking constantly.
Continue to simmer for an additional 2-3 minutes, stirring frequently, until the sauce thickens enough to coat the back of a spoon. The perfect consistency should be glossy and slightly syrupy, not too thick or it won’t spread easily on your steaks.
Step 4: Cool and Finish
Remove the saucepan from heat and let the sauce cool to room temperature. As it cools, it will thicken slightly more and the flavors will continue to develop. This resting period is crucial—it allows the sauce to reach its full depth of flavor.
Give it a final stir before using. The finished sauce should have a beautiful balance of sweet, salty, and umami with just a hint of tang from the rice vinegar. It will keep in an airtight container in the refrigerator for up to 2 weeks.
Pro Tips For Making Kobe Sauce
- Simmer Low and Slow: Keep the heat on medium-low and let it reduce gently for 10-12 minutes—any higher and the brown sugar will scorch before the flavors meld.
- Grate the Ginger: Fresh ginger releases way more flavor when finely grated (I learned this the hard way with chunky slices that never dissolved).
- Bloom the Aromatics: Cook the minced garlic and ginger in a little oil for 30 seconds before adding liquids—this wakes up their flavor and prevents a raw bite.
- Skip the Substitutes: Worcestershire isn’t just for depth—it’s the backbone. I tried swapping it once, and the sauce tasted flat no matter what else I adjusted.
Troubleshooting Perfect Results
Sauce Too Thin
If your sauce isn’t thickening properly, the cornstarch slurry might have been added too early. Always let the base simmer for a full 5 minutes first. If still thin, mix ½ tsp cornstarch with 1 tsp cold water and whisk in while simmering for 2 more minutes. 💡
Sauce Too Thick
Over-thickened sauce can be saved by whisking in 1-2 tbsp hot water or low-sodium chicken broth until it reaches the desired consistency. Heat gently while stirring to maintain that glossy finish.
Burnt Garlic Flavor
Garlic burns easily in hot sesame oil. If you detect bitterness, start over with fresh ingredients and lower the heat to medium-low. The garlic should sizzle but never brown. Stir constantly for 30-45 seconds max.
Sauce Too Salty
Balance excess salt by adding 1 tbsp brown sugar or 1 tsp rice vinegar and simmering for 2-3 minutes. Taste and adjust gradually—you can always add more sweetness but can’t remove salt once it’s in.
Lumpy Texture
Prevent lumps by ensuring your cornstarch is fully dissolved in cold water before adding. If lumps form, strain the sauce through a fine-mesh sieve while warm. For future batches, whisk vigorously while pouring the slurry.
Flavor Too Flat
If your sauce lacks depth, bloom an additional 1 tbsp grated ginger with the garlic, or add 1 tsp fish sauce at the end. A pinch of red pepper flakes can also brighten the flavor profile. 🔥
Nutrition Facts
Frequently Asked Questions
Can I use honey instead of brown sugar?
Yes, honey works well as a substitute. Use 3 tablespoons for every ¼ cup of brown sugar. It will add a slightly floral note and make the sauce a bit thicker.
How long does homemade sauce last in the fridge?
Properly stored in an airtight container, it keeps for 2-3 weeks. The flavors deepen over time, so it often tastes even better after a few days.
What’s the best way to use this on steak?
Brush it on during the last 2-3 minutes of grilling, or drizzle over sliced steak just before serving. Avoid adding it too early, as the sugars can burn.
Can I make this sauce ahead of time?
In fact, making it 1-2 days ahead allows the flavors to meld beautifully. Just reheat gently on the stove before using.

Trained in classic French technique but raised on slow-cooked ribs and spicy rubs, she blends culinary skill with smoke and soul.
- Recipe For Fried Salmon Patties With Flour: Crispy Golden Crust With Flaky Centers - October 3, 2026
- Meat and Potato Recipe Ideas: Savory Pairings for Hearty Meals - October 3, 2026
- Recipe for Fried Prawns Batter: Ultra-Crispy Golden Shell - October 3, 2026