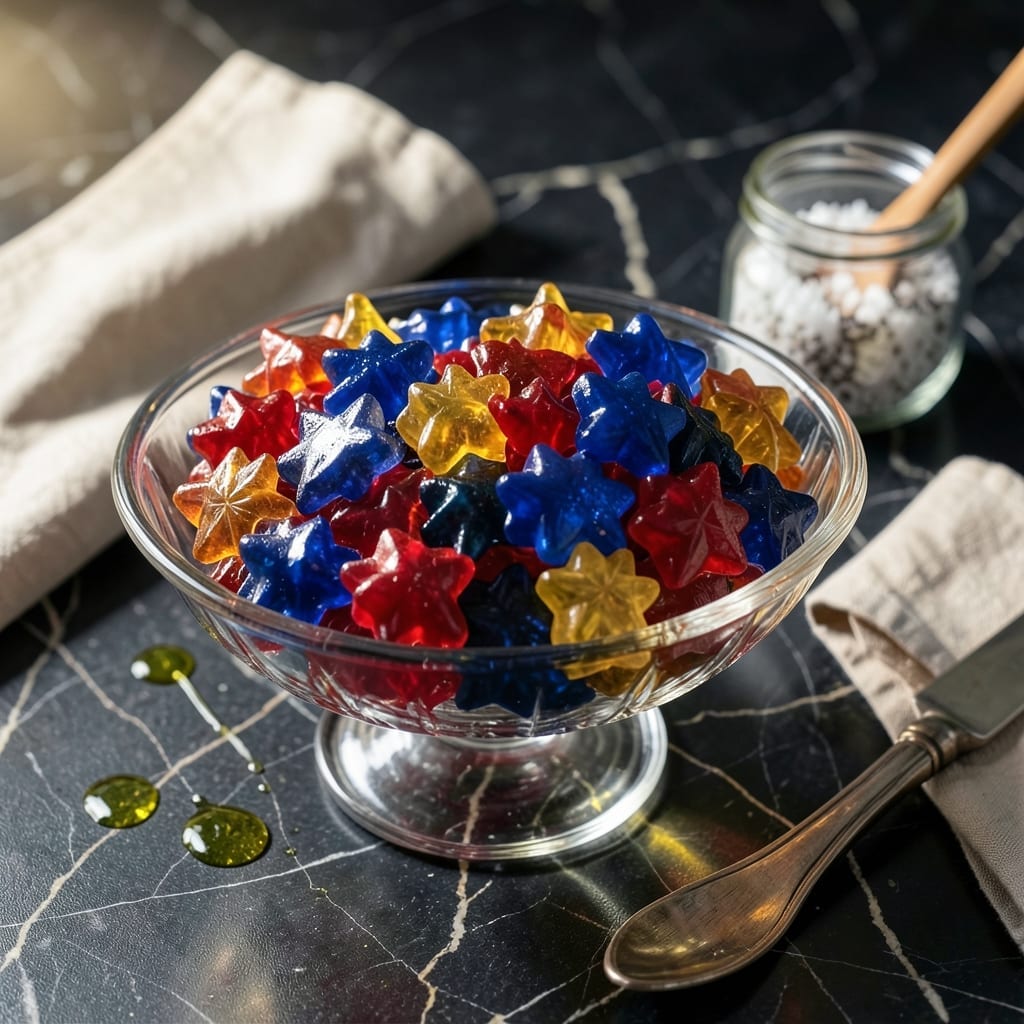
Making traditional konpeito candy at home is a rewarding process that yields those iconic sugar stars with their signature crunch. This Japanese confection requires patience and precision, but the results are worth every minute.
The technique involves layering sugar syrup over tiny seed crystals, building up the characteristic star shape through careful temperature control. Each layer hardens to create that satisfying crispy shell that gives konpeito its unique texture.
What emerges after days of layering is a collection of translucent, faceted candies that sparkle like tiny jewels. The slow process allows the sugar to crystallize perfectly, creating that signature crunch with every bite.
Perfect for gifting or special occasions, these sugar stars will impress anyone who tries them.
Ingredients for Konpeito Candy
These precise ingredients create translucent sugar stars with signature crunch through careful layering.
| Ingredient | Amount | Notes |
|---|---|---|
| Granulated Sugar 🍚 | 4 cups | Fine white sugar required |
| Water 💧 | 1 cup | Filtered for clarity |
| Corn Syrup 🧈 | ½ cup | Light corn syrup preferred |
| Sugar Seed Crystals ✨ | ¼ cup | Fine granulated for seeding |
| Cream of Tartar 🧂 | ½ tsp | Prevents crystallization issues |
| Food Coloring 🎨 | 1 tsp | Optional for colored stars |
| Vanilla Extract 🌿 | 1 tsp | Pure extract recommended |
| Lemon Juice 🍋 | 1 tbsp | Freshly squeezed preferred |
| Powdered Sugar 🍬 | ½ cup | For dusting finished candies |
| Parchment Paper 📄 | 1 sheet | For candy drying |
[recipe_ingredient_scaler]
The sugar quality is paramount for konpeito. Domino or C&H brand granulated sugar produces the clearest crystals. Corn syrup is essential—Karo light corn syrup is the professional standard. Avoid substitutions here; the ratio of sugar to corn syrup determines the candy’s structural integrity. Cream of tartar, found in the baking aisle of any supermarket, stabilizes the syrup during the prolonged cooking process.
No corn syrup? Glucose syrup or agave nectar at a 1:1 ratio can work in a pinch, though texture may vary slightly. Food coloring is optional but traditional—use gel-based for vibrant, consistent color. For flavoring, vanilla is classic, but citrus zest or rose water can add interesting dimensions. The seed crystals must be ultra-fine; pulse regular sugar in a blender if needed.
Store finished konpeito in an airtight container at room temperature. They keep for 2-3 weeks if properly dried. Humidity is the enemy—add a silica packet to the container for extra protection. The candies will soften slightly over time but retain their crunch if kept dry.
Why You’ll Love This Recipe
- Five-Ingredient Magic: I love that it only needs sugar, water, corn syrup, seed crystals, and cream of tartar—no fancy shopping.
- Sweet Little Gems: The tiny, crunchy sugar crystals melt in your mouth with just the right sweetness.
- Gift-Worthy Treats: I pack these in little bags for birthdays and holidays—they’re always a hit.
- Budget-Friendly Batch: A pound of sugar makes dozens, so I can treat the whole class without breaking the bank.
Step-by-Step Instructions for Konpeito Candy
Master this traditional Japanese technique for perfectly formed sugar stars with a satisfying crunch.
Step 1: Create the Sugar Syrup Base
In a heavy-bottomed saucepan, combine the 4 cups Granulated Sugar, 1 cup Water, and 0.5 cup Corn Syrup. The corn syrup is essential—it prevents premature crystallization and ensures a smooth texture.
Heat over medium-high heat until the mixture reaches 240°F on a candy thermometer, stirring only until the sugar dissolves. You’ll notice the syrup become clear and slightly viscous. Resist the urge to stir after this point, as it can cause sugar crystals to form on the pan sides.
Step 2: Stabilize and Flavor the Syrup
Once the syrup hits 240°F, add the 0.5 tsp Cream of Tartar, 1 tsp Food Coloring, 1 tsp Vanilla Extract, and 1 tbsp Lemon Juice. The cream of tartar works with the corn syrup to inhibit unwanted crystallization, while the lemon juice adds a subtle brightness.
Continue cooking without stirring until the temperature reaches 300°F. At this stage, the syrup will be thick and golden. Watch closely as it approaches this temperature—sugar burns easily. The mixture should form a hard ball when dropped into cold water.
Step 3: Seed and Shape the Candy
Remove the syrup from heat and let it cool slightly for 1-2 minutes. Add the 0.25 cup Sugar Seed Crystals and stir gently but thoroughly. The seed crystals initiate controlled crystallization, giving konpeito its signature sparkling appearance.
Working quickly, pour the mixture onto a surface lined with the 1 sheet Parchment Paper. Using a greased knife or bench scraper, shape the candy into a rough rectangle. Allow it to cool until it’s firm enough to handle but still slightly warm, about 10 minutes.
Step 4: Form the Stars
Once the candy is cool enough to touch but still pliable, cut it into small cubes or use star-shaped cutters for traditional konpeito shapes. The candy should hold its form but still have a slight give—this indicates it’s at the perfect stage for shaping.
Place the shaped candies back onto the parchment paper to cool completely. As they cool, they’ll develop their characteristic hard shell and glossy finish. This process takes about 30-40 minutes at room temperature.
Step 5: Finish and Store
Once completely cool and hardened, dust the candies lightly with the 0.5 cup Powdered Sugar. This prevents sticking and adds a delicate finish. Use a fine-mesh sieve for even distribution.
Store the konpeito in an airtight container at room temperature, with parchment paper between layers to prevent clumping. The candies will keep for up to 2 weeks, though they’re best enjoyed within the first few days when their crunch is at its peak.
Pro Tips For Making Konpeito Candy
- Use a Candy Thermometer: I learned this the hard way—guessing temps leads to burnt sugar or grainy candy. Aim for 300°F (hard crack stage) and don’t walk away.
- Prep Seed Crystals: Crush your sugar seed crystals slightly before adding them—this gives the konpeito its signature bumpy texture without clumping.
- Avoid Stirring Late: Resist the urge to stir once the sugar starts crystallizing on the pot’s sides. Stirring at this point can cause unwanted sugar crystals to form in the syrup.
- Add Cream of Tartar Early: Mix the cream of tartar into the water and sugar at the very start—it prevents sugar crystallization in the syrup and saves you from redoing the batch.
Pro Cooking Tips for Perfect Results
Precision Temperature Control
Use a candy thermometer calibrated to 1°F accuracy—I trust Taylor or ThermoWorks brands. The difference between 295°F and 305°F can mean perfect crystals or burnt sugar. Clip it to the pan side to avoid touching the bottom. 🌡️
Seed Crystal Technique
The 0.25 cup Sugar Seed Crystals must be ultra-fine for even coating. Pulse regular sugar in a clean coffee grinder for 10-15 seconds. Stir seeds gently but thoroughly—uneven distribution creates lopsided stars. I use a silicone spatula for this step.
Humidity Management
Work in a low-humidity environment (below 50% RH). Run a dehumidifier if needed, as moisture causes sugar to weep. Keep a small fan nearby to circulate air during drying. This prevents cloudy candies and ensures that signature sparkle.
Shape Consistency
For traditional stars, use stainless steel star cutters (about ½ inch wide). Dip cutters in cornstarch between uses to prevent sticking. Press straight down—no twisting—to maintain clean edges. I find Ateco brand cutters most precise.
Cooling Strategy
Cool shaped candies on parchment at room temperature for 30-40 minutes. Avoid refrigeration, as rapid cooling creates internal stress cracks. Rotate trays halfway through for even air circulation. The candies are done when completely opaque and hard to the touch. 💡
Final Crunch Test
Tap a cooled candy on a hard surface—it should make a sharp ping sound. If it thuds, continue drying. Store with silica packets in airtight containers. I check mine after 24 hours to confirm the crunch is perfect.
Nutrition Facts
Frequently Asked Questions
How long does it take to make konpeito?
The active cooking and shaping takes about 1 hour, but cooling and hardening requires 30-40 minutes at room temperature. Don’t rush this step for the best crunch.
Why did my candies turn cloudy?
Cloudiness usually means humidity interfered with crystallization. Work in a dry environment below 50% RH and use a fan for airflow.
Can I make these without corn syrup?
Glucose syrup or agave nectar can substitute at a 1:1 ratio, but texture may vary slightly. Corn syrup gives the most reliable results.
How do I know when they’re fully hardened?
Tap a cooled candy on a hard surface—it should make a sharp ping sound. If it thuds, they need more drying time.

Trained in classic French technique but raised on slow-cooked ribs and spicy rubs, she blends culinary skill with smoke and soul.
- Meatball Curry Recipe Kerala Style: Coconut-Spiced Gravy With Tender Bites - October 3, 2026
- Recipe for Curried Tofu: Aromatic Spices With Crispy Edges - October 3, 2026
- Recipe for Dumplings in Crock Pot: Fluffy Pillows with Minimal Effort - October 3, 2026