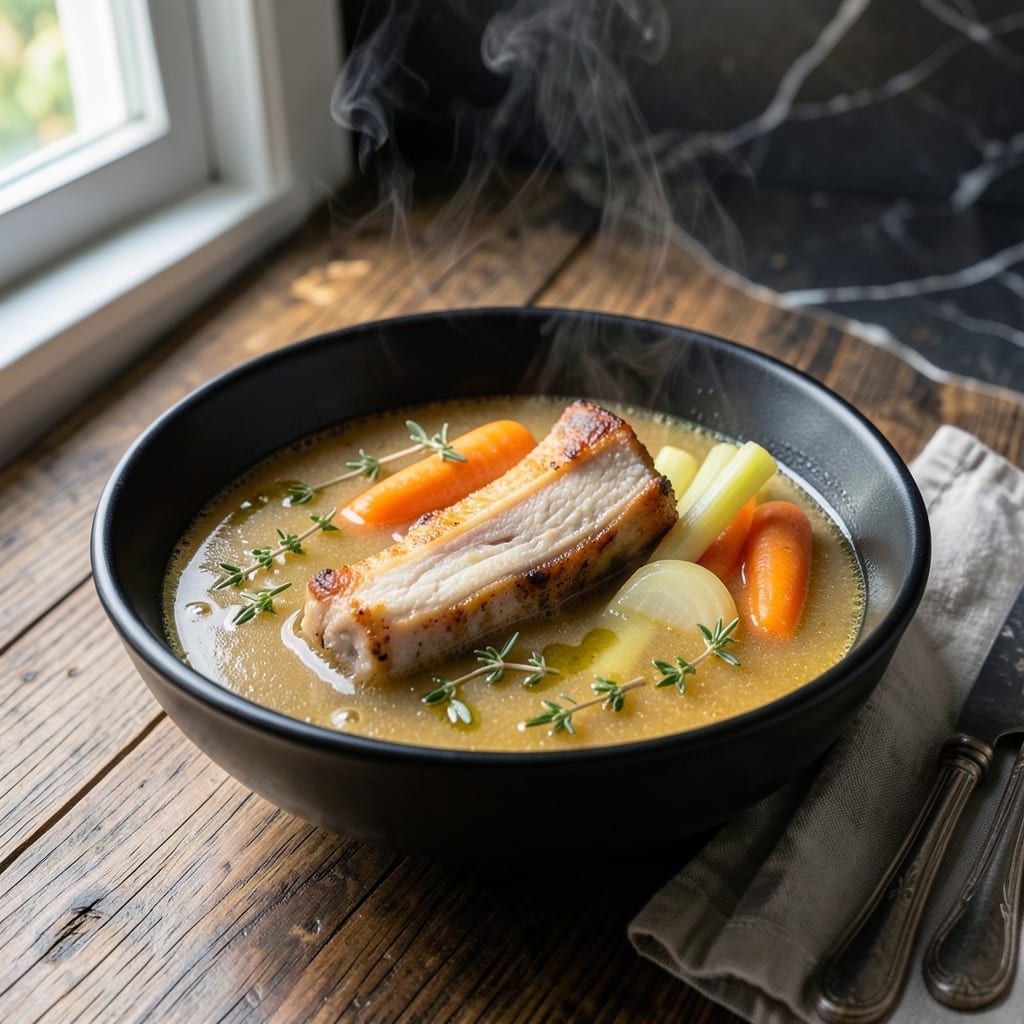
This rich broth transforms humble bones into liquid gold through slow simmering. It’s the foundation of countless recipes, delivering depth and nutrition in every sip.
I’ve perfected this method over years, ensuring maximum flavor extraction and a velvety finish. The result is a nourishing staple worth the patience.
Ingredients for Marrow Bone Broth
Transform humble bones into velvety liquid gold with these thoughtfully selected ingredients.
| Ingredient | Amount | Notes |
|---|---|---|
| Beef Marrow Bones 🍖 | 2 lb | Grass-fed, split for marrow exposure |
| Yellow Onions 🧅 | 2 whole | Quartered, skins on for color |
| Carrots 🥕 | 3 whole | Roughly chopped into large pieces |
| Celery Stalks 🌿 | 3 whole | Cut into thick chunks with leaves |
| Garlic Cloves 🧄 | 6 cloves | Smashed, unpeeled for roasting flavor |
| Fresh Thyme Sprigs 🍃 | 4 whole | Tied with kitchen twine for easy removal |
| Fresh Parsley Stems 🌿 | 1 bunch | Reserve leaves for garnish |
| Bay Leaves 🍃 | 2 whole | Dried, whole leaves |
| Black Peppercorns 🌶️ | 1 tbsp | Whole, lightly crushed |
| Apple Cider Vinegar 🍏 | 2 tbsp | Raw, unfiltered preferred |
| Cold Water 💧 | 4 cups | Filtered, enough to cover bones |
| Kosher Salt 🧂 | 1 tsp | Diamond Crystal preferred for consistency |
[recipe_ingredient_scaler]
The marrow bones are non-negotiable for rich, gelatinous broth. Source grass-fed beef bones from a trusted butcher like Whole Foods or a local farm—look for bones with visible marrow and some connective tissue. Ask for them pre-split (the butcher can do this) to expose the marrow, which infuses the broth with unmatched depth. Avoid pre-cut soup bones, as they often lack sufficient marrow content.
No fresh thyme? Dried thyme at one-third the amount works, though fresh delivers superior aroma. If you skip the apple cider vinegar, add lemon juice or white wine vinegar—the acidity helps extract minerals from the bones. Out of parsley? Celery leaves add a similar bright note. For vegetable substitutions, leeks or fennel complement the flavor profile beautifully.
Broth improves with time—3-4 days in the fridge lets flavors meld further. Freeze in silicone molds for 6-12 months (portion into 1-cup blocks for easy use). Skim and discard any fat that solidifies on top after chilling. Always store in airtight containers to prevent absorption of fridge odors.
Why You’ll Love This Recipe
- Set It & Forget: Honestly, just toss the bones, onions, carrots, celery and garlic in a pot and let the slow simmer do all the work.
- Rich & Deep: That marrow melts into the broth, creating a flavor so velvety and complex it beats any store-bought stock I’ve tried.
- Meal Prep MVP: I make a big batch on Sunday—perfect for soups, risottos, or just sipping all week.
- Pennywise Power: Beef marrow bones are cheap, and this turns them into liquid gold. One pot, endless uses.
Step-by-Step Instructions for Marrow Bone Broth
Master this technique for a deeply flavorful, nutrient-dense broth with perfect clarity and body.
Step 1: Roast the Bones and Vegetables
Preheat your oven to 400°F. Arrange the 2 lb Beef Marrow Bones on a baking sheet and roast for 20-25 minutes until deeply browned. This caramelization develops rich, meaty flavors that define a superior broth.
Meanwhile, place the 2 whole Yellow Onions, 3 whole Carrots, 3 whole Celery Stalks, and 6 cloves Garlic Cloves on a separate tray. Roast alongside the bones for the final 15 minutes, turning once, until the vegetables are charred in spots. The skins on the onions will contribute a beautiful amber hue to your finished broth.
Step 2: Prepare the Aromatics and Deglaze
Transfer the roasted bones and vegetables to a large stockpot. Add the 4 whole Fresh Thyme Sprigs, 1 bunch Fresh Parsley Stems, 2 whole Bay Leaves, and 1 tbsp Black Peppercorns (lightly crushed). These aromatics will infuse the broth with layered complexity.
Return the baking sheet to the stove over medium heat. Pour in 2 tbsp Apple Cider Vinegar and scrape up all the browned bits with a wooden spoon. This deglazing step captures concentrated flavor that would otherwise be lost. Transfer this liquid to the stockpot.
Step 3: Simmer Gently for Maximum Extraction
Pour in the 4 cups Cold Water and 1 tsp Kosher Salt. The cold start helps draw impurities from the bones to the surface for easy skimming. Bring to a boil, then immediately reduce to a low simmer—you should see only occasional bubbles breaking the surface.
Partially cover and maintain this gentle simmer for 12-24 hours. Skim off any foam or fat that rises to the top during the first hour. The long cooking time extracts gelatin, collagen, and minerals from the bones, creating a rich, velvety texture.
You’ll know it’s ready when the liquid has reduced by about a third and the bones appear stripped of their marrow. The broth should coat the back of a spoon with a slightly viscous consistency.
Step 4: Strain and Finish
Carefully strain the broth through a fine-mesh sieve into a clean pot, discarding all solids. Press gently on the vegetables to extract all their goodness, but avoid squeezing the bones as this can make the broth cloudy.
Let the broth settle for 10 minutes, then skim off any remaining fat from the surface. For the clearest result, you can chill the broth and remove the solidified fat cap after refrigeration. Taste and adjust the seasoning if needed, though the flavor will intensify as it cools.
Pro Tips For Making Marrow Bone Broth
- Roast Bones First: I learned this the hard way—raw marrow bones make a flat broth. Toss them in a 400°F oven for 20-30 minutes until deeply browned to unlock rich, meaty depth.
- Skim the Foam: The first 30 minutes of simmering will throw up a gray foam—skim it off religiously with a fine mesh strainer or your broth will taste bitter.
- Use Cold Water: Start your bones in cold water, then bring to a gentle simmer. Hot water shocks the bones and can make the broth cloudy—I was skeptical until I tried it.
- Add Vinegar: Sounds weird, but it works: splash in 2 tablespoons of apple cider vinegar to help draw out the minerals from the bones for a more nutritious stock.
Make-Ahead Tips for This Recipe
Batch Prep Strategy
I always make double batches of this broth—it takes the same effort as one. Use a 12-quart stockpot or split between two pots. The yield from 4 lb bones gives enough for soups, risottos, and sauces all week. Honestly, I freeze some immediately. 💡
Fridge Storage
Once cooled, store in glass jars or airtight containers in the fridge for up to 5 days. The fat will solidify on top—skim it off before using. I love using Ball Mason jars for easy portioning.
Freezer Method
For longer storage, freeze in silicone ice cube trays first, then transfer to freezer bags. Each cube is about 1 oz—perfect for deglazing pans or quick sauces. Label with the date; it keeps for 6-12 months. ❄️
Reheating Tips
Thaw overnight in the fridge or use the microwave’s defrost setting. Reheat gently on the stove over low heat to preserve the gelatinous texture. Avoid boiling, which can break down the collagen.
Flavor Boost
If using frozen broth, add a splash of apple cider vinegar or a bay leaf while reheating to refresh the flavors. I often toss in a parsley stem for brightness.
Nutrition Facts
Frequently Asked Questions
Do I need to blanch the bones first?
Blanching is optional but recommended for clearer broth. Simmer bones in boiling water for 10 minutes, then rinse. This removes impurities that can cloud your final product. Skipping this step works but may require more skimming.
Why is my broth not gelatinous?
Gelatin comes from collagen in joints and connective tissue. Use bones with plenty of both, like knuckles or feet. A longer simmer of 24 hours also helps extract more gelatin. If it’s still thin, try adding chicken feet next time.
Can I use a slow cooker instead?
Yes! Set to low heat for 12-24 hours. Avoid high heat as it can break down collagen too quickly. Fill no more than two-thirds full to prevent spills. The flavor will be slightly less concentrated than stovetop.

Trained in classic French technique but raised on slow-cooked ribs and spicy rubs, she blends culinary skill with smoke and soul.
- Indian Lamb Curry Recipe Pressure Cooker: Fragrant Spices in a Fraction of the Time - October 3, 2026
- Recipe for Oven Roasted: Golden Crisp Perfection Without the Fryer - October 3, 2026
- Recipe for Fried Pork Chops With Flour: Crispy Crust and Juicy Centers - October 3, 2026