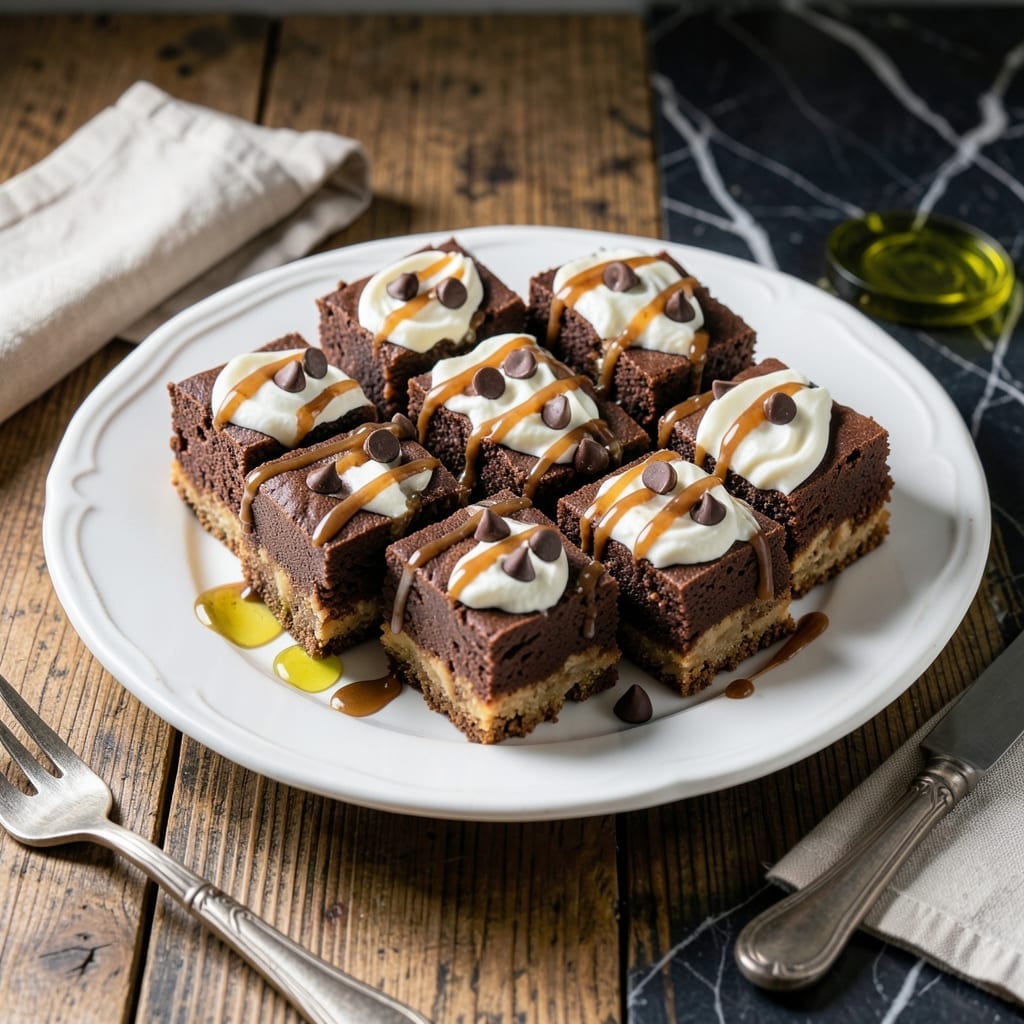
This fudge brings back memories of my grandma’s kitchen, where the scent of melting chocolate meant something magical was happening. No fancy techniques—just simple ingredients and a little patience.
What you get is a rich, decadent treat that melts in your mouth, with peanut butter and marshmallow cream adding layers of flavor. It’s the kind of old-fashioned sweet that never goes out of style.
Ingredients for Old Fashioned Chocolate Peanut Butter Fudge Recipe with Marshmallow Cream
Simple, nostalgic ingredients for a timeless fudge everyone will love.
| Ingredient | Amount | Notes |
|---|---|---|
| Semi-Sweet Chocolate Chips 🍫 | 2 cups | High quality for best melt |
| Granulated Sugar 🍚 | 2 cups | Fine grain for smooth texture |
| Peanut Butter 🥜 | 1 cup | Creamy, no added sugar |
| Marshmallow Cream 🍬 | 1 jar | 7 oz jar, room temperature |
| Unsalted Butter 🧈 | ½ cup | Cut into small cubes |
| Evaporated Milk 🥛 | 1 can | 12 oz can, undiluted |
| Vanilla Extract 🌿 | 2 tsp | Pure extract for best flavor |
| Salt 🧂 | ¼ tsp | Fine sea salt preferred |
| Chopped Walnuts 🌰 | 1 cup | Optional, for texture |
[recipe_ingredient_scaler]
The chocolate is key here. Ghirardelli or Guittard chips melt smoothly and taste rich. For the peanut butter, Jif Natural or Skippy Creamy work perfectly—avoid the ‘natural’ separated kind unless you stir it really well first. Marshmallow cream is usually sold as Marshmallow Fluff at most grocery stores. Kroger and Walmart both carry it in the baking aisle. If you’re making this for a crowd, grab two jars.
No evaporated milk? Heavy cream at half the amount works in a pinch, but the texture will be slightly different. Out of peanut butter? Almond butter makes a fine substitute, though the flavor will shift. For a nut-free version, skip the walnuts or swap in dried cranberries. The vanilla can be imitation if that’s what you have, but pure extract tastes noticeably better.
Store fudge in an airtight container at room temp for up to 10 days. For longer storage, freeze for 3 months (thaw at room temp before serving). It sets best when left undisturbed overnight—if you can wait that long (I never can).
Why You’ll Love This Recipe
- I’ll be real: it’s even better the next day. A batch lasts me a week in the fridge, if I can resist sneaking pieces after dinner.
- One Pot Wonder: I melt everything together in a single saucepan—chocolate chips, butter, and marshmallow cream—then stir in peanut butter. No fancy equipment, just a spoon and 10 minutes.
- Melt-In-Your-Mouth Good: The combo of rich semi-sweet chocolate and creamy peanut butter with that fluffy marshmallow swirl? Honestly, it’s like the best parts of a candy bar and a cookie had a baby.
- Gift in a Snap: I wrap squares in parchment, tie with ribbon, and boom—instant teacher gifts or potluck contributions. Between us, people beg for the recipe.
Step-by-Step Instructions for Old Fashioned Chocolate Peanut Butter Fudge With Marshmallow Cream
Here’s the method I rely on for smooth, creamy fudge with that melt-in-your-mouth texture.
Step 1: Combine and Boil the Sugar Mixture
In a heavy-bottomed saucepan, combine the 2 cups Granulated Sugar, 1 can Evaporated Milk, and 0.5 cup Unsalted Butter cut into small cubes. Place over medium heat and stir constantly until the butter melts completely and the sugar dissolves.
Once boiling, stop stirring and let the mixture reach a full rolling boil. Continue cooking until it hits 234-238°F on a candy thermometer (soft-ball stage). This takes about 8-10 minutes, and you’ll notice the mixture thicken slightly and turn a light caramel color.
Step 2: Incorporate the Chocolate and Marshmallow Cream
Remove the saucepan from heat immediately. Working quickly, add the 2 cups Semi-Sweet Chocolate Chips and 1 jar Marshmallow Cream. Use a wooden spoon to stir vigorously until the chocolate melts completely and the mixture becomes smooth and glossy.
The marshmallow cream will make the mixture thick and slightly sticky—that’s exactly what you want. If any chocolate chunks remain, return the pan to very low heat for 10-15 seconds, then stir again until fully melted.
Step 3: Add Flavorings and Peanut Butter
Stir in the 1 cup Peanut Butter, 2 tsp Vanilla Extract, and 0.25 tsp Salt. The peanut butter should incorporate smoothly, creating a rich, nutty base. I always use creamy peanut butter here for the best texture.
At this point, the fudge mixture will be thick, shiny, and pulling away slightly from the sides of the pan. This is your cue that it’s ready for the next step. Be sure to scrape the sides and bottom of the pan to incorporate all the flavor.
Step 4: Fold in Nuts and Set the Fudge
If using, stir in the 1 cup Chopped Walnuts until evenly distributed. The nuts add a delightful crunch and contrast to the creamy fudge. Pour the mixture immediately into a greased 8×8-inch or 9×9-inch baking dish.
Use a spatula to smooth the top, pressing gently to ensure the fudge settles evenly. Let it cool at room temperature for 1 hour before covering and refrigerating for at least 2 hours or until completely set. The fudge is ready when it holds its shape when cut into squares.
Pro Tips For Making Old Fashioned Chocolate Peanut Butter Fudge Recipe With Marshmallow Cream
- Boil to 234°F: Use a candy thermometer and pull the sugar mixture off the heat at exactly 234°F—any higher and your fudge will turn grainy. I learned this the hard way after ruining two batches with guesswork.
- Soften the Cream: Let the marshmallow cream sit at room temperature for 15-20 minutes before mixing—it blends smoother into the chocolate and peanut butter without leaving stubborn lumps.
- Skip the Cheap Chips: Splurge on high-quality semi-sweet chocolate chips; the cheap ones have waxy coatings that make the fudge taste chalky instead of rich. Sounds weird, but it works.
- Butter the Pan First: Grease your 8×8 pan with a thin layer of unsalted butter before pouring in the fudge—it makes cutting clean squares later a breeze and prevents sticking. My grandmother swore by this, and she was right.
Storing and Reheating This Dish
Room Temperature Storage
Once completely set, cut your fudge into squares and store in an airtight container at room temperature. It stays fresh for up to 10 days, though I’ve never had a batch last that long. Separate layers with parchment paper to prevent sticking.
Refrigerator Storage
For longer freshness, refrigerate in an airtight container where it will keep for up to 2 weeks. Let it sit at room temperature for 15-20 minutes before serving to restore that perfect melt-in-your-mouth texture. 💡
Freezing for Later
Fudge freezes beautifully for up to 3 months. Wrap individual pieces tightly in plastic wrap, then place in a freezer bag. Thaw overnight in the fridge or at room temperature for 1-2 hours before enjoying.
Reheating Tips
While fudge is typically served at room temperature, a quick 5-10 second microwave burst can make it extra gooey. Avoid over-heating, as it can cause the peanut butter to separate. Just enough warmth brings back that fresh-made feel.
Packaging for Gifts
For gifting, line a tin with parchment paper and layer fudge between sheets. Store in a cool, dry place until ready to give. It’s a sweet treat that travels well and always impresses. 💛
Nutrition Facts
Frequently Asked Questions
Can I use crunchy peanut butter instead of creamy?
Yes, but it will change the texture slightly. Crunchy peanut butter adds extra nutty bits, which some people love. For a smoother fudge, stick with creamy.
Why does my fudge turn out grainy?
Graininess usually means the sugar crystallized. Stirring during boiling or not reaching 234-238°F can cause this. Use a candy thermometer and avoid stirring once boiling starts.
Can I make this without a candy thermometer?
Yes, use the cold water test. Drop a bit of syrup into cold water—if it forms a soft ball, it’s ready. This takes practice but works in a pinch.
How do I cut clean squares?
Let it fully set in the fridge for at least 2 hours. Use a sharp knife dipped in hot water for clean cuts. Wipe the knife between slices.

Trained in classic French technique but raised on slow-cooked ribs and spicy rubs, she blends culinary skill with smoke and soul.
- Recipe for Curried Lamb Chops: Spice-Rubbed and Pan-Seared to Succulence - October 3, 2026
- Recipe for Boneless Leg of Lamb Roast in the Oven: Herb-Crusted and Rosy Pink Inside - October 3, 2026
- Meat Loaf Recipe With Beef And Pork: Homestyle Blend With Rich Gravy - October 3, 2026