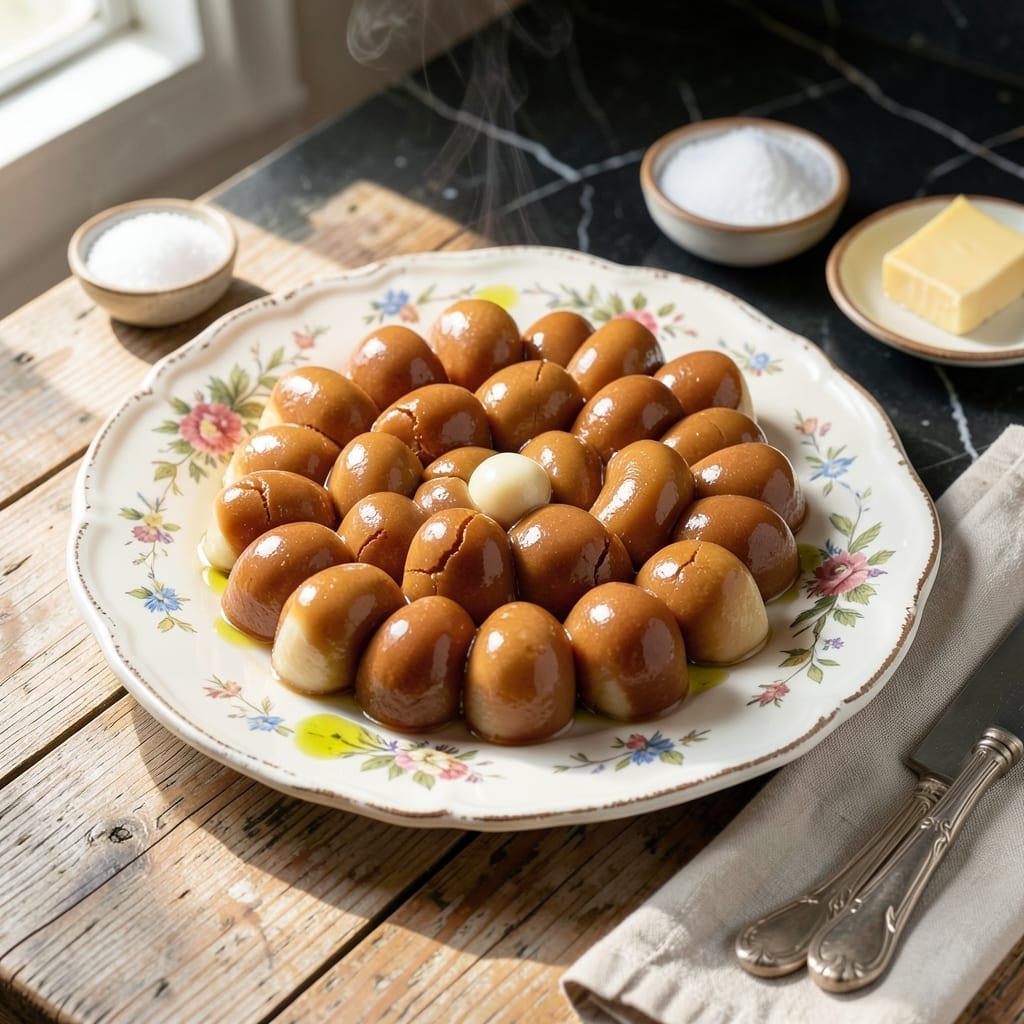
These vintage candies bring back memories of my grandma’s kitchen counter. Simple ingredients transform into creamy vanilla centers with a delicate bite.
I’ve perfected the texture so they melt just right, with that nostalgic flavor we all love. Perfect for sharing or sneaking a few for yourself.
Ingredients for Old Fashioned Creme Drops
Sweet, creamy, and nostalgic. Just like grandma used to make with love.
| Ingredient | Amount | Notes |
|---|---|---|
| Granulated Sugar 🍚 | 2 cups | Fine white sugar preferred |
| Light Corn Syrup 🧈 | ½ cup | Karo brand recommended |
| Water 💧 | ¼ cup | Filtered for clarity |
| Vanilla Extract 🌿 | 2 tsp | Pure vanilla for best flavor |
| Salt 🧂 | ¼ tsp | Fine table salt |
| Butter 🧈 | 2 tbsp | Unsalted, room temperature |
| Powdered Sugar 🍚 | 1 cup | For dusting centers |
| Heavy Cream 🥛 | ¼ cup | Full-fat for creaminess |
| All-Purpose Flour 🌾 | ½ cup | For thickening if needed |
| Coconut Flakes 🥥 | ½ cup | Unsweetened, for coating |
[recipe_ingredient_scaler]
The vanilla is everything here. Splurge on Nielsen-Massey or Rodelle—it’s the difference between good and grandma-level incredible. Corn syrup might seem old-school, but Karo is what gives these that signature chew. I’ve tried honey and agave, but they just don’t nail the texture. Powdered sugar should be fresh (check the expiration date), or your centers won’t look as pristine.
No corn syrup? Golden syrup or agave at a 1:1 ratio works, but expect a slightly different chew. Butter can be swapped for margarine if needed, but the flavor won’t be as rich. Short on vanilla? Vanilla bean paste adds beautiful specks and deeper flavor. The coconut flakes are optional—crushed nuts or sprinkles work too for rolling.
These keep beautifully in an airtight container at room temperature for 10-14 days. If it’s humid out, add a silica packet to prevent sticking. They also freeze well for up to 3 months—just thaw before serving.
Why You’ll Love This Recipe
- One-Pot Wonder: I love that this comes together in a single saucepan—just sugar, corn syrup, and a splash of vanilla.
- Pure Vanilla Bliss: That rich vanilla extract shines through with every bite, balancing the sweetness perfectly.
- Holiday Staple: These drops disappear fast at cookie swaps, and they’re just as good with coffee on a Tuesday morning.
- Budget-Friendly Batch: A handful of pantry staples makes dozens of candies, so I can treat the whole block without breaking the bank.
Step-by-Step Instructions for Old Fashioned Creme Drops
This classic method delivers those nostalgic vanilla centers with the perfect balance of chew and melt.
Step 1: Cook the Sugar Syrup Base
In a heavy saucepan, combine the 2 cups Granulated Sugar, 0.5 cup Light Corn Syrup, 0.25 cup Water, and 0.25 tsp Salt. Stir over medium heat until the sugar dissolves completely—this takes about 3-4 minutes.
Once boiling, stop stirring and let it cook undisturbed until it reaches 240°F on a candy thermometer. You’ll notice the syrup thickens and becomes slightly translucent. Resist the urge to stir; this prevents sugar crystals from forming on the sides of the pan.
Step 2: Incorporate Cream and Butter
Remove the pan from heat and carefully stir in the 0.25 cup Heavy Cream—it will bubble vigorously, so add it slowly. Return the pan to low heat and add the 2 tbsp Butter, stirring until melted and fully combined.
The mixture will look smooth and glossy. Let it cool for 5 minutes until it stops bubbling and thickens slightly. This cooling period is crucial—it prevents the vanilla from evaporating when added next.
Step 3: Add Vanilla and Prepare Centers
Stir in the 2 tsp Vanilla Extract until fully incorporated. The mixture should smell rich and vanilla-forward. Now, gradually beat in the 1 cup Powdered Sugar until smooth. If the mixture seems too thin, you can add up to 0.5 cup All-Purpose Flour, 1 tablespoon at a time, until it reaches a thick, dough-like consistency.
Let the mixture cool at room temperature for 15-20 minutes, stirring occasionally. It should be cool enough to handle but still pliable.
Step 4: Shape the Creme Centers
Once cooled, use a teaspoon or small cookie scoop to portion the mixture into 1-inch balls. Roll each portion between your palms to create smooth, round centers. If the mixture sticks to your hands, lightly dust them with a bit of the Powdered Sugar.
Place the centers on a parchment-lined baking sheet. You should have about 24-30 pieces. Let them sit at room temperature for 1 hour to set slightly, but don’t let them dry out completely.
Step 5: Coat with Coconut Flakes
Roll each creme center in the 0.5 cup Coconut Flakes, pressing gently to ensure the flakes adhere evenly. The coconut adds a subtle texture and visual appeal that’s classic for this treat.
Let the finished creme drops set at room temperature for 2 hours or until firm. Store them in an airtight container at room temperature for up to 1 week. The centers will soften slightly over time, creating that signature melt-in-your-mouth experience.
Pro Tips For Making Old Fashioned Creme Drops
- Use a Candy Thermometer: I learned this the hard way—guessing temperatures leads to either rock-hard or too-soft creme drops. Aim for 245-250°F (firm-ball stage) for that perfect old-fashioned texture.
- Measure Corn Syrup Precisely: After ruining a batch with too much corn syrup, I now use a liquid measuring cup on a flat surface—light corn syrup is sticky and easy to overpour.
- Skip Stirring After Boiling: Resist the urge to stir once the sugar mixture starts boiling, or you’ll end up with grainy creme drops instead of smooth, melt-in-your-mouth candies.
- Add Vanilla Off Heat: My grandmother swore by this, and she was right: pull the syrup from the heat before stirring in the vanilla extract to preserve its flavor and prevent burning.
Make-Ahead Tips for old fashioned creme drops
Prep Ahead Strategy
Mix the sugar, corn syrup, water, and salt in your saucepan the night before. Cover tightly with plastic wrap and store at room temperature. This saves 5 minutes of prep time the next day and ensures your ingredients are ready to go. 💡
Early Cooking
Cook your sugar syrup base up to 3 days ahead and store it in an airtight container at room temperature. When ready to finish, gently reheat to 200°F before adding cream, butter, and vanilla. The flavors actually deepen with a little age.
Center Shaping
Shape your creme centers up to 24 hours in advance. Place them on parchment paper, cover loosely with plastic wrap, and store at room temperature. They’ll firm up slightly overnight, making the coconut coating process easier the next day.
Coating in Advance
Roll your centers in coconut flakes up to 12 hours before serving. Store them in a single layer in an airtight container with parchment between layers. This prevents the coconut from absorbing too much moisture and losing its texture.
Freezing for Later
For long-term storage, freeze uncoated centers on a baking sheet for 1 hour, then transfer to a freezer bag. They’ll keep for 3 months. Thaw completely at room temperature before rolling in coconut flakes. ❄️
Room Temperature Tip
Always let your ingredients come to room temperature before starting. Cold cream or butter can cause your sugar syrup to seize. I learned this the hard way during my first batch—lesson learned!
Nutrition Facts
Frequently Asked Questions
What if my mixture won’t thicken?
Add 1 tablespoon of flour at a time until it reaches a dough-like consistency. Too much sugar syrup can make it runny.
Can I use a different coating?
Try crushed nuts, sprinkles, or cocoa powder instead of coconut. Press firmly so it sticks well.
How do I know when the syrup is ready?
Use a candy thermometer—it must reach exactly 240°F. Without one, test in cold water: it should form a soft ball.
Why did my centers turn grainy?
Sugar crystals likely formed. Avoid stirring after boiling starts and use a heavy pan to prevent hot spots.

Trained in classic French technique but raised on slow-cooked ribs and spicy rubs, she blends culinary skill with smoke and soul.
- Indian Lamb Curry Recipe Pressure Cooker: Fragrant Spices in a Fraction of the Time - October 3, 2026
- Recipe for Oven Roasted: Golden Crisp Perfection Without the Fryer - October 3, 2026
- Recipe for Fried Pork Chops With Flour: Crispy Crust and Juicy Centers - October 3, 2026