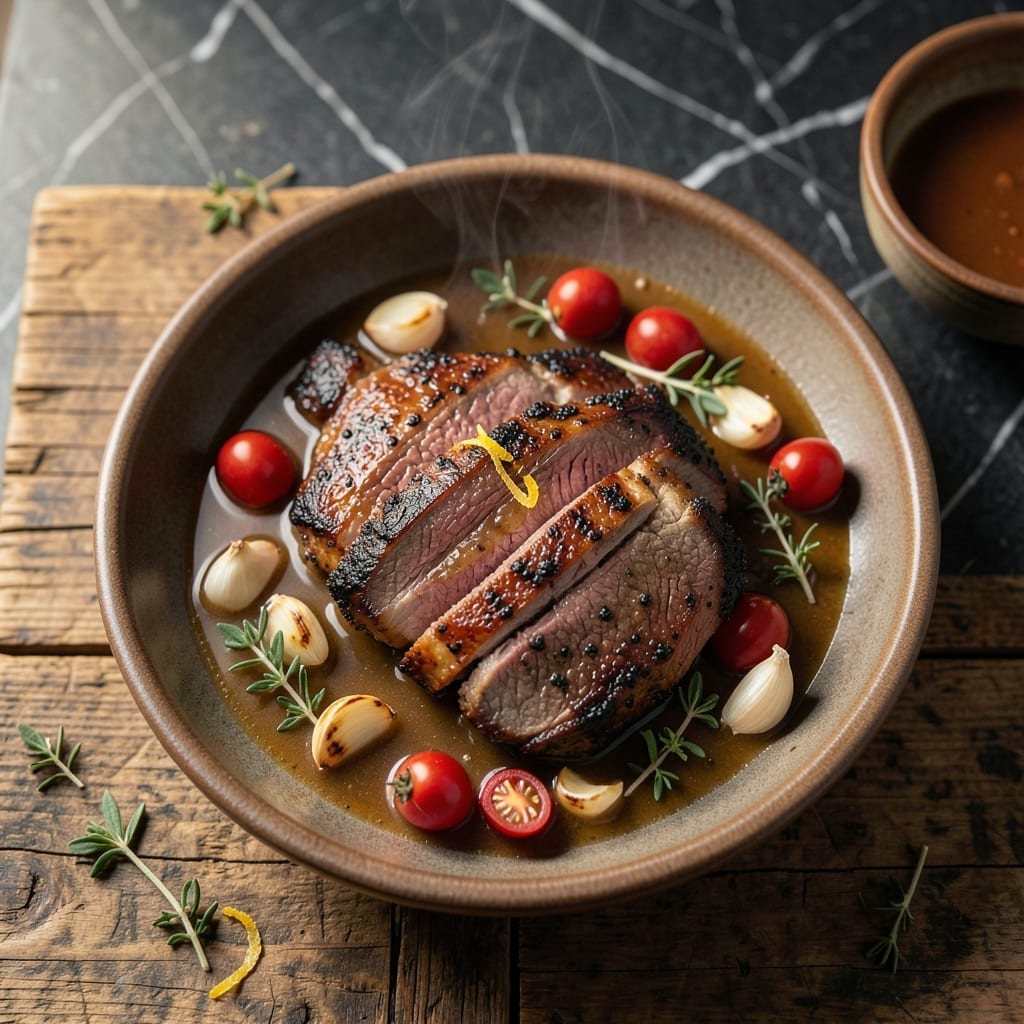
This recipe delivers the luxurious experience of prime rib at a fraction of the cost. I developed this method after years of testing budget-friendly cuts that could replicate the rich flavor and tenderness of prime rib.
Using a chuck roast and a simple dry rub, you’ll achieve a tender, flavorful centerpiece worthy of any special occasion. The slow roasting process transforms this affordable cut into something extraordinary.
Ingredients for Poor Man’s Prime Rib
Transform an affordable chuck roast into a luxurious centerpiece with these pantry staples and fresh aromatics.
| Ingredient | Amount | Notes |
|---|---|---|
| Chuck Roast 🥩 | 3 lb | Well-marbled, bone-in preferred |
| Kosher Salt 🧂 | 2 tbsp | Diamond Crystal preferred for even distribution |
| Coarse Black Pepper 🌶️ | 1 ½ tbsp | Freshly cracked for maximum flavor |
| Garlic Powder 🧄 | 2 tsp | Not garlic salt substitute |
| Onion Powder 🧅 | 2 tsp | Fine grind for even coating |
| Smoked Paprika 🌶️ | 1 tsp | Adds depth and color to crust |
| Dried Thyme 🍃 | 1 tsp | Rubbed between fingers to release oils |
| Dried Rosemary 🌿 | 1 tsp | Crushed to enhance aroma |
| Olive Oil 🫒 | 2 tbsp | For searing and moisture retention |
| Beef Broth 💧 | 1 cup | Low-sodium preferred for control |
| Yellow Onion 🧅 | 1 whole | Large, roughly chopped for base |
| Carrots 🥕 | 3 whole | Peeled and cut into chunks |
| Celery Stalks 🌿 | 2 whole | Cut into large pieces for aroma |
[recipe_ingredient_scaler]
The chuck roast selection is paramount. Choose a well-marbled piece from a reputable butcher—Costco and Whole Foods consistently offer quality options. Bone-in cuts provide additional flavor and moisture during the slow roasting process. Look for meat with bright red color and abundant white fat streaks throughout, as this fat will render down to create that characteristic prime rib richness.
Substitutions are minimal but effective here. No smoked paprika? Regular paprika plus a pinch of cayenne approximates the depth. Fresh herbs can replace dried at a 3:1 ratio, though the flavor profile will be slightly different. Vegetable broth can stand in for beef broth in a pinch, though the final result will be less robust. The onion powder and garlic powder are non-negotiable for the dry rub’s authenticity.
The dry rub can be prepared 24 hours in advance and stored in an airtight container. The roast itself should be brought to room temperature before cooking. Leftovers—if there are any—keep beautifully in the refrigerator for 4-5 days or can be frozen for 3 months without significant quality degradation.
Why You’ll Love This Recipe
- One Pan Wonder: I just rub the chuck roast with salt, pepper, and those powders, then let the oven do the work—no fancy steps.
- Ridiculously Good: The garlic and onion powders crust up into this savory bark that makes every bite taste like a steakhouse special.
- Feeds a Crowd: I’ve served this at Sunday dinner and potlucks alike—always disappears first, and no one guesses it’s budget beef.
- Stretches Further: Leftovers make killer sandwiches or hash. Honestly, I plan for extras now.
Step-by-Step Instructions for Poor Man’s Prime Rib
Master this technique to transform affordable chuck roast into a dish with prime rib elegance.
Step 1: Create the Dry Rub and Season the Roast
In a small bowl, combine the 2 tbsp kosher salt, 1.5 tbsp coarse black pepper, 2 tsp garlic powder, 2 tsp onion powder, 1 tsp smoked paprika, 1 tsp dried thyme, and 1 tsp dried rosemary. Rub the spices between your fingers as you mix to release their essential oils.
Pat the 3 lb chuck roast completely dry with paper towels—moisture prevents proper browning. Apply the dry rub generously to all surfaces, pressing firmly so it adheres. Let the seasoned roast sit at room temperature for 30 minutes to allow the salt to begin penetrating the meat.
Step 2: Sear the Roast for Maximum Flavor
Heat the 2 tbsp olive oil in a Dutch oven or heavy pot over medium-high heat until shimmering. Add the chuck roast and sear undisturbed for 4-5 minutes per side until a deep, rich brown crust forms. This crust development is critical for both flavor and visual appeal.
Use tongs to turn the roast—never pierce it with a fork, as this allows precious juices to escape. The searing process should create a fond on the bottom of the pot, which will later dissolve into the cooking liquid to build a deeply flavorful sauce.
Step 3: Add Aromatics and Begin the Braise
Once the roast is seared on all sides, remove it from the pot and set it aside. To the same pot, add the roughly chopped 1 whole yellow onion, 3 whole carrots (peeled and cut into chunks), and 2 whole celery stalks (cut into large pieces). Sauté for 3-4 minutes until the vegetables begin to soften and develop color.
Return the chuck roast to the pot, placing it on top of the vegetables. Pour in the 1 cup beef broth, ensuring it pools around the roast without submerging it. The liquid should come about halfway up the roast to create the perfect braising environment.
Step 4: Slow Cook to Tender Perfection
Cover the pot tightly and transfer it to a preheated 325°F oven. Braise the roast for 2.5 to 3 hours, turning it once halfway through cooking. The low and slow method breaks down the connective tissue in the chuck roast, transforming it into fall-apart tender meat.
You’ll know it’s ready when the meat yields easily to a fork and the internal temperature reaches 195-200°F. The vegetables will have melted into the cooking liquid, creating a rich, flavorful broth that can be reduced into a sauce or served as-is.
Step 5: Rest and Serve
Carefully remove the roast from the pot and transfer it to a cutting board. Tent loosely with foil and let it rest for 15-20 minutes before slicing. This resting period allows the juices to redistribute throughout the meat, ensuring every serving is moist and flavorful.
Slice the roast against the grain into thick slices. Serve with the braising liquid spooned over the top, along with the tender, flavor-infused vegetables. The result is a dish that delivers the rich, beefy satisfaction of prime rib at a fraction of the cost.
Pro Tips For Making Poor Man’S Prime Rib
- Reverse Sear First: Start with 250°F in the oven until the chuck roast hits 110°F internal, then sear it in a screaming hot pan—this gives you that prime rib crust without overcooking the inside. I learned this the hard way after my first few attempts came out uneven.
- Dry the Roast: Pat the chuck roast bone-dry with paper towels before seasoning, then let it sit uncovered on a rack in the fridge for at least an hour. Sounds weird, but it works: the salt sticks better and the crust forms faster.
- Don’t Rush the Rest: After pulling it from the oven, tent the roast with foil and let it rest for 15-20 minutes—this keeps the juices from pooling on your cutting board. My grandmother swore by this, and she was right.
- Boost the Spices: Double the garlic and onion powder in your rub, and add a pinch of smoked paprika if you have it. This isn’t the prettiest method, but it’s the tastiest way to make chuck taste like prime rib.
Storing and Reheating This Dish
Refrigerator Storage
Let the chuck roast cool completely before storing—this prevents condensation that can make the meat soggy. Transfer to an airtight container with some of the braising liquid to maintain moisture. It keeps beautifully in the fridge for 4-5 days. I always label with the date so I remember. ❄️
Freezer Storage
For longer storage, wrap the cooled roast tightly in heavy-duty aluminum foil or place in a freezer-safe bag. Squeeze out excess air to prevent freezer burn. This creation freezes well for up to 3 months without losing quality.
Stovetop Reheating
Place the chuck roast and some braising liquid in a pot over low heat. Cover and warm gently for 15-20 minutes, stirring occasionally. Add a splash of beef broth if it seems dry. This method preserves texture best.
Oven Reheating
Preheat oven to 300°F. Wrap the meat in foil with ¼ cup braising liquid and heat for 20-25 minutes. This slow method prevents drying out. David always requests leftovers reheated this way. 🔥
Microwave Option
For quick meals, place portions in a microwave-safe dish with a damp paper towel. Heat on 50% power for 2-3 minutes, then check. Stir and repeat in 30-second intervals until warmed through.
Reviving Leftovers
If the meat seems dry after reheating, stir in 2-3 tbsp warm beef broth. The liquid rehydrates the fibers beautifully. I often make sandwiches with reheated slices for school lunches.
Nutrition Facts
Frequently Asked Questions
Can I use a different cut of meat?
Yes, but chuck roast is ideal for its marbling and connective tissue. A bottom round roast works as a substitute, though it may be slightly less tender. Avoid lean cuts like sirloin tip.
How do I know when it’s done?
The meat is ready when it reaches 195-200°F internally and shreds easily with a fork. This typically takes 2.5 to 3 hours at 325°F.
Can I make this in a slow cooker?
Sear the roast first, then add all ingredients to your slow cooker. Cook on low for 8-10 hours or high for 5-6 hours.
Why does my roast turn out dry?
Overcooking or insufficient liquid are common culprits. Ensure the braising liquid covers at least half the roast and check the temperature at 2.5 hours.

Trained in classic French technique but raised on slow-cooked ribs and spicy rubs, she blends culinary skill with smoke and soul.
- Indian Lamb Curry Recipe Pressure Cooker: Fragrant Spices in a Fraction of the Time - October 3, 2026
- Recipe for Oven Roasted: Golden Crisp Perfection Without the Fryer - October 3, 2026
- Recipe for Fried Pork Chops With Flour: Crispy Crust and Juicy Centers - October 3, 2026