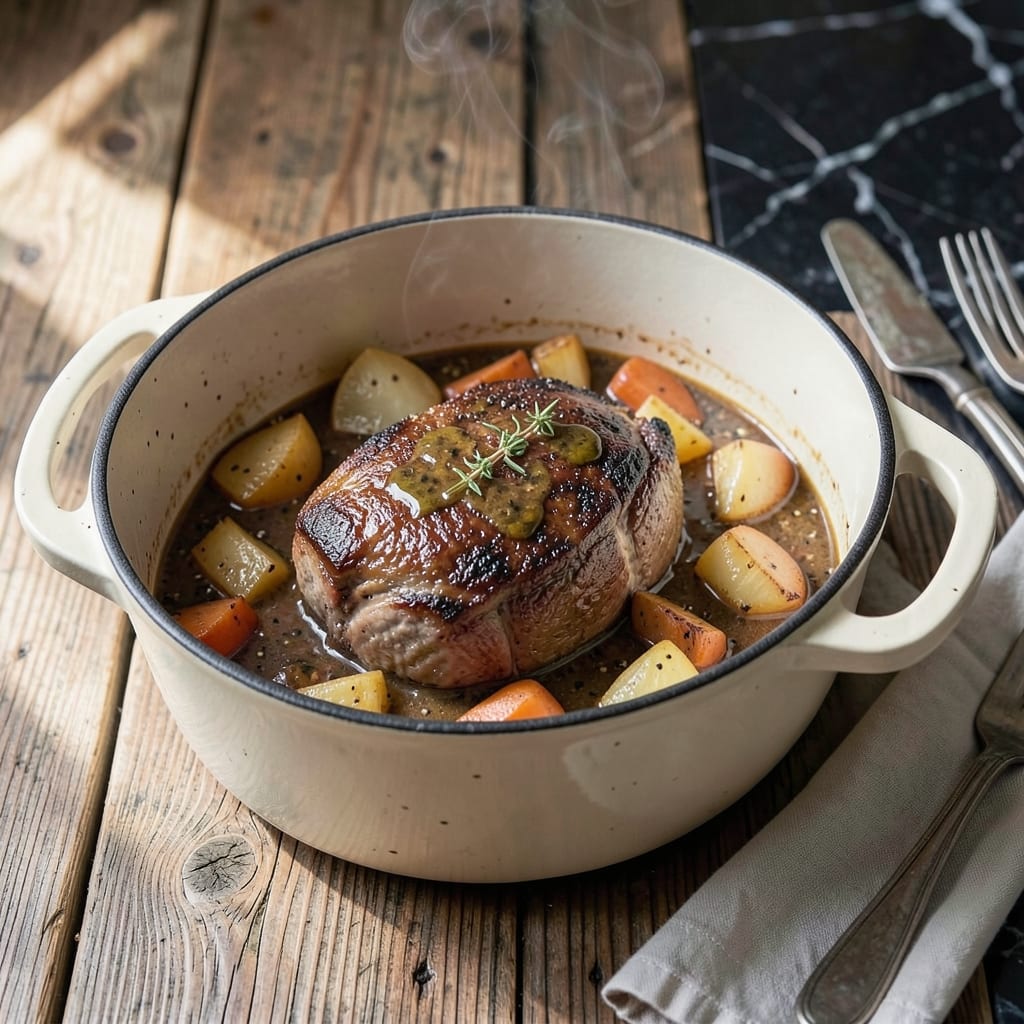
I learned the secret to perfect pot roast from Mrs. Henderson in Cincinnati—low and slow in a Dutch oven. This method turns tough cuts into melt-in-your-mouth tenderness every time.
Browning the beef first builds deep flavor, while vegetables and red wine create a rich braising liquid. The Dutch oven traps heat, ensuring even cooking without drying out the meat.
After a few hours, you’ll have succulent beef that falls apart at the touch of a fork, surrounded by carrots and potatoes soaking up every bit of savory sauce.
It’s the kind of meal that fills the house with warmth and makes everyone linger at the table.
Ingredients for Pot Roast Recipe Dutch Oven Ina Garten
Pantry staples meet a few fresh picks for this classic comfort dish.
| Ingredient | Amount | Notes |
|---|---|---|
| Chuck Roast 🥩 | 3 lb | Well-marbled, boneless preferred |
| Kosher Salt 🧂 | 2 tsp | Divided for seasoning |
| Black Pepper 🌶️ | 1 tsp | Freshly ground preferred |
| All-Purpose Flour 🌾 | ¼ cup | For searing beef |
| Olive Oil 🫒 | 2 tbsp | For browning beef |
| Yellow Onions 🧅 | 2 whole | Large, roughly chopped |
| Garlic Cloves 🧄 | 6 cloves | Peeled, smashed |
| Carrots 🥕 | 4 whole | Peeled, cut into chunks |
| Yukon Gold Potatoes 🥔 | 1 ½ lb | Peeled, cut into large pieces |
| Dry Red Wine 🍷 | 2 cups | Bold and dry variety |
| Beef Stock 💧 | 2 cups | Low-sodium preferred |
| Tomato Paste 🍅 | 2 tbsp | For depth of flavor |
| Fresh Thyme Sprigs 🌿 | 4 pieces | Plus extra for garnish |
| Bay Leaves 🍃 | 2 pieces | For braising liquid |
[recipe_ingredient_scaler]
The beef is everything here. Chuck roast with good marbling is non-negotiable—it breaks down into that melt-in-your-mouth texture Mrs. Henderson swore by. I grab mine from Costco or Whole Foods (their butchers know the difference). Look for a piece that’s uniformly thick so it cooks evenly. Don’t trim too much fat; it adds flavor and moisture during the long braise.
No red wine? Extra beef stock with a tbsp of balsamic vinegar gets you 90% there. Fresh thyme is ideal, but dried at one-third the amount works in a pinch. If you’re out of tomato paste, ketchup in a 1:1 swap adds sweetness and tang (just reduce the salt a bit). The carrots and potatoes can be swapped for parsnips or sweet potatoes—whatever’s in season.
This actually gets better the next day—flavors deepen as it sits. Keeps in the fridge for 4-5 days or freezes beautifully for 3 months. Leftovers make killer sandwiches (trust me on the crusty bread and a smear of horseradish).
Why You’ll Love This Recipe
- I’ll be real: the pot roast tastes even better the next day, and it stretches easily for sandwiches or stews.
- One Pot Wonder: I love that it all happens in the Dutch oven—sear the chuck roast, then braise, no extra pans to wash.
- Sunday Dinner Ready: Honestly, it’s my go-to for feeding a crowd or meal prepping for the week.
- Leftovers for Days: I’ll be real: the pot roast tastes even better the next day, and it stretches easily for sandwiches or stews.
Step-by-Step Instructions for Braised Beef Pot Roast
Here’s the method I rely on for tender, flavorful results every time.
Step 1: Sear and Season the Chuck Roast
Pat the 3 lb chuck roast dry with paper towels—this is crucial for a good sear. Season it generously with 1 tsp black pepper and half the 2 tsp kosher salt on all sides. The seasoning should be visible on the surface.
Dredge the roast in the 0.25 cup all-purpose flour, shaking off any excess. This creates a flavorful crust and thickens the braising liquid later. Heat 2 tbsp olive oil in your Dutch oven over medium-high heat until shimmering.
Sear the roast for 4-5 minutes per side until deeply browned. You’ll know it’s ready to flip when it releases easily from the pot. Transfer to a plate and set aside.
Step 2: Sauté the Aromatics
In the same Dutch oven, add the roughly chopped 2 whole yellow onions. Cook for 3-4 minutes until softened and just starting to brown. Add the 6 cloves garlic cloves, 4 whole carrots, and cook for another 2 minutes.
Stir in the 2 tbsp tomato paste and cook for 1 minute until it darkens slightly. This deepens its flavor and prevents a raw taste in the finished dish. The mixture should be fragrant and starting to stick to the bottom of the pot.
Step 3: Deglaze and Add Braising Liquid
Pour in the 2 cups dry red wine, scraping up all the browned bits from the bottom of the pot with a wooden spoon. Let it simmer for 3-4 minutes until reduced by about half. This step builds incredible depth of flavor.
Add the 2 cups beef stock, 4 pieces fresh thyme sprigs, and 2 pieces bay leaves. Return the chuck roast to the pot along with any accumulated juices. The liquid should come about halfway up the roast—add a splash of stock if needed.
Step 4: Braise with Vegetables
Add the 1.5 lb Yukon Gold potatoes to the pot, nestling them around the roast. The liquid should just cover the potatoes. Bring to a simmer, then cover the Dutch oven with a tight-fitting lid.
Transfer to a preheated 325°F oven and braise for 2.5 to 3 hours. You’ll know it’s done when the beef shreds easily with a fork and the potatoes are tender. Check occasionally and add a splash of stock if the liquid level gets too low.
Step 5: Rest and Serve
Carefully transfer the chuck roast to a cutting board. Skim any excess fat from the surface of the braising liquid, then taste and adjust seasoning with the remaining 1 tsp kosher salt if needed.
Slice the roast against the grain or pull it into chunks. Serve in shallow bowls with the potatoes, carrots, and onions, ladling the rich braising liquid over the top. The sauce should be thick enough to coat the back of a spoon with a velvety texture.
Pro Tips For Making Pot Roast Recipe Dutch Oven Ina Garten
- Sear the Meat Hard: Get that Dutch oven screaming hot—about 2 tablespoons of olive oil shimmering—before adding the floured chuck roast. I learned this the hard way: a weak sear means pale, flavorless meat and a thin gravy base.
- Salt the Roast First: Hit the chuck roast with kosher salt at least 40 minutes before cooking, or even overnight. Sounds weird, but it works: the salt draws out moisture then reabsorbs it, seasoning deep into the meat.
- Don’t Crowd the Pot: Sear the roast in batches if needed—resist the urge to cram it all in at once. Steaming from overcrowding gives you boiled beef instead of that rich brown crust.
- Use the Fond: After searing, pour in a cup of hot water or broth and scrape up all those browned bits stuck to the bottom. That’s pure flavor for your gravy, and skipping it wastes the best part of the dish.
Essential Equipment for Perfect Results
Dutch Oven Essentials
Invest in a 5-7 quart enameled cast iron Dutch oven—I swear by my Le Creuset from Portland’s New Seasons Market. The heavy lid traps moisture, and the cast iron distributes heat evenly, preventing hot spots that can dry out your roast. 🔥
Thermometer Matters
I use a ThermoWorks Dot for precise oven temperature monitoring. A $20 instant-read thermometer works too for checking the beef’s internal temp. Accurate temps mean no overcooked meat.
Pro tip: Always preheat your Dutch oven for 10 minutes before searing to ensure a proper crust on that chuck roast.
Wooden Spoon Magic
A wooden spoon is your best friend for deglazing. I keep mine from Mrs. Henderson’s kitchen—it’s perfect for scraping up those flavorful browned bits without scratching the enameled surface.
Lid Alternatives
No Dutch oven lid? Use heavy-duty foil sealed tightly over the pot. For extra moisture, place a damp towel over the foil before adding the lid. This mimics the Dutch oven’s self-basting effect.
Oven Thermometer Check
Oven temperatures can be off by 25-50°F. I hang an oven thermometer inside mine to ensure that 325°F is accurate. It’s a $5 investment that prevents dry pot roast every time.
Nutrition Facts
Frequently Asked Questions
What cut of beef works best for this method?
Chuck roast is ideal due to its marbling and connective tissue. 3 lb provides perfect portion sizes. Avoid lean cuts like sirloin, as they’ll dry out during the long braise.
Can I use a slow cooker instead?
Yes, but results differ. Use low heat for 8-10 hours or high for 5-6 hours. The Dutch oven gives better browning and flavor development though.
How do I know when it’s done?
The beef should shred easily with a fork. Internal temp should reach 195-205°F. If unsure, give it more time—overcooking isn’t possible with this method.
Can I make this ahead of time?
The flavors deepen overnight. Store in the fridge for up to 4-5 days or freeze for 3 months. Reheat gently on the stove.

Trained in classic French technique but raised on slow-cooked ribs and spicy rubs, she blends culinary skill with smoke and soul.
- Recipe for Fully Cooked Spiral Ham: Sweet Glaze and Effortless Elegance - October 3, 2026
- Recipe for Cream of Rice: Silky Smooth Breakfast Comfort - October 3, 2026
- Old Fashioned Beef and Noodles Recipe Crock Pot: Set-It-and-Forget-It Hearty Meal - October 3, 2026