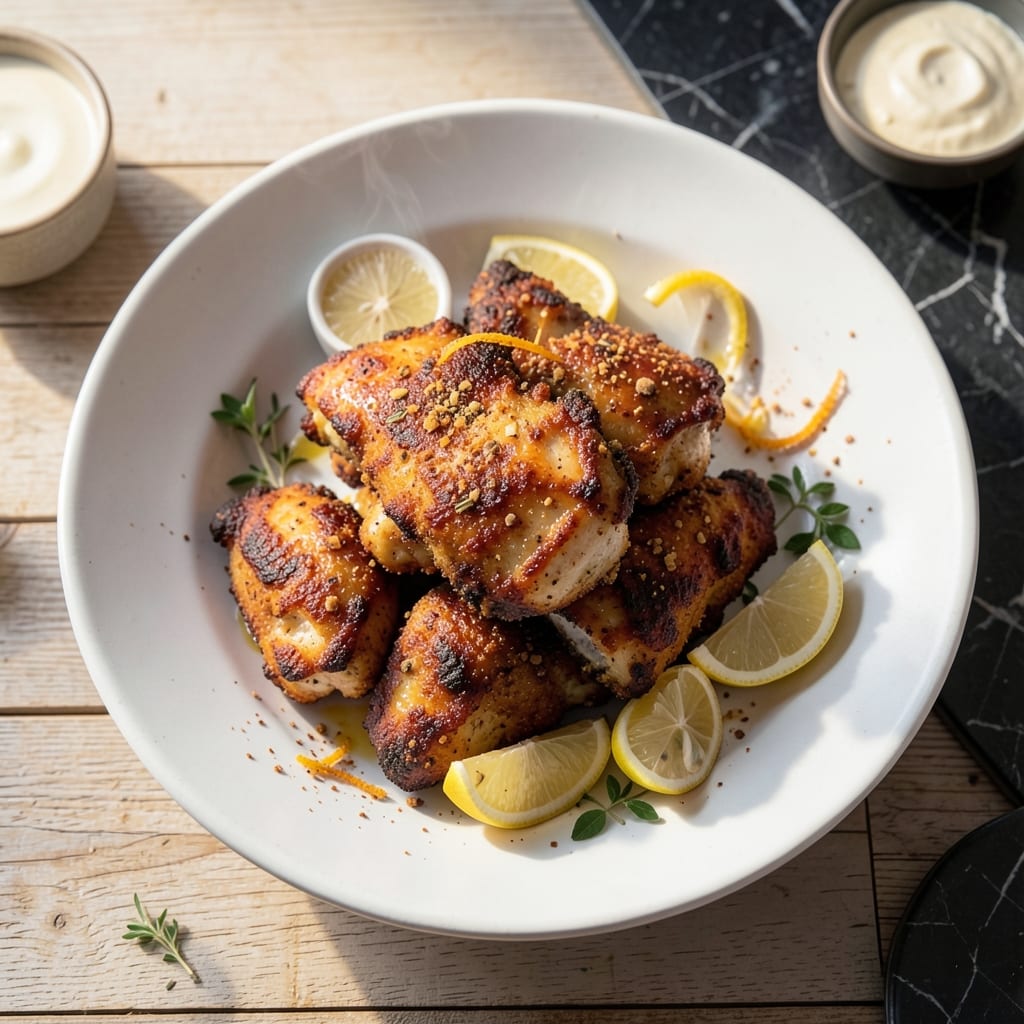
I developed this oven-fried method after years of seeking that crispy texture without deep frying. The secret lies in a simple coating technique and high heat circulation.
Boneless, skinless chicken thighs stay juicy inside while forming a golden crust outside. A hot oven mimics frying, delivering that satisfying crunch we all crave.
This approach requires no special equipment—just a baking sheet, basic pantry staples, and about 40 minutes. The result rivals traditional fried chicken every time.
Perfect for busy weeknights when you want comfort food without the fuss. Here’s how to achieve that ideal texture balance.
Ingredients for Recipe for Oven Fried Boneless Skinless Chicken Thighs
Basic pantry staples transform into that golden, crispy magic you crave.
| Ingredient | Amount | Notes |
|---|---|---|
| Boneless Skinless Chicken Thighs 🍗 | 2 lb | Patted dry for maximum crispiness |
| All-Purpose Flour 🌾 | 1 cup | For initial dredge coating |
| Buttermilk 🥛 | 1 cup | Full-fat for best adherence |
| Cornstarch 🌾 | ¼ cup | Creates extra-crispy crust |
| Paprika 🌶️ | 2 tsp | Sweet or smoked variety |
| Garlic Powder 🧄 | 1 ½ tsp | Not garlic salt |
| Onion Powder 🧅 | 1 ½ tsp | Adds depth to seasoning |
| Salt 🧂 | 1 tsp | Diamond Crystal preferred |
| Black Pepper 🌶️ | 1 tsp | Freshly ground for best flavor |
| Cayenne Pepper 🔥 | ¼ tsp | Adjust for heat preference |
| Vegetable Oil 🫒 | 2 tbsp | High smoke point for baking |
| Baking Powder 🧂 | 1 tsp | Helps crust puff and crisp |
[recipe_ingredient_scaler]
The chicken thighs are everything here. Boneless, skinless is non-negotiable for even cooking and maximum crust contact. Costco has great bulk packs, but any supermarket will do—just look for plump pieces with good color. Don’t skip patting them dry (paper towels work fine). The buttermilk is key for that tender interior—full-fat if you can find it, but low-fat works in a pinch.
No buttermilk? Regular milk plus 1 tbsp vinegar or lemon juice does the trick (let it sit 5 minutes). For extra crunch, swap half the flour for panko breadcrumbs. Short on spices? Pre-made poultry seasoning covers most bases. The cornstarch is what gives that next-level crispiness—don’t skip it. If you’re out of cayenne, a pinch of red pepper flakes works too.
Leftovers keep 3-4 days in the fridge (reheat in oven to recrispen). Freeze cooked pieces for up to 3 months—thaw overnight before reheating. The dry mix can be prepped ahead and stored in a jar for 2 weeks.
Why You’ll Love This Recipe
- One Pan Magic: I toss everything on a single sheet pan—no splatter, no mess, just crispy chicken with minimal cleanup.
- That Paprika Punch: The buttermilk soak and paprika crust give it a tangy, spicy kick that’s way better than takeout.
- Meal Prep MVP: I make a double batch on Sunday and it reheats beautifully for lunches all week.
- Budget Winner: Boneless thighs are cheap, and a little cornstarch makes them taste like a million bucks.
Step-by-Step Instructions for Oven Fried Boneless Skinless Chicken Thighs
Here’s how I get that perfect crispy crust without the mess of deep frying.
Step 1: Season and Dredge the Chicken
Pat the 2 lb boneless skinless chicken thighs completely dry with paper towels—this is non-negotiable for crispiness. In a shallow bowl, whisk together the 1 cup all-purpose flour, 2 tsp paprika, 1.5 tsp garlic powder, 1.5 tsp onion powder, 1 tsp salt, 1 tsp black pepper, 0.25 tsp cayenne pepper, and 1 tsp baking powder.
Dredge each thigh in the flour mixture, pressing firmly to adhere. Shake off any excess, then dip into the 1 cup buttermilk, letting any extra drip off. The buttermilk’s acidity tenderizes the meat while helping the coating cling.
Step 2: Double-Coat for Extra Crunch
Return each buttermilk-coated thigh to the flour mixture, pressing again to create a thick, even crust. Place the coated thighs on a wire rack set over a baking sheet. This setup allows air to circulate, preventing soggy bottoms.
Let the coated thighs rest for 10 minutes while you preheat the oven. This brief pause helps the coating set, ensuring it doesn’t slide off during baking. Meanwhile, stir the 0.25 cup cornstarch into any remaining flour mixture—this is your secret weapon for maximum crunch.
Step 3: Bake at High Heat
Preheat your oven to 425°F. Drizzle the 2 tbsp vegetable oil over the coated thighs, using the back of a spoon to evenly distribute it. The oil enhances browning and crispiness without frying.
Bake on the middle rack for 20 minutes, then flip each piece. Return to the oven for another 15-20 minutes, until the coating is deep golden brown and the internal temperature reaches 175°F. The cornstarch in the mixture ensures an ultra-crispy finish.
Step 4: Rest and Serve Immediately
Transfer the thighs to a wire rack and let them rest for 5 minutes. This allows the juices to redistribute while keeping the crust crisp. If you stack them, the steam will soften that perfect crunch you worked so hard to achieve.
Serve hot, straight from the oven. The crust should shatter slightly with each bite, revealing juicy, tender meat underneath. This method delivers all the satisfaction of fried chicken with none of the grease or fuss.
Pro Tips For Making Recipe For Oven Fried Boneless Skinless Chicken Thighs
- Preheat the Pan: I learned this the hard way—start with a screaming hot oven (425°F) and a preheated baking sheet to guarantee that first sizzle when the thighs hit the pan, which locks in the crust.
- Dry the Thighs: Pat those boneless thighs bone-dry with paper towels before dredging; even a little moisture makes the flour coating slide right off.
- Double Dredge: After the buttermilk soak, dip them in flour, then back in buttermilk, then flour again with a little extra cornstarch mixed in—that’s how you get the shatter-crisp coating.
- Flip Once: Resist the urge to poke or flip them more than once—20 minutes in, turn them over and leave them be until golden and internal hits 175°F.
Make-Ahead Tips for This Recipe
Prep the Coating
Mix your dry ingredients—1 cup flour, ¼ cup cornstarch, and all spices—up to 2 weeks ahead. Store in an airtight container at room temperature. This saves time on busy nights. 💡
Buttermilk Marinade
Soak the chicken in 1 cup buttermilk for up to 24 hours before coating. The acidity tenderizes while adding flavor. I do this overnight when I
Pre-Coat Chicken
Dredge and buttermilk-dip the thighs in the morning, then refrigerate uncovered on a rack. This dries the surface for extra crispiness. Just bake straight from the fridge when ready.
Freeze for Later
Coat the thighs completely, freeze on a tray for 1 hour, then transfer to bags. They’ll keep 3 months. Bake from frozen, adding 5-10 minutes to the time.
Reheating Tips
To revive leftovers, spread pieces on a rack in a 400°F oven for 10-12 minutes. This restores the crust better than a microwave. I do this for Lily’s lunch the next day.
Crispy Leftovers
Store cooked thighs in a single layer in the fridge. They’ll stay crisp for 2 days. Stacking them traps steam and makes the coating soggy. 🔥
Nutrition Facts
Frequently Asked Questions
Can I use chicken breasts instead of thighs?
You can, but thighs stay juicier due to their higher fat content. If using breasts, reduce baking time to 12-15 minutes per side to prevent dryness.
Why does my coating fall off during baking?
Most likely the chicken wasn’t patted dry or didn’t rest after coating. The 10-minute rest helps the coating adhere. Also, ensure oil is distributed evenly.
How do I make it extra crispy?
Add 1/4 cup more cornstarch to the flour mix. Bake on the lower rack for the last 5 minutes for extra browning.
What’s the best way to check doneness?
Use a meat thermometer—it should read 175°F in the thickest part. The juices should run clear, not pink.

Trained in classic French technique but raised on slow-cooked ribs and spicy rubs, she blends culinary skill with smoke and soul.
- Recipe for Fully Cooked Spiral Ham: Sweet Glaze and Effortless Elegance - October 3, 2026
- Recipe for Cream of Rice: Silky Smooth Breakfast Comfort - October 3, 2026
- Old Fashioned Beef and Noodles Recipe Crock Pot: Set-It-and-Forget-It Hearty Meal - October 3, 2026