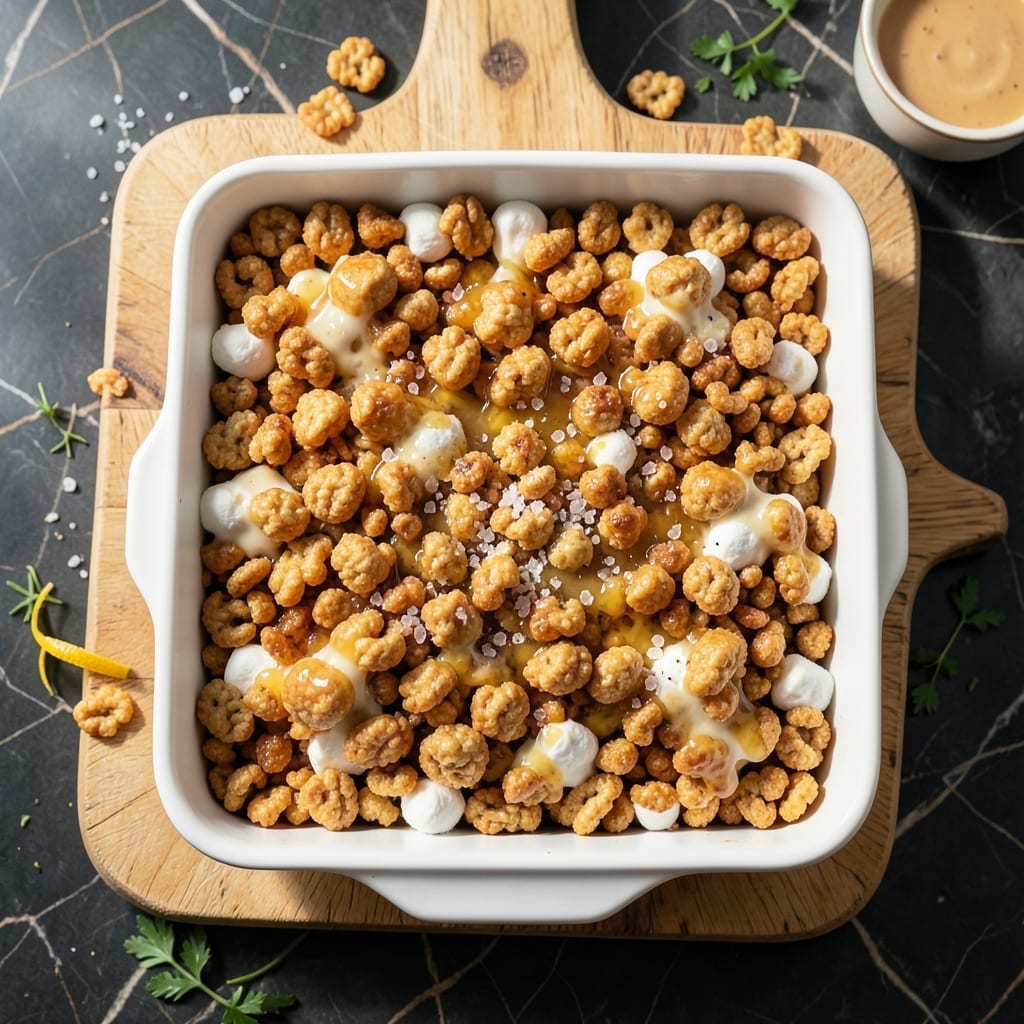
This 5-minute no-bake method delivers perfect treats every time. The microwave does all the work, melting butter and marshmallows together in minutes.
You’ll have gooey, chewy squares ready before the oven even preheats. This is the fastest way to satisfy that sweet craving.
Ingredients for Rice Krispie Treats Recipe Microwave
Seven simple ingredients transform into chewy, gooey perfection in minutes.
| Ingredient | Amount | Notes |
|---|---|---|
| Rice Krispies Cereal 🥣 | 6 cups | Crisp rice cereal preferred |
| Mini Marshmallows 🍬 | 10 oz | Or 4 cups regular marshmallows |
| Unsalted Butter 🧈 | ½ cup | 1 stick, for melting |
| Vanilla Extract 🌿 | 1 tsp | Pure extract for best flavor |
| Sea Salt 🧂 | ¼ tsp | Fine grain for even distribution |
| Light Corn Syrup 💧 | 2 tbsp | Optional for extra chewiness |
| Cooking Spray 🫒 | 1 can | For greasing pan and spatula |
[recipe_ingredient_scaler]
The marshmallows matter most here. Jet-Puffed mini marshmallows melt faster and more evenly than regular, but either works. Kellogg’s Rice Krispies are the gold standard—generic brands can be drier. For the butter, Land O’Lakes unsalted gives you that clean, sweet flavor without salt interference. Always check the date on your cereal—stale Rice Krispies make for sad, limp treats.
No mini marshmallows? Regular marshmallows at 4 cups work fine, they just take a few extra seconds to melt. Want to skip the corn syrup? Honey or maple syrup at the same amount adds a nice depth (though technically not traditional). The vanilla is subtle but worth it—use pure extract, not imitation. For a richer taste, brown the butter first in a light-colored bowl.
These keep at room temperature for 2-3 days in an airtight container. For longer storage, wrap individually in parchment and freeze for up to 6 weeks. Press them into the pan while still warm for even squares—don’t wait for them to cool completely (that’s when they get stubborn).
Why You’ll Love This Recipe
- One Bowl Wonder: I melt the butter and marshmallows right in the same bowl I’ll mix everything in—no extra dishes, just easy cleanup.
- That Vanilla Magic: The vanilla extract makes the marshmallow goo taste like a warm hug, and the sea salt? Chef’s kiss.
- Kid-Approved Snack: Honestly, my kids devour these after school, and I love that I can make them in 10 minutes flat.
- Budget-Friendly Treat: A box of cereal and a bag of marshmallows stretch further than you’d think—great for parties or lunchbox surprises.
Step-by-Step Instructions for Rice Krispie Treats
This microwave method delivers perfect texture with minimal effort and maximum speed.
Step 1: Prepare the Pan and Melt the Butter
Lightly coat an 8×8-inch baking dish with cooking spray. I use a paper towel to spread it evenly across the bottom and sides, ensuring the treats won’t stick. This step is crucial for easy removal later.
In a large microwave-safe bowl, add the 0.5 cup unsalted butter. Microwave on high for 45-60 seconds until the butter is completely melted and bubbling. Watch closely—overheating can cause the butter to separate or burn.
Step 2: Create the Marshmallow Mixture
Stir the 10 oz mini marshmallows into the melted butter until fully coated. Return the bowl to the microwave and heat on high for 45 seconds. The marshmallows will begin to puff and soften.
Remove the bowl and stir vigorously with a spatula (lightly sprayed with cooking spray to prevent sticking). The mixture will be thick and glossy. Add the 1 tsp vanilla extract, 0.25 tsp sea salt, and 2 tbsp light corn syrup, then stir until fully combined. The corn syrup adds chewiness, but the mixture will still be smooth and uniform.
Step 3: Incorporate the Rice Krispies Cereal
Add all 6 cups Rice Krispies cereal to the marshmallow mixture. Use a spatula to fold the cereal in gently but thoroughly, pressing lightly to ensure every piece is evenly coated. The cereal will begin to soften slightly as it absorbs the warm marshmallow mixture.
Work quickly—the mixture will start to set as it cools. You want to achieve a consistent, sticky texture without crushing the cereal. If the mixture seems too stiff, microwave for an additional 10-15 seconds and stir again to loosen it.
Step 4: Press and Set the Treats
Transfer the mixture to the prepared baking dish. Use the spatula to press it down firmly and evenly into the corners. For the smoothest surface, lightly wet your hands with water and press the top gently to flatten it without sticking.
Let the treats cool at room temperature for 15-20 minutes until fully set. You’ll know they’re ready when the top is no longer tacky to the touch and the edges pull away slightly from the pan. Resist the urge to cut too soon—this resting time ensures clean slices.
Step 5: Cut and Serve
Once set, use a sharp knife to cut into 12 equal squares. For cleaner cuts, dip the knife in hot water and wipe it dry between slices. This prevents the treats from tearing or sticking to the blade.
The treats should hold their shape but still have a slight give when pressed. Each piece will have a glossy, slightly sticky exterior with a soft, chewy interior. Serve immediately or store in an airtight container for up to 3 days.
Pro Tips For Making Rice Krispie Treats Recipe Microwave
- Melt Butter First: Start by melting the butter in the microwave for 30 seconds before adding marshmallows—this prevents hot spots that can burn the sugar. I learned this the hard way after scraping charred marshmallow off the bowl one too many times.
- Use Fresh Marshmallows: Skip the stale mini marshmallows; they won’t melt as smoothly. Fresh ones blend into the butter faster and give you that perfect gooey texture every time.
- Don’t Overmix: Stir the cereal in just until coated—overmixing crushes the Rice Krispies and turns your treats dense instead of light and crispy.
- Press Lightly: Use a buttered spatula to press the mixture into the pan, but don’t compact it. A gentle touch keeps the treats airy rather than rock-hard.
Creative Variations of This Dish
Chocolate Lovers
Add 1 cup semi-sweet chocolate chips to the melted marshmallow mixture. I prefer Ghirardelli for their rich flavor. Stir until melted, then fold in the cereal. The chocolate creates a decadent fudgy texture that’s perfect for cocoa cravings. 🔥
Peanut Butter Swirl
Swirl in ½ cup creamy peanut butter (Jif or Skippy work well) with the melted marshmallows. Use a butter knife to create marbled patterns before adding the cereal. This adds a nutty depth that balances the sweetness beautifully.
Fruity cereal twist
Swap 2 cups Rice Krispies for Froot Loops or Apple Jacks. The colorful cereal adds a fun, fruity flavor and vibrant appearance. Press gently to avoid crushing the loops. Kids especially love this playful variation.
Salted Caramel
Stir in ¼ cup caramel sauce and an extra pinch of flaky sea salt after melting the marshmallows. I use Smucker’s caramel topping for convenience. The sweet-salty combo elevates these from simple to sophisticated. ✨
Coconut Almond
Mix in ½ cup toasted coconut flakes and ¼ cup chopped almonds with the cereal. Toast the coconut in a dry pan for 2-3 minutes first to enhance its flavor. This tropical-inspired version feels like a vacation in every bite.
Marshmallow Surprise
Press extra mini marshmallows into the top of the mixture before it sets. When cooled, you’ll get gooey marshmallow pockets in every square. Use about 1 cup of extras for maximum surprise factor.
Nutrition Facts
Frequently Asked Questions
Can I use regular marshmallows instead of mini?
Yes! Use 4 cups of regular marshmallows. They may take 10-15 seconds longer to melt in the microwave. Stir well to ensure even melting.
Why did my treats turn out hard?
Overcooking the marshmallow mixture or pressing too firmly can cause hardness. Microwave in 30-second bursts and press gently when shaping.
How do I make them extra chewy?
Add 2 tbsp light corn syrup or honey to the melted marshmallow mix. This keeps them softer longer. Let them cool completely before cutting.
Can I make these in a different size pan?
A 9×13-inch pan works for thinner treats. For thicker squares, use a 9×9-inch pan. Adjust cooling time based on thickness.

Trained in classic French technique but raised on slow-cooked ribs and spicy rubs, she blends culinary skill with smoke and soul.
- Hamburgers in Sauce Recipe Crock Pot: Slow-Cooked Savory Delight - October 3, 2026
- Sanjeev Kapoor Egg Biryani Recipe: Fragrant Spiced Rice With Boiled Eggs - October 3, 2026
- Recipe for French Pork Spread Gorton: Savory Gallic Flavors in a Spreadable Delight - October 3, 2026