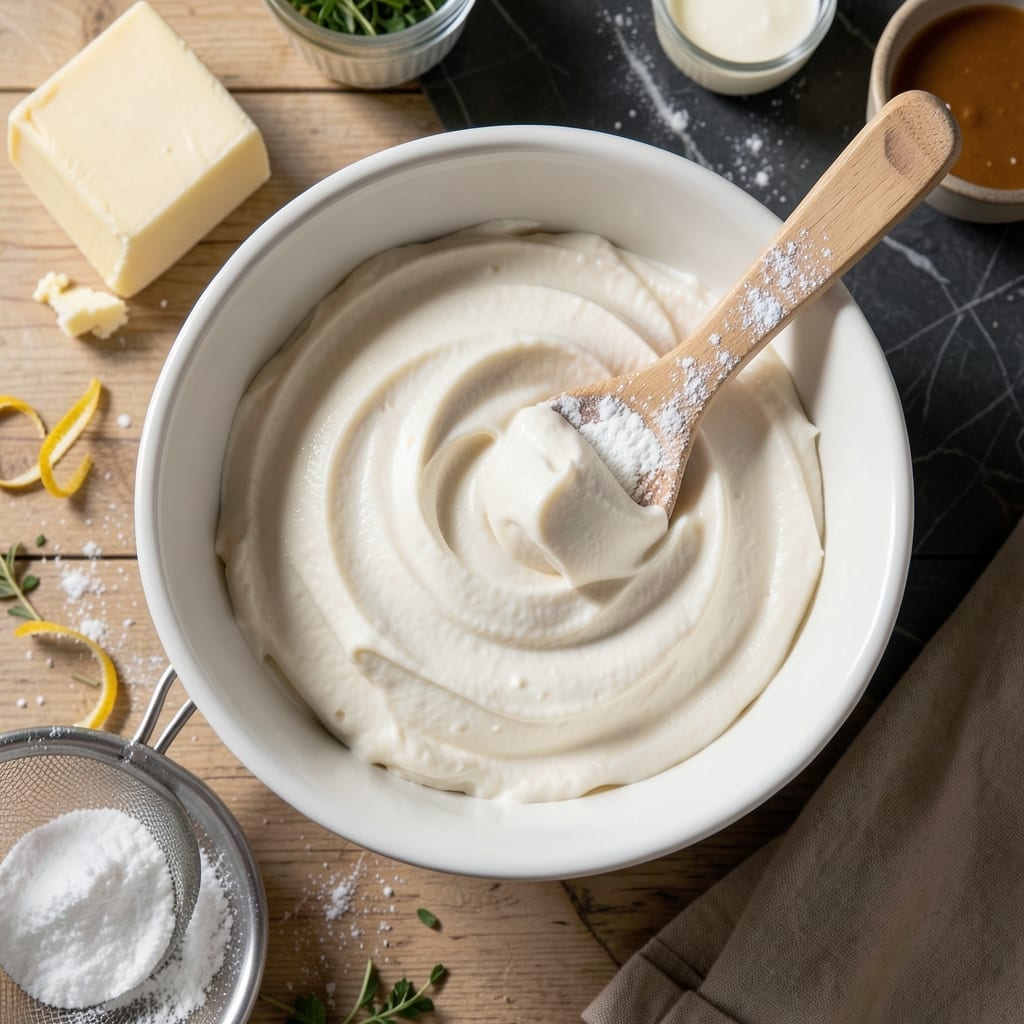
I’ve spent years perfecting a buttercream that rivals the silky texture of store-bought versions. This recipe delivers a smooth, spreadable frosting with the right balance of sweetness and richness—no gritty sugar or artificial aftertaste.
The secret lies in the method: creaming the butter and shortening just until pale, then gradually adding powdered sugar to prevent clumping. A splash of milk and vanilla extracts rounds out the flavor without overpowering it.
What you’ll get is a versatile frosting that pipes beautifully, holds its shape, and tastes even better than the bakery original. It’s ideal for cakes, cupcakes, or even cookies when you want that classic, crowd-pleasing finish.
Store it in an airtight container for up to a week, or freeze for longer shelf life. Here’s how to make it at home.
Ingredients for Safeway Buttercream Frosting
Seven ingredients. One bowl. Better than the bakery every time.
| Ingredient | Amount | Notes |
|---|---|---|
| Unsalted Butter 🧈 | 1 cup | Room temperature, softened |
| Vegetable Shortening 🫒 | ½ cup | Crisco brand recommended |
| Powdered Sugar 🍚 | 4 cups | Sifted for smoothness |
| Whole Milk 🥛 | 2 tbsp | Or sub heavy cream |
| Pure Vanilla Extract 🌿 | 1 tsp | Not imitation vanilla |
| Almond Extract 🌰 | ¼ tsp | Optional for depth |
| Salt 🧂 | ¼ tsp | Fine sea salt preferred |
[recipe_ingredient_scaler]
The butter needs to be true room temperature—not just out of the fridge for 10 minutes. Safeway’s store brand butter works fine, but if you want to splurge, Plugrá or Kerrygold give that extra richness. Shortening is non-negotiable for that bakery-style stability; Crisco is the gold standard here. Don’t even think about swapping it for more butter unless you want a melty mess.
No almond extract? Skip it entirely—it’s subtle but distinct. Milk can be swapped for half-and-half or heavy cream for extra richness. Powdered sugar is powdered sugar, but C&H or Domino dissolve the smoothest. Vanilla is where you shouldn’t cheap out—Nielsen-Massey or Rodelle make a noticeable difference. In a pinch, imitation vanilla works but the flavor flattens.
This keeps 1 week at room temperature in a sealed container, or 3 months frozen. Let it come to room temp before re-whipping (about 30 minutes). If it separates, a quick beat with the mixer brings it right back. Perfect for piping or spreading—holds its shape like a dream.
Why You’ll Love This Recipe
- 5-Minute Mix: I can go from counter to frosted cake faster than the oven preheats—just cream, sugar, and vanilla.
- Buttery Richness: That real butter and vanilla combo hits different from store-bought tubs. Honestly, it’s the shortening that makes it pipe so smooth.
- Crowd Pleaser: Birthdays, cupcakes, or just a random Tuesday cake—this frosting never gets eye-rolls from my picky niece.
- Stays Soft: Even after two days on the counter, it’s still spreadable. Between us, that’s why I always make a double batch.
Step-by-Step Instructions for Safeway Buttercream Frosting
Here’s the method. Straightforward, tested, works every time.
Step 1: Cream the Unsalted Butter and Vegetable Shortening
In a large mixing bowl, beat the 1 cup Unsalted Butter and 0.5 cup Vegetable Shortening together on medium speed for 2-3 minutes until completely smooth and fluffy. The butter should be at room temperature—65-68°F—so it incorporates air properly.
I use a stand mixer with the paddle attachment for this, but a hand mixer works too. You’re looking for a pale, creamy mixture that’s doubled in volume. This creaming step is crucial—it creates tiny air pockets that give the frosting its light, spreadable texture.
Step 2: Gradually Incorporate the Powdered Sugar
With the mixer on low speed, gradually add the 4 cups Powdered Sugar, about 1 cup at a time. Let each addition fully incorporate before adding the next. If you dump it all in at once, you’ll get a powdery cloud and uneven mixing.
After all the sugar is added, increase the speed to medium and beat for 1-2 minutes until the mixture is smooth and there are no visible sugar granules. Scrape down the sides of the bowl as needed. The texture should look like thick, coarse sand at this point.
Real talk: sifted powdered sugar makes a difference here. It prevents graininess and gives that ultra-smooth Safeway texture.
Step 3: Add the Liquid Ingredients and Flavorings
Pour in the 2 tbsp Whole Milk, 1 tsp Pure Vanilla Extract, 0.25 tsp Almond Extract, and 0.25 tsp Salt. Start mixing on low speed to avoid splashing, then increase to medium for 1-2 minutes until everything is fully combined.
The mixture will look slightly loose at first, but as you beat it, it’ll thicken up to that perfect spreadable consistency. I know it seems weird, but the almond extract adds that signature bakery depth—don’t skip it.
Here’s the thing—if your frosting is too thick, add milk 1 teaspoon at a time. If it’s too thin, add powdered sugar ¼ cup at a time. You want it to hold its shape but still be easy to spread.
Step 4: Whip to Perfection and Test
Increase the mixer speed to medium-high and beat the frosting for an additional 2-3 minutes. This final whipping incorporates maximum air, creating that light, fluffy texture that makes Safeway frosting so addictive.
Stop and test the consistency by spreading a small amount on a plate. It should hold soft peaks and smooth out easily with a spatula. If it’s still too stiff, add a splash more milk and whip again.
This is the moment that matters: taste it. Adjust the sweetness with a touch more salt if needed, or add another ½ tsp Pure Vanilla Extract for more depth. The flavor should be rich and buttery with just the right amount of sweetness.
Pro Tips For Making Safeway Buttercream Frosting
- Soften Properly: Let the butter and shortening sit at room temperature for 1-2 hours until soft but not melted—I learned this the hard way after ruining two batches with greasy frosting from over-softened butter.
- Sift the Sugar: Always sift the powdered sugar first, even if it seems fine. My grandmother swore by this, and it prevents those annoying little lumps that no amount of mixing will smooth out.
- Skip the Cold Milk: Use room temperature milk to avoid seizing up the frosting. After watching my mixture turn grainy once, I now pull the milk out of the fridge 30 minutes early.
- Add Vanilla Last: Stir in the vanilla extract at the very end so its flavor stays bright and doesn’t get lost during the longer mixing time. Sounds weird, but it works.
Make-Ahead Tips for This Dish
Room Temperature Prep
I always start by measuring all ingredients and letting them sit out for 30-60 minutes. The butter needs to be 65-68°F—soft enough to dent with your finger but not greasy. I’ve learned the hard way that cold butter creates lumps no mixer can save. 💡
Mix Dry Ingredients
While waiting, sift your 4 cups powdered sugar with the 0.25 tsp salt. This prevents clumps and ensures even distribution. I use a fine-mesh sieve for this—worth the extra 2 minutes for that bakery-smooth texture.
Pre-Chill Equipment
Place your mixing bowl and paddle attachment in the freezer for 10 minutes before starting. This helps maintain temperature control, especially in warm kitchens like my old Boston triple-decker. Cold equipment means your butter won’t melt prematurely.
Make-Ahead Mixing
The frosting can be made 2 days ahead and stored in an airtight container at room temperature. Before using, re-whip for 1-2 minutes to restore fluffiness. I once piped a cake directly from the fridge—disaster.
Freezing for Later
For longer storage, freeze in airtight containers for up to 3 months. Thaw overnight in the fridge, then bring to room temp before re-whipping. I label mine with the date—I’ve forgotten more than once.
Portion Control
Divide into smaller containers before freezing if you’ll use partial batches. A 1-cup portion is perfect for a dozen cupcakes. This saves you from thawing more than you need and wasting that precious frosting. ❄️
Nutrition Facts
Frequently Asked Questions
Why use both butter and shortening?
Butter provides flavor, while shortening adds stability for piping and warm weather. The combo gives that signature smooth texture that holds its shape perfectly.
Can I substitute milk with water?
It works in a pinch, but milk adds richness and better mouthfeel. Use 1-2 tbsp of water if needed, but expect slightly less creamy results.
How do I fix grainy frosting?
Add 1-2 tsp of milk and beat on high speed for 3-5 minutes. This dissolves sugar crystals and creates a silky finish.
Does this frosting crust like store-bought versions?
Yes! The shortening helps it form a thin crust that prevents sticking to containers. Perfect for cake decorating.

Trained in classic French technique but raised on slow-cooked ribs and spicy rubs, she blends culinary skill with smoke and soul.
- Recipe for Curried Lamb Chops: Spice-Rubbed and Pan-Seared to Succulence - October 3, 2026
- Recipe for Boneless Leg of Lamb Roast in the Oven: Herb-Crusted and Rosy Pink Inside - October 3, 2026
- Meat Loaf Recipe With Beef And Pork: Homestyle Blend With Rich Gravy - October 3, 2026