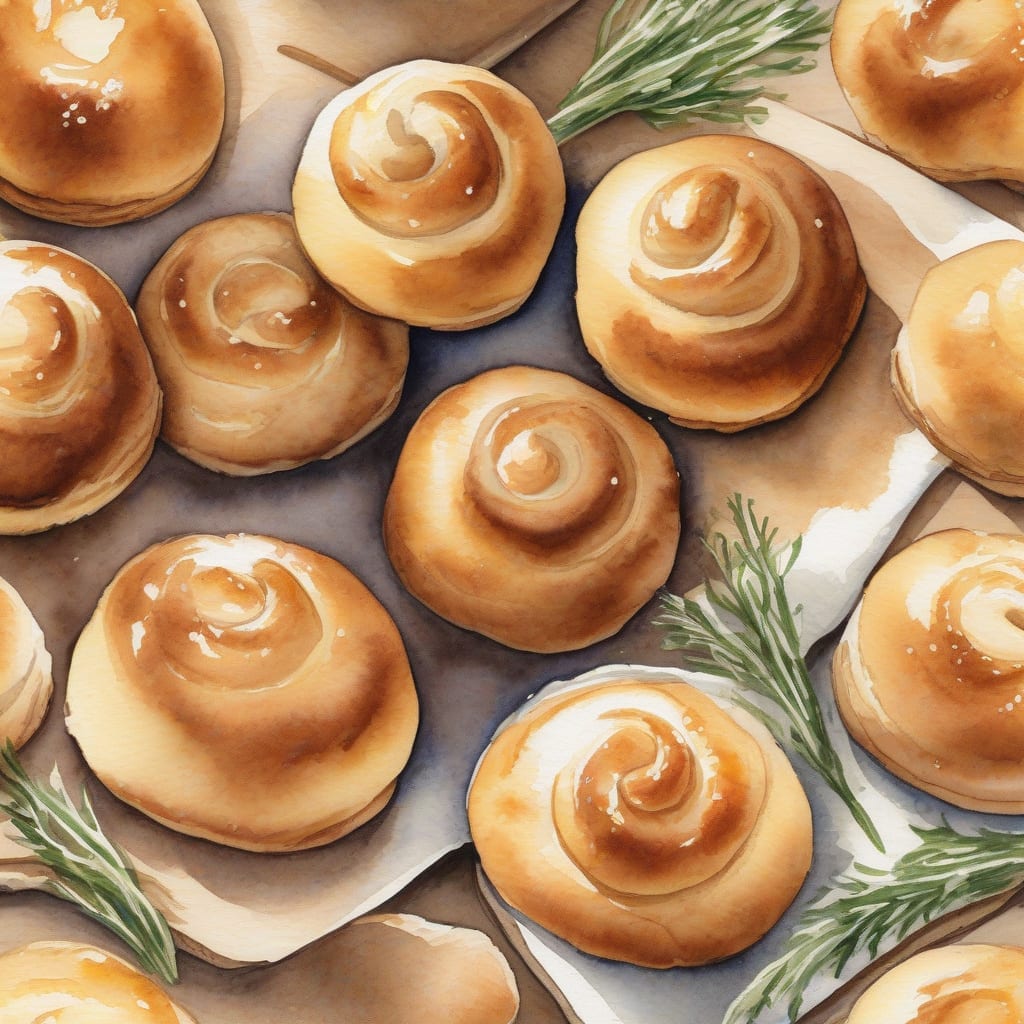
Imagine pulling a tray of warm, fluffy dinner rolls from the oven, their golden tops glistening and beckoning you to take a bite. This recipe showcases how self-rising flour can create light and airy rolls in just 30 minutes, perfect for any meal.
What makes this dish truly special is its simplicity. With just a few ingredients and minimal effort, you can have homemade rolls that rival your favorite bakery. Trust me, these rolls are foolproof and will elevate your dinner table.
By the end, you’ll have perfectly baked rolls that are soft, tender, and ready to soak up your favorite sauces or spreads. Let’s dive into the process and make these delightful rolls together!
Ingredients for Self rising flour dinner rolls
Gather these simple ingredients to create delicious, fluffy dinner rolls in no time.
| Ingredient | Amount | Notes |
|---|---|---|
| Self-Rising Flour 🌾 | 3 cups | For light and fluffy rolls |
| Milk 🥛 | 1 ½ cups | Whole milk for richness |
| Unsalted Butter 🧈 | ½ cup | Melted for flavor and moisture |
| Sugar 🍬 | 1 tbsp | For slight sweetness |
| Salt 🧂 | 1 tsp | Enhances flavor |
| Garlic Powder 🧄 | ½ tsp | Optional, for savory flavor |
| Dried Herbs 🌿 | 1 tbsp | Italian or your choice |
| Egg 🥚 | 1 whole | Beaten, for richness |
| Cooking Spray | ½ tbsp | For greasing the pan |
[recipe_ingredient_scaler]
You can find self-rising flour at any grocery store, often in the baking aisle. Look for brands like Gold Medal or White Lily for consistent quality. Whole milk adds richness and moisture, while unsalted butter enhances flavor—Kerrygold is a great choice if available. Fresh herbs can be found at local farmers markets or supermarkets for vibrant flavor.
If you don't have self-rising flour, you can make your own by mixing all-purpose flour with baking powder and salt (1 cup flour, 1.5 tsp baking powder, 0.5 tsp salt). For a dairy-free version, use almond or oat milk instead of whole milk, and substitute vegan butter. Feel free to adjust the herbs according to your taste preferences.
Store any leftover rolls in an airtight container at room temperature for up to 2 days. For longer storage, freeze them in a resealable bag for up to 3 months. To reheat, simply warm them in the oven at 350°F for about 10 minutes until heated through.
Step-by-Step Instructions for Self-Rising Flour Dinner Rolls
Let me guide you through this quick and easy process to create fluffy dinner rolls in just 30 minutes.
👨🍳 Step 1: Prepare the Dough
In a large mixing bowl, combine 3 cups of self-rising flour, 1 tablespoon of sugar, 1 teaspoon of salt, 0.5 teaspoon of garlic powder, and 1 tablespoon of dried herbs. I like to whisk these dry ingredients together to ensure they are evenly distributed. This step is crucial for flavor and ensures that the rolls rise evenly.
Next, pour in 1.5 cups of milk and add 0.5 cup of melted unsalted butter. I always melt the butter beforehand as it adds moisture and richness to the rolls. Mix everything together until a soft dough forms, but be careful not to over-mix; just combine until you no longer see dry flour.
🔥 Step 2: Shape the Rolls
Preheat your oven to 375°F. While it’s heating, lightly grease a baking pan with 0.5 tablespoon of cooking spray. After preparing the pan, turn the dough out onto a floured surface. I like to knead it gently for just about a minute to bring it all together.
Divide the dough into equal portions, usually about 8 pieces for fluffy rolls. Roll each piece into a ball, ensuring a smooth surface. Place them in the prepared pan close together; this helps them rise up instead of spreading out, creating those perfect pillowy rolls.
⏰ Step 3: Bake the Rolls
Once your oven has preheated, place the pan inside and bake for 15-20 minutes. You’ll know they’re done when they are golden brown on top and sound hollow when tapped. This is an essential sensory checkpoint to ensure your rolls are perfectly baked.
As they bake, the aroma will fill your kitchen, making it hard to resist checking on them! Trust me; the wait will be worth it when you see those fluffy rolls rising beautifully.
🍽️ Step 4: Brush and Serve
Once out of the oven, let the rolls cool in the pan for about 5 minutes. For an extra touch of flavor, I like to brush the tops with a little melted butter right before serving. This adds a lovely sheen and enhances that buttery taste.
Serve these rolls warm alongside your favorite meal or enjoy them on their own. Each bite should be soft, fluffy, and full of flavor—perfect for any occasion!
Elevate Your Rolls: Simple Tips for Perfect Self-Rising Flour Dinner Rolls
To achieve the lightest, fluffiest dinner rolls, pay attention to your mixing technique. I always combine the dry ingredients thoroughly before adding wet ones. This ensures an even distribution of the self-rising flour, which is crucial for proper leavening. Start with 3 cups of self-rising flour and whisk in your 1 tablespoon of sugar and 1 teaspoon of salt. 🥄
When you add the wet ingredients, like 1.5 cups of whole milk and 0.5 cup of melted unsalted butter, mix just until combined. Overmixing can lead to dense rolls, and we want them fluffy! I’ve found that a gentle hand goes a long way in keeping the texture light. ✨
Another tip is to shape your rolls carefully. Divide your dough into about 8 equal portions, rolling each into a smooth ball. Place them close together in the pan; this helps them rise up rather than spread out. Trust me, this little trick makes all the difference in achieving that perfect shape. 🔥
Lastly, brush the tops with melted butter right after baking for added flavor and a beautiful sheen. I love using Kerrygold butter for its rich taste, which enhances the overall experience. These simple steps will ensure your dinner rolls are a hit at any table! 🍞
Nutrition Facts
250kcal
[recipe_ingredient_scaler]

Trained in classic French technique but raised on slow-cooked ribs and spicy rubs, she blends culinary skill with smoke and soul.
- Recipe For Fried Salmon Patties With Flour: Crispy Golden Crust With Flaky Centers - October 3, 2026
- Meat and Potato Recipe Ideas: Savory Pairings for Hearty Meals - October 3, 2026
- Recipe for Fried Prawns Batter: Ultra-Crispy Golden Shell - October 3, 2026