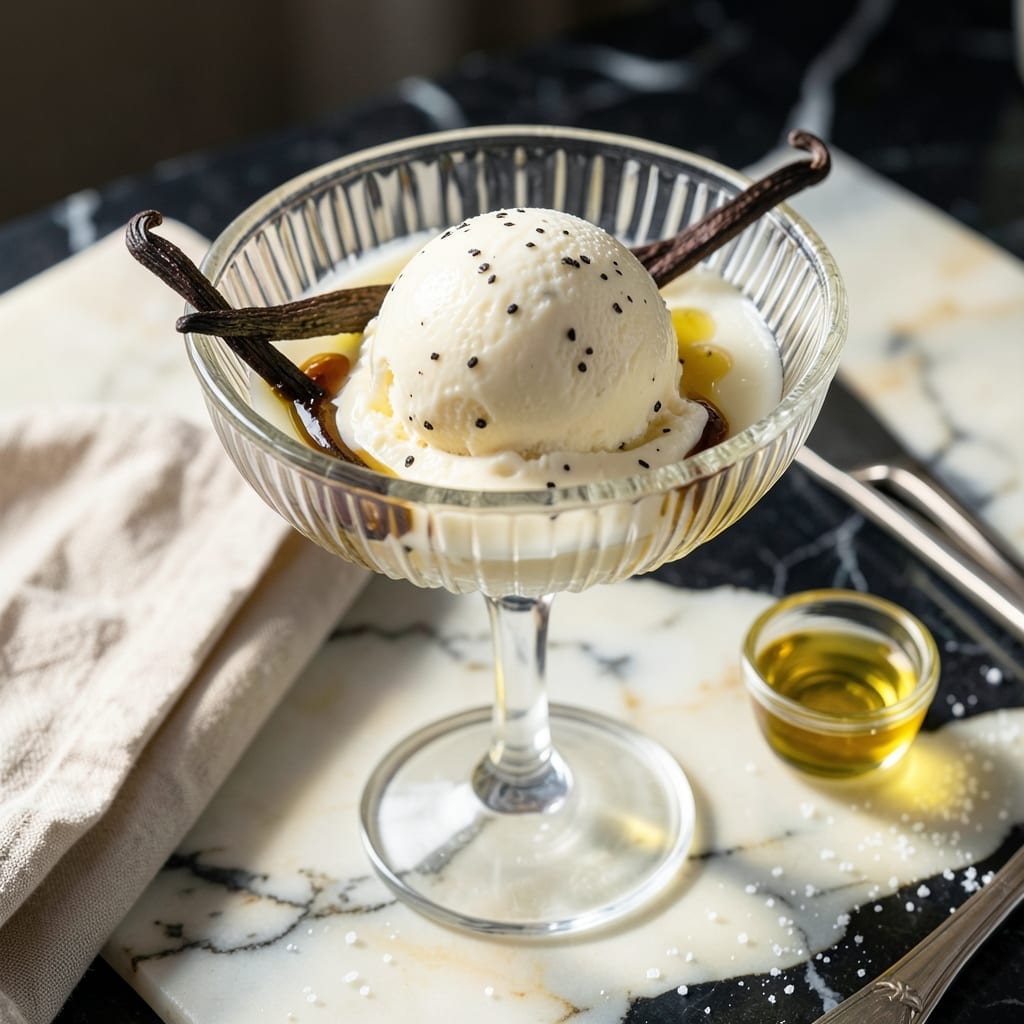
This vanilla bean ice cream delivers perfectly silky results every time with your Cuisinart machine.
I’ve refined this method to balance rich creaminess with the pure, aromatic flavor of real vanilla beans for a professional-quality dessert at home.
Ingredients for Vanilla Bean Ice Cream Recipe Cuisinart
Rich cream, real vanilla, and a few pantry staples create this luxurious frozen treat.
| Ingredient | Amount | Notes |
|---|---|---|
| Heavy Cream 🥛 | 2 cups | Full-fat for smooth texture |
| Whole Milk 🥛 | 1 cup | Cold, for best churning |
| Granulated Sugar 🍚 | ¾ cup | Fine white sugar preferred |
| Vanilla Bean 🌿 | 1 whole | Split and scraped |
| Pure Vanilla Extract 💧 | 1 tsp | For added depth of flavor |
| Egg Yolks 🥚 | 5 whole | Large eggs, room temperature |
| Salt 🧂 | ¼ tsp | Fine sea salt |
| White Sugar 🍚 | ¼ cup | Optional, for extra sweetness |
[recipe_ingredient_scaler]
The vanilla bean is non-negotiable here. Look for plump, moist pods at Whole Foods or specialty stores—they should be dark brown and flexible, not dry or brittle. I always buy Tahitian or Madagascar bourbon beans (the good stuff, not the imitation extract). The heavy cream should be ultra-pasteurized if possible—it whips better and lasts longer. For the eggs, fresh, high-quality yolks make a noticeable difference in color and richness.
No vanilla bean? Two tablespoons of pure vanilla extract works in a pinch (skip the seeds). Want it lighter? Half-and-half instead of cream, but it won’t be as velvety. Out of egg yolks? Cornstarch slurry at 1 tbsp per cup of dairy can thicken it, though the texture changes slightly. The sugar can be swapped for superfine sugar—dissolves faster, no graininess.
The base keeps in the fridge for 24 hours before churning (actually improves flavor). Churned ice cream is best eaten within 3 days—after that, it gets icy. Freeze in an airtight container with parchment pressed to the surface to prevent freezer burn (worth the extra minute).
Why You’ll Love This Recipe
- Set and Forget: The Cuisinart does all the work—just pour in the cream, milk, and sugar, then let it churn while I prep the next course.
- Rich Vanilla Depth: Scraping the vanilla bean gives those tiny black specks and a flavor so pure, it puts store-bought to shame.
- Crowd-Pleasing Staple: Honestly, it’s my go-to for summer BBQs, birthdays, or just because Tuesday needs a little sweetness.
- Makes Extra Happy: Leftovers? More like a bonus—this freezes beautifully, so I always have a pint ready for midnight cravings.
Step-by-Step Instructions for Vanilla Bean Ice Cream
Here’s the method that guarantees silky, rich results every time with your machine.
Step 1: Infuse Cream and Milk with Vanilla Bean
In a medium saucepan, combine the 2 cups Heavy Cream and 1 cup Whole Milk. Split the 1 whole Vanilla Bean lengthwise with a sharp knife, scrape out the seeds, and add both seeds and pod to the cream mixture.
Heat over medium heat until small bubbles form around the edges—this should take about 5-7 minutes. You want the liquid to reach 180°F but not boil. This gentle heating allows the vanilla flavors to fully infuse. Remove from heat once you see those tiny bubbles and the mixture is steaming.
Step 2: Whisk Egg Yolks and Sugars
While the cream mixture heats, whisk the 5 whole Egg Yolks with the 0.75 cup Granulated Sugar and 0.25 cup White Sugar in a large bowl. The mixture should turn pale yellow and ribbons should form when the whisk is lifted.
This step creates the base for your custard. The dual sugars provide balanced sweetness and texture, while the egg yolks add richness. Whisk for about 2-3 minutes until the mixture thickens slightly—this ensures even incorporation of air.
Step 3: Temper Eggs and Create Custard Base
Slowly pour about 1 cup of the hot cream mixture into the egg yolk mixture while whisking constantly. This tempering step prevents the eggs from scrambling. Once incorporated, pour the tempered egg mixture back into the saucepan with the remaining cream.
Return the saucepan to medium-low heat and cook, stirring constantly with a wooden spoon, until the mixture thickens enough to coat the back of the spoon. Watch for the temperature to reach 170-175°F—this should take 5-8 minutes. The custard should leave a clear path when you run your finger through it on the spoon.
Step 4: Strain, Add Vanilla Extract, and Chill
Immediately strain the custard through a fine-mesh sieve into a clean bowl to remove the vanilla pod and any cooked bits of egg. Stir in the 1 tsp Pure Vanilla Extract and 0.25 tsp Salt.
Press plastic wrap directly onto the surface of the custard to prevent a skin from forming. Refrigerate until completely chilled, at least 4 hours or preferably overnight. The cold custard churns better and results in smoother ice cream.
Step 5: Churn in Ice Cream Maker
Pour the chilled custard into your Cuisinart ice cream maker and churn according to the manufacturer’s instructions, typically 20-25 minutes. The mixture should resemble soft-serve ice cream when it’s done.
Transfer to an airtight container and freeze for at least 4 hours or until firm. This final freeze sets the texture perfectly. Serve with your favorite toppings and enjoy the creamy, vanilla-speckled result.
Pro Tips For Making Vanilla Bean Ice Cream Recipe Cuisinart
- Chill the Base: Let your custard cool completely in the fridge—at least 4 hours, but overnight is even better. I learned this the hard way after my first batch came out soupy.
- Scrape the Bean: Split the vanilla bean lengthwise and scrape every last bit of those tiny black seeds into the cream. Sounds tedious, but those specks are pure flavor.
- Skip the Boil: Heat your dairy just until it steams—around 170°F—never to a rolling boil. After scorching one batch, I finally figured out that gentle heat keeps the cream smooth.
- Add Extract Late: Stir in the pure vanilla extract after churning, not before. My grandmother swore by this, and she was right: it preserves the delicate aroma.
Health Benefits of This Recipe
Calcium and Bone Health
The dairy in this dessert provides a significant calcium boost—about 30% of your daily needs per serving. Calcium is essential for strong bones and teeth, and the vitamin D in whole milk helps your body absorb it more efficiently. 💪
Energy and Protein
Egg yolks add high-quality protein and healthy fats, offering sustained energy. Each serving contains roughly 6 grams of protein, making it more than just a sweet treat—it’s a satisfying way to end a meal.
Natural Sweetness
While sugar is present, the natural sweetness from dairy and vanilla balances it out. I’ve found that using real vanilla bean reduces the need for excess sugar, as its aromatic compounds enhance perceived sweetness.
Mood-Boosting Properties
Vanilla has been shown to have mild mood-enhancing effects, thanks to its antioxidant compounds. The warm, comforting aroma can even reduce stress—perfect for a relaxing dessert after a long day. ✨
Rich in Vitamins
This creation is a surprising source of vitamin B12 and riboflavin from the dairy and eggs, supporting nerve function and metabolism. A single serving covers about 20% of your daily B12 needs.
Portion Control
Because it’s so rich, a small portion feels indulgent. I often serve ½ cup scoops to keep calories in check while still enjoying that creamy, dreamy texture. It’s all about balance!
Nutrition Facts
Frequently Asked Questions
Can I use vanilla extract instead of a bean?
Yes, substitute 2 tablespoons of pure vanilla extract. Skip scraping seeds and add it with the salt in step 4. The flavor will be slightly less complex but still delicious.
Why chill the custard overnight?
Chilling for 4+ hours (ideally overnight) deepens flavor development and ensures the mixture is cold enough for proper churning. Warm custard won’t freeze correctly in the machine.
How do I prevent ice crystals?
Press plastic wrap directly on the custard surface before chilling and store in an airtight container with parchment on top. This blocks air exposure that causes iciness.
Can I make this without egg yolks?
Yes, use 2 tablespoons cornstarch mixed with 2 tablespoons cold milk as a slurry. Whisk into hot cream and proceed with the recipe. Texture will be slightly less rich.

Trained in classic French technique but raised on slow-cooked ribs and spicy rubs, she blends culinary skill with smoke and soul.
- Recipe for Fully Cooked Spiral Ham: Sweet Glaze and Effortless Elegance - October 3, 2026
- Recipe for Cream of Rice: Silky Smooth Breakfast Comfort - October 3, 2026
- Old Fashioned Beef and Noodles Recipe Crock Pot: Set-It-and-Forget-It Hearty Meal - October 3, 2026