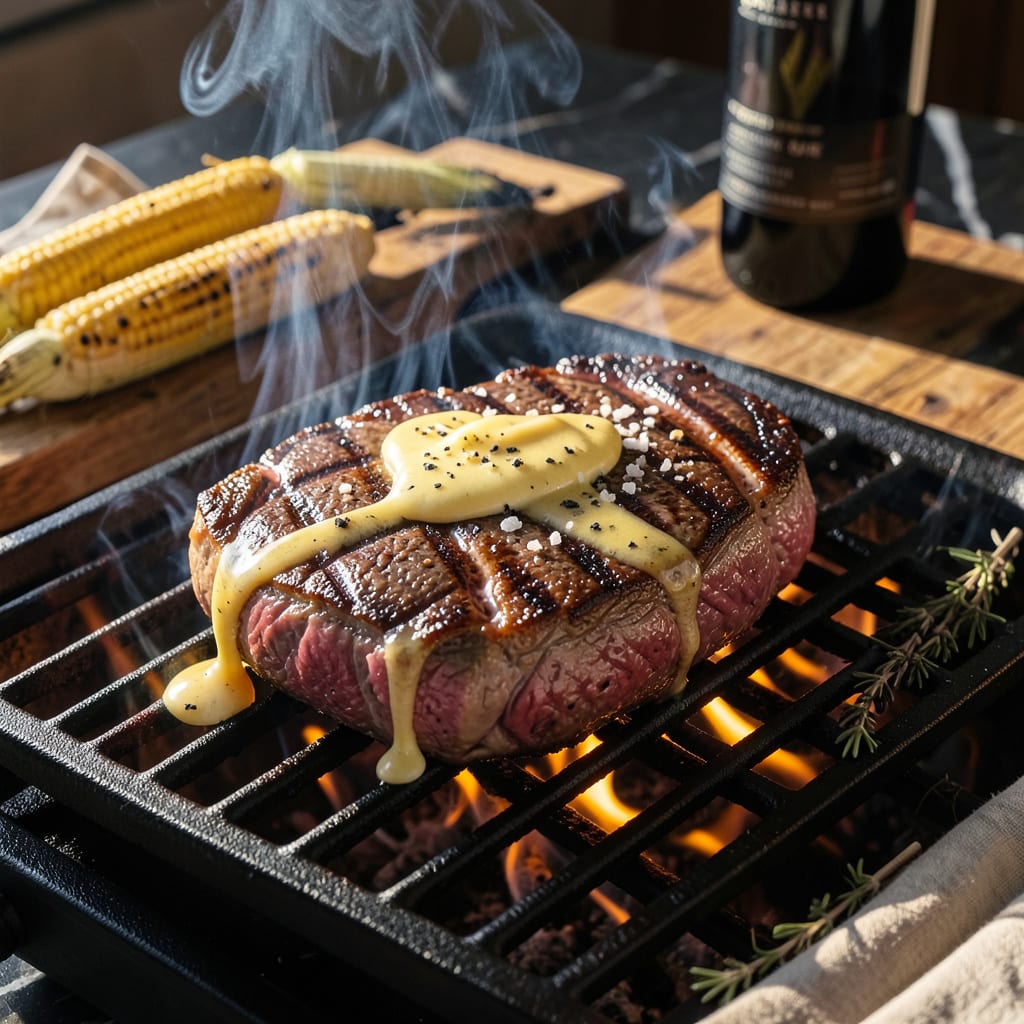
For a perfect 2-inch steak, sear both sides over high heat (450°F+) for 2-3 minutes each, then move to indirect heat. Cook to 125°F for medium-rare (about 12-15 minutes total), resting 5-10 minutes before slicing.
This two-stage method is my secret to nailing thick cuts every time. The initial blast of high heat creates that coveted crust through the Maillard reaction, while finishing over indirect heat lets the center come to temperature gently. 🔥 What most home cooks miss is how crucial the rest period is—those final minutes let juices redistribute, so you don’t lose all that flavor on your cutting board. I learned this the hard way after slicing into too many dry steaks before they’d properly rested.
Thickness matters more than you’d think with steaks. A 2-inch cut needs this careful approach because the temperature gradient from edge to center is dramatic. The reverse sear technique (which this mimics) was originally developed by competition pitmasters to solve exactly this problem—getting perfect doneness throughout without overcooking the outer layers. ✨
💡 In This Article
- Mastering the Reverse Sear Technique for Thick Steaks
- Essential Tools and Prep for Grilling 2-Inch Steaks
Mastering the Reverse Sear Technique for Thick Steaks
Here’s what’s actually happening when you use this two-stage method: the initial high-heat sear (at 450°F+) triggers the Maillard reaction, creating that deep brown crust packed with complex flavors. But with a 2-inch steak, if you just blast it with heat the whole time, you’ll end up with a well-done exterior and raw center.
The reverse sear solves this by letting the steak cook gently first, then finishing with that intense heat. 🔥
The science behind this involves temperature gradients. In a thick cut, the center can be 50°F cooler than the surface when you start cooking. By moving to indirect heat after the initial sear, you give the heat time to penetrate evenly.
Collagen in the connective tissues starts breaking down around 140°F, which is why that 12-15 minute indirect cook at 275-300°F makes such a difference in tenderness. ✨
Carryover cooking is the secret weapon here. When you pull the steak at 125°F, it’ll continue rising 5-10°F during resting as the heat redistributes. This is why your 5-10 minute rest isn’t just about juices—it’s the final cooking stage.
I’ve tested this with ribeyes and strip steaks, and the difference is night and day compared to straight grilling.
What most people don’t realize is how much the resting phase affects the final texture. During those 5-10 minutes, the muscle fibers relax and reabsorb about 30% of the juices that get pushed to the center during cooking. Skip this step, and you’ll lose all that moisture the moment you cut into it. 💫
For comparison, a 1-inch steak can handle straight high heat because the temperature gradient isn’t as extreme. But with that extra inch, you’re dealing with nearly twice the mass—which means twice the potential for uneven cooking if you don’t control the heat zones properly.
The reverse sear method was literally invented to solve this exact problem for thick cuts.
Here’s a pro tip I learned from competition pitmasters: if you’re working with a particularly marbled cut like a ribeye, start your indirect cook at 250°F instead of 275°F. The extra fat needs more time to render properly without burning during the final sear.
This small adjustment makes a huge difference in that perfect crust formation. ⚡
Remember, the thickness of your steak dictates your technique. That extra inch isn’t just more meat—it’s a completely different cooking challenge that demands this careful temperature control. When you nail this method, you’ll understand why steakhouse chefs swear by it for their thickest cuts.

Trained in classic French technique but raised on slow-cooked ribs and spicy rubs, she blends culinary skill with smoke and soul.
- Recipe for Boneless Pork Chops in Cast Iron Skillet: Sear and Baste to Juicy Perfection - October 3, 2026
- Recipe for Boneless Cross Rib Roast: Slow-Roasted Beef with Herb Crust - October 3, 2026
- Hamburgers in Sauce Recipe Crock Pot: Slow-Cooked Savory Delight - October 3, 2026