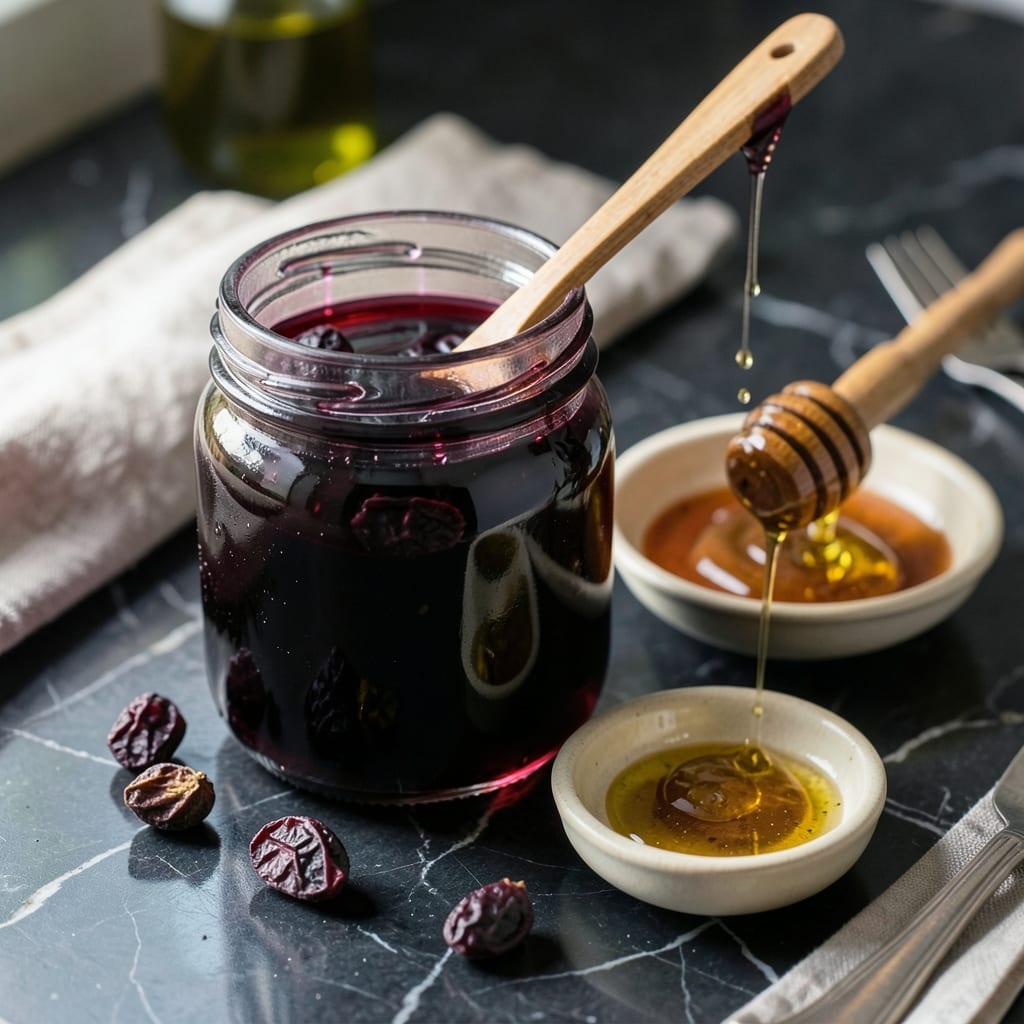
This homemade immune-boosting syrup simplifies elderberry benefits into just three ingredients. I developed this recipe after foraging wild elderberries and discovering how easy it is to preserve their goodness.
The process transforms fresh or dried berries into a concentrated syrup using a simple simmering method. No special equipment needed—just a pot, some patience, and basic pantry staples.
What results is a deep purple, versatile syrup that supports wellness and adds natural sweetness to beverages or desserts. The flavor is rich and slightly tart, perfectly balanced.
Store in the refrigerator for up to three months or freeze for longer preservation. This recipe makes about two cups of concentrated syrup.
Ingredients for 3 Ingredient Elderberry Syrup
Three simple ingredients transform into a vibrant, immune-boosting syrup with rich flavor.
| Ingredient | Amount | Notes |
|---|---|---|
| Dried Elderberries 🫐 | 1 cup | Organic, food-grade quality |
| Raw Honey 🍯 | 1 cup | Use maple syrup for vegan option |
| Water 💧 | 4 cups | Filtered or distilled preferred |
[recipe_ingredient_scaler]
Elderberries are the foundation here. Source organic, food-grade dried berries from reputable suppliers like Frontier Co-op or Mountain Rose Herbs—wild-harvested can be risky if not properly identified. The quality directly impacts potency and color. Avoid any with stems or leaves, as they can be toxic. For fresh berries, ensure they’re fully ripe and processed immediately to prevent spoilage.
Need a vegan sweetener? Maple syrup at a 1:1 ratio works perfectly and maintains the deep flavor profile. Agave nectar is another option, though it’s slightly thinner. If using fresh elderberries, simmer for 20-30 minutes to extract maximum benefit. The water amount can be adjusted for thicker or thinner syrup—less for a more concentrated version.
This syrup keeps beautifully. Store in a clean glass jar in the refrigerator for up to 3 months. For longer preservation, freeze in ice cube trays, then transfer to airtight containers—good for 6-12 months. Always use a clean spoon to prevent contamination.
Why You’ll Love This Recipe
- 20 Minute Brew: I can start simmering the elderberries and water while I prep the honey—done before the kettle cools.
- Sweet-Tart Magic: The honey mellows the elderberries’ deep, jammy flavor into this rich, syrupy balance I crave by the spoonful.
- Cold Season Staple: I keep a jar in the fridge and stir a spoonful into tea, drizzle over yogurt, or give the kids a quick immunity boost.
- Pantry Hero: Dried berries and honey last forever, so I’m never caught without the makings for a fresh batch.
Step-by-Step Instructions for Elderberry Syrup
This straightforward method ensures a potent, flavorful syrup with maximum health benefits.
Step 1: Simmer Dried Elderberries in Water
Combine the 1 cup Dried Elderberries with all 4 cups Water in a medium saucepan. I always use filtered or distilled water to avoid any chlorine or mineral interference with the final flavor and color. Bring the mixture to a boil over medium-high heat, watching for the first bubbles to appear around the edges.
Once boiling, reduce the heat to maintain a gentle simmer. You’ll notice the water gradually deepen to a rich purple hue as the elderberries release their beneficial compounds. Simmer uncovered for 45-60 minutes, stirring occasionally. The liquid should reduce by about one-third, and the berries will appear soft and plump.
Step 2: Strain and Extract Maximum Flavor
Remove the saucepan from heat and let the mixture cool slightly for 10 minutes. This brief rest allows the berries to release any remaining liquid. Place a fine-mesh strainer over a clean bowl or large measuring cup and line it with cheesecloth or a clean kitchen towel for a finer strain.
Pour the elderberry mixture through the strainer, pressing down gently on the berries with the back of a spoon to extract all the liquid. Avoid squeezing too hard, as this can push bitter sediments through. Discard the spent berries—they’ve given up all their goodness. You should have approximately 2-2½ cups of concentrated liquid.
Step 3: Incorporate Raw Honey for Sweetness and Preservation
While the strained liquid is still warm (but not hot—heat above 110°F can degrade honey’s enzymes), stir in the 1 cup Raw Honey. I prefer to use a whisk here to fully dissolve the honey and ensure even distribution. The warmth of the liquid will help the honey incorporate smoothly without crystallization.
Taste the syrup at this point. If you prefer a sweeter result, add a touch more honey, but remember that the raw honey not only sweetens but also acts as a natural preservative. The syrup will thicken slightly as it cools, coating the back of a spoon with a glossy finish.
Step 4: Cool, Store, and Use
Let the syrup cool to room temperature, which typically takes 30-45 minutes at room temperature or 15 minutes in a cold water bath. As it cools, it will thicken further into a pourable, syrup-like consistency. Transfer the cooled syrup to a clean glass jar or bottle with a tight-fitting lid.
Store the syrup in the refrigerator, where it will keep for up to 3 months. For daily immune support, take 1 tablespoon for adults or 1 teaspoon for children. This syrup is also delightful drizzled over yogurt, stirred into tea, or used as a natural sweetener in various recipes. The flavor deepens over time, becoming more complex and mellow.
Pro Tips For Making 3 Ingredient Elderberry Syrup
- Simmer Low and Slow: Keep the heat at a gentle simmer—any higher and you’ll cook off the good stuff in the elderberries too fast. I learned this the hard way after scorching my first batch at a rolling boil.
- Strain twice: After the first strain, run the liquid through a coffee filter or cheesecloth to catch the tiny bits. Skipping this leaves a gritty texture that ruins the syrup.
- Use raw honey: Substituting processed honey or sugar weakens the flavor and loses the health benefits. Raw honey’s enzymes actually change the outcome here.
- Skip the lid: Let the syrup reduce uncovered so excess water evaporates. Covering it traps moisture and leaves you with a weak, runny syrup.
Storing and Reheating This Recipe
Refrigerator Storage
Transfer your cooled syrup to a clean glass jar with a tight-fitting lid. I use Ball Mason jars for their airtight seal. Store in the refrigerator at 40°F or below for up to 3 months. The flavor actually improves over time as it mellows. ❄️
Freezer Storage
For longer preservation, pour syrup into ice cube trays and freeze until solid. Then transfer cubes to a freezer bag or airtight container. This method keeps well for 6-12 months and lets you thaw only what you need.
Thawing Frozen Syrup
Move frozen cubes to the refrigerator overnight for gradual thawing. For quick use, place cubes in a small saucepan with low heat until just melted. Avoid microwaving as it can degrade some beneficial compounds.
Preventing Contamination
Always use a clean, dry spoon when dispensing syrup to avoid introducing bacteria. If the syrup develops an off smell or mold, discard it immediately. I label my jars with the date to track freshness.
Room Temperature Use
Once opened, keep the syrup refrigerated between uses. If you’re using it daily, a small bottle in the fridge door works perfectly. The thick consistency means it won’t spill easily.
Nutrition Facts
Frequently Asked Questions
Can I use fresh elderberries instead of dried?
Yes, use 1½ cups fresh for every 1 cup dried. Simmer for 20-30 minutes to extract full flavor and benefits. Just ensure they’re fully ripe and stem-free.
Why does the honey need to be added when warm?
Warm liquid helps honey dissolve evenly and preserves its enzymes. Adding to hot liquid (above 110°F) can destroy beneficial properties. Whisk well for smooth texture.
How can I make this syrup thicker?
Simmer the strained liquid longer to reduce it further before adding honey. For a quick fix, mix in 1 teaspoon arrowroot powder while warm.
What’s the best way to take this daily?
Adults: 1 tablespoon daily. Children: 1 teaspoon. Mix into tea, drizzle on yogurt, or take directly. Store in fridge for up to 3 months.

Trained in classic French technique but raised on slow-cooked ribs and spicy rubs, she blends culinary skill with smoke and soul.
- Recipe for Boneless Pork Chops in Cast Iron Skillet: Sear and Baste to Juicy Perfection - October 3, 2026
- Recipe for Boneless Cross Rib Roast: Slow-Roasted Beef with Herb Crust - October 3, 2026
- Hamburgers in Sauce Recipe Crock Pot: Slow-Cooked Savory Delight - October 3, 2026