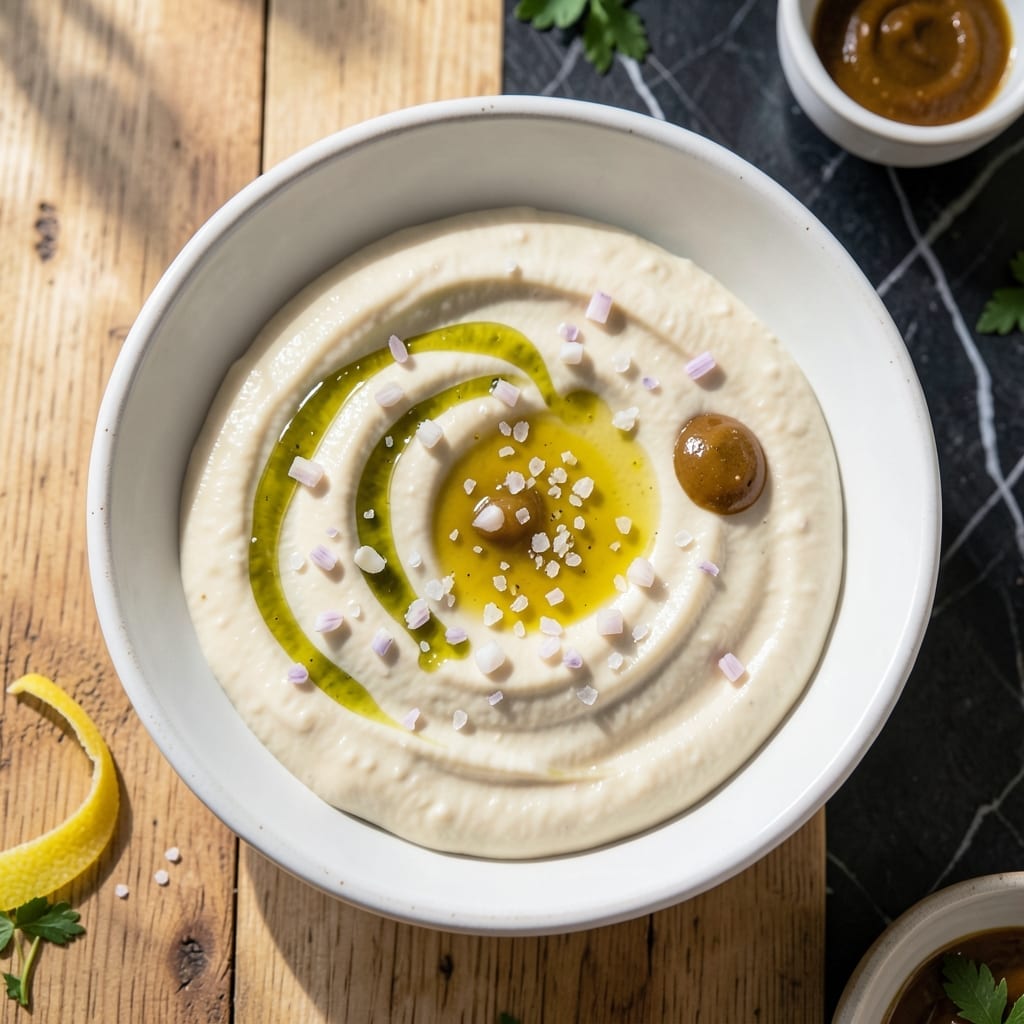
This aioli recipe transforms basic mayo into a garlic-infused sauce with rich, creamy depth. It’s the perfect condiment for sandwiches, fries, or grilled meats.
With just a few ingredients and 5 minutes of prep, you’ll have a versatile sauce that elevates any dish. The key is fresh garlic and slow emulsification for the smoothest texture.
Ingredients for Aioli Recipe with Mayo
Eight ingredients craft this garlic-infused sauce with rich, creamy depth in minutes.
| Ingredient | Amount | Notes |
|---|---|---|
| Mayonnaise 🥄 | 1 cup | Full-fat for best texture |
| Garlic Cloves 🧄 | 4 cloves | Freshly minced for bold flavor |
| Lemon Juice 🍋 | 1 tbsp | Freshly squeezed preferred |
| Dijon Mustard 🟡 | 1 tsp | Smooth, not whole grain |
| Extra-Virgin Olive Oil 🫒 | 2 tbsp | High-quality for depth |
| Sea Salt 🧂 | ½ tsp | Fine grain for even distribution |
| Black Pepper 🌶️ | ¼ tsp | Freshly ground preferred |
| Fresh Parsley 🌿 | 1 tbsp | Finely chopped, optional garnish |
[recipe_ingredient_scaler]
The mayo base matters most here. Duke’s or Hellmann’s deliver the ideal consistency and neutral flavor—avoid low-fat versions, as they lack the necessary fat for proper emulsification. For the garlic, fresh cloves are non-negotiable; jarred minced garlic lacks the vibrant punch this recipe demands. Whole Foods or Trader Joe’s typically carry organic options with superior aroma.
Out of fresh garlic? Garlic powder at one-quarter the amount works in a bind (use sparingly). No Dijon? Yellow mustard at the same ratio substitutes well, though with milder heat. The olive oil can be omitted entirely if you prefer a lighter texture, but its fruity notes complement the garlic beautifully. For a smoother finish, let the minced garlic sit in the lemon juice for 5 minutes before mixing.
This aioli keeps for 5 days refrigerated in an airtight container. The flavors meld and deepen overnight. For longer storage, freeze in ice cube trays for up to 3 months—thaw and re-whisk before using.
Why You’ll Love This Recipe
- 5-Minute Magic: I mix mayo, crushed garlic, and a squeeze of lemon—no cooking, just stir and taste.
- Garlic Lovers’ Dream: The sharp bite of fresh garlic mellows into the creamy mayo, with Dijon adding that little kick I crave.
- Dips or Drizzles: I slather it on sandwiches, dollop it over roasted veggies, or use it as a dip for fries—it does it all.
- Keeps Like a Champ: Honestly, it stays fresh in the fridge for a week, so I make a big batch and never worry.
Step-by-Step Instructions for Aioli With Mayo
This refined method ensures maximum flavor infusion and the perfect creamy texture every time.
Step 1: Mince and Infuse the Garlic
Begin by finely mincing the 4 cloves Garlic Cloves. The finer the mince, the more evenly the flavor will distribute throughout the aioli. I prefer using a chef’s knife and the rock-and-cut method for consistent results.
Combine the minced garlic with the 2 tbsp Extra-Virgin Olive Oil in a small bowl. Let this mixture sit for 5 minutes to allow the garlic to mellow slightly and infuse the oil. This step tempers the raw garlic’s bite while preserving its aromatic qualities.
Step 2: Create the Emulsion Base
In a medium mixing bowl, whisk together the 1 cup Mayonnaise with the 1 tbsp Lemon Juice and 1 tsp Dijon Mustard. The acidity from the lemon juice brightens the flavor, while the mustard adds depth and helps stabilize the emulsion.
Whisk vigorously for 30 seconds until the mixture is completely smooth and homogeneous. You should see no separation or streaks in the mixture. This creates the perfect foundation for the remaining ingredients.
Step 3: Incorporate the Seasonings
Add the garlic-infused olive oil mixture to the mayonnaise base. Stir in the 0.5 tsp Sea Salt and 0.25 tsp Black Pepper. The salt enhances all the flavors, while the pepper adds a subtle warmth that complements the garlic.
Fold everything together gently but thoroughly for 1 minute to ensure even distribution. Taste and adjust seasoning if needed, though the full flavor will develop after a short rest.
Step 4: Rest and Finish
Cover the bowl and refrigerate the aioli for at least 30 minutes to allow the flavors to meld completely. This resting period is crucial—it softens the garlic’s sharpness and allows the olive oil to fully integrate with the mayonnaise base.
Just before serving, stir in the 1 tbsp Fresh Parsley if using. This not only adds a pop of color but also a fresh herbal note that balances the richness. Transfer to a serving bowl and enjoy with vegetables, seafood, or sandwiches.
Pro Tips For Making Aioli Recipe With Mayo
- Grate the Garlic: I learned this the hard way—pressing or mincing garlic can make the aioli bitter. Use a microplane for a fine, sweet garlic paste that blends smoothly into the mayo.
- Room Temp Mayo: Cold mayo resists blending with olive oil. Pull your mayonnaise out 15 minutes early so it incorporates effortlessly without breaking.
- Drip the Oil Slow: Sounds tedious, but it works: add the olive oil in a thin stream while whisking to prevent a greasy, separated mess. I skip this when lazy, and it shows.
- Balance the Acid: Taste as you go with the lemon juice—start with 1 tablespoon, then adjust. Too much makes it thin and harsh, and you can’t take it out once it’s in.
Storing and Reheating This aioli recipe with mayo
Refrigerator Storage
Transfer your aioli to an airtight container—I use small glass jars with screw-top lids. It stays fresh in the fridge at 40°F or below for up to 5 days. The garlic flavor actually deepens and mellows over time. ❄️
Freezer Storage
For longer storage, portion into ice cube trays and freeze for up to 3 months. Once solid, transfer cubes to a freezer bag. Thaw in the fridge overnight, then whisk briefly to restore the creamy texture.
Reviving Separated Aioli
If your aioli separates after storage, don’t panic. Simply whisk in 1-2 tsp cold water or lemon juice until smooth. The emulsifiers in mayo will rebind the mixture quickly.
Room Temperature Use
Let refrigerated aioli sit at room temperature for 15-20 minutes before serving. This brings out the best flavor and makes it easier to spread. Avoid leaving it out for more than 2 hours total.
Flavor Refresh
After storage, taste and adjust seasoning if needed. A fresh squeeze of lemon juice or a pinch of salt often revives the brightness. I always keep a lemon wedge handy for this. 💡
Nutrition Facts
Frequently Asked Questions
Can I use garlic powder instead of fresh?
Yes, but use 1/4 tsp garlic powder for every clove. Fresh is best for bold flavor, but powder works in a pinch. Just add it directly to the mayo base.
How long does homemade aioli last?
In an airtight container in the fridge, it stays fresh for up to 5 days. The garlic flavor deepens over time, so taste before serving.
Why did my aioli separate?
This happens if ingredients weren’t fully emulsified. Fix it by whisking in 1-2 tsp cold water or lemon juice until smooth again.
Can I make it spicier?
Add 1/4 tsp cayenne or a dash of hot sauce. For heat without changing flavor, try pinch of red pepper flakes.

Trained in classic French technique but raised on slow-cooked ribs and spicy rubs, she blends culinary skill with smoke and soul.
- Recipe for Boneless Pork Chops in Cast Iron Skillet: Sear and Baste to Juicy Perfection - October 3, 2026
- Recipe for Boneless Cross Rib Roast: Slow-Roasted Beef with Herb Crust - October 3, 2026
- Hamburgers in Sauce Recipe Crock Pot: Slow-Cooked Savory Delight - October 3, 2026