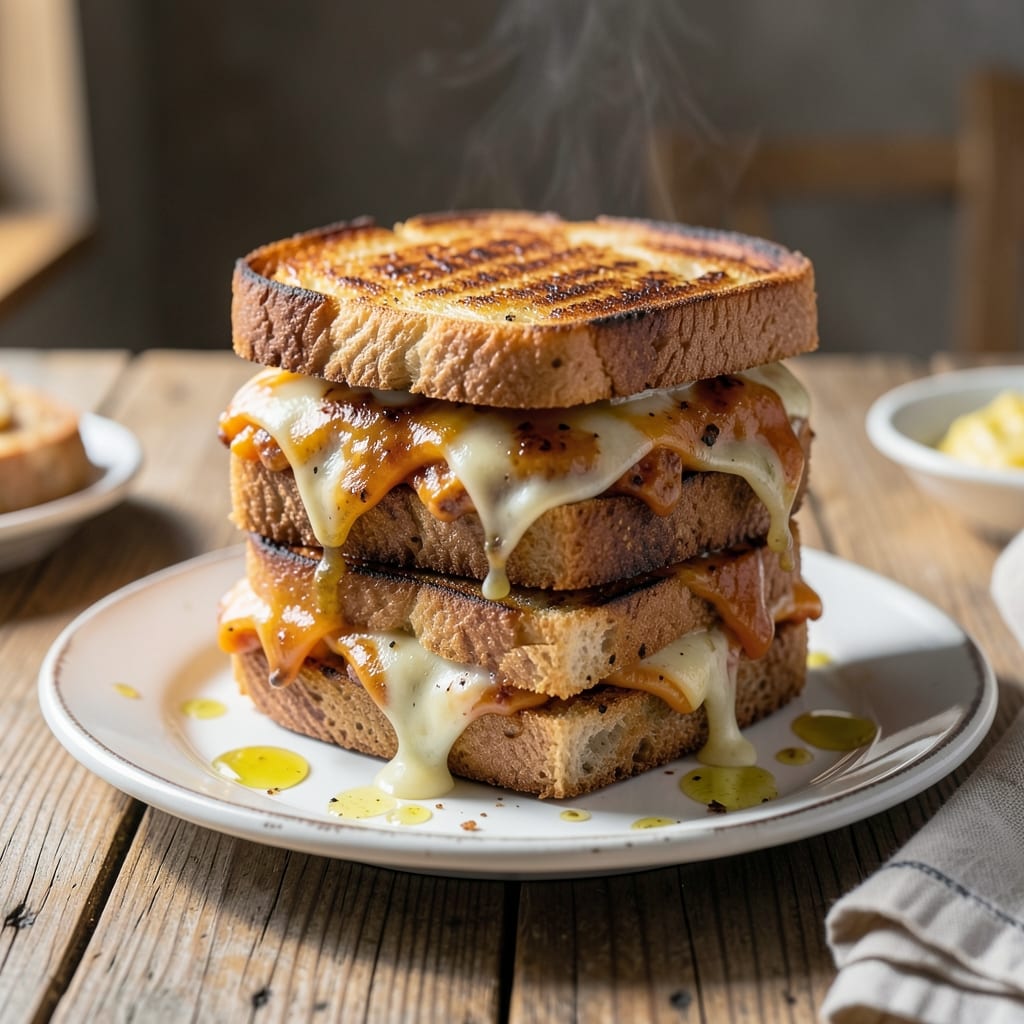
This air fryer method delivers crispy, goldenbread with perfectly melted cheese every time. I developed it for busy weeknights when I need hot sandwiches fast.
The secret is preheating the air fryer and using just enough butter to create that signature crust. No flipping required—just set the timer and let the hot air work its magic.
Ingredients for Air Fryer Grilled Ham and Cheese Sandwich
Pantry staples and deli counter essentials. That’s all you need for golden, gooey perfection.
| Ingredient | Amount | Notes |
|---|---|---|
| White Bread 🍞 | 8 slices | Sourdough or Texas toast preferred |
| Deli Ham 🍖 | 8 slices | Black Forest or honey ham |
| Cheddar Cheese 🧀 | 8 slices | Sharp or mild, your choice |
| Unsalted Butter 🧈 | 4 tbsp | Softened for easy spreading |
| Dijon Mustard 🟡 | 2 tbsp | Optional for extra kick |
| Mayonnaise 🥛 | 2 tbsp | Full-fat for creaminess |
| Garlic Powder 🧄 | ½ tsp | For seasoned butter option |
| Paprika 🌶️ | ¼ tsp | Smoked or sweet variety |
| Black Pepper 🌶️ | ¼ tsp | Freshly ground preferred |
| Salt 🧂 | ¼ tsp | Fine sea salt for seasoning |
[recipe_ingredient_scaler]
The bread makes the crust. Sourdough or Texas toast hold up best to the air fryer’s heat (brioche gets too dark). For the ham, Boar’s Head or HoneyBaked are my go-tos—thin slices crisp up nicely without drying out. Butter is non-negotiable for that golden finish; Land O’Lakes unsalted is my everyday pick (the good stuff, not margarine).
No ham? Turkey or roast beef work just as well. For cheese, Swiss or American melt beautifully if cheddar isn’t your thing. The Dijon can be swapped for yellow mustard or skipped entirely. If you’re out of butter, mayonnaise on the outside (yes, really) gets you a crisp crust too—just brush it on thin.
Assemble right before air frying—no soggy bread. Leftovers? Reheat in the air fryer at 350°F for 2-3 minutes. Keeps 2-3 days in the fridge, but let’s be real, they won’t last that long.
Why You’ll Love This Recipe
- One-Handed Easy: I just butter the bread, layer the ham and cheddar, and let the air fryer do the work—no flipping, no fuss.
- Crispy Cheesy Bite: That buttery crust with melted cheddar and the sharp kick of Dijon? Honestly, it’s my new lunch obsession.
- Lunchbox Hero: I pack these for my kid’s school lunch, and they stay crisp for hours—no soggy sandwiches here.
- Budget Friendly: Deli ham and cheddar stretch far, and I use whatever bread’s on hand. Between us, it’s cheaper than takeout.
Step-by-Step Instructions for Air Fryer Grilled Ham and Cheese Sandwich
Here’s how to get that perfect crispy exterior with gooey melted centers every time.
Step 1: Prepare the Seasoned Butter Spread
In a small bowl, mix 4 tbsp Unsalted Butter with 0.5 tsp Garlic Powder, 0.25 tsp Paprika, 0.25 tsp Salt, and 0.25 tsp Black Pepper until fully combined. This seasoned butter adds depth of flavor to each bite and ensures even browning in the air fryer.
The spices should be evenly distributed throughout the butter with no visible streaks. I like to use softened butter for this step as it blends more easily with the spices. This mixture will give your sandwich that extra kick that sets it apart from a basic grilled cheese.
Step 2: Assemble the Sandwiches with Care
Lay out 8 slices White Bread and spread a thin layer of 2 tbsp Mayonnaise on one side of each slice. This might seem unusual, but the mayonnaise creates an incredible crispy crust in the air fryer. On four slices, add 1 slice Cheddar Cheese, 1 slice Deli Ham, and another slice Cheddar Cheese.
If using 2 tbsp Dijon Mustard, spread a light layer on the ham for an extra tangy flavor. Top with the remaining bread slices, mayonnaise-side out. Press down gently to help everything adhere. The double layer of cheese ensures maximum meltiness in every bite.
Step 3: Butter and Air Fry to Perfection
Spread the seasoned butter mixture evenly on the outer sides of each sandwich. Place the sandwiches in the air fryer basket in a single layer, making sure they don’t overlap. This ensures even cooking and that coveted crispy texture. Cook at 375°F for 4-5 minutes.
After 4 minutes, flip the sandwiches carefully and cook for another 3-4 minutes until the bread is golden brown and the cheese is fully melted. The exact time may vary slightly depending on your air fryer model, so start checking at the 3-minute mark after flipping.
Step 4: Rest and Serve Immediately
Transfer the sandwiches to a cutting board and let them rest for 1-2 minutes before serving. This brief rest allows the cheese to set slightly, preventing it from all oozing out when you cut into it. The bread should be crispy to the touch with a rich golden color.
Cut each sandwich in half diagonally for that classic presentation. Serve immediately while hot and crispy. Each bite should deliver a perfect combination of crispy bread, melty cheese, and savory ham with those subtle seasoned butter notes coming through.
Pro Tips For Making Air Fryer Grilled Ham And Cheese Sandwich
- Preheat the Air Fryer: Set it to 350°F for 3 minutes before adding your sandwich—I learned this the hard way after too many unevely cooked centers.
- Butter the Outside: Spread a thin, even layer of unsalted butter on the bread’s outer sides for that golden, crispy finish (yes, even in the air fryer).
- Skip Soggy Bread: Pat the deli ham dry with a paper towel before assembling, or it’ll steam the bread and ruin the texture.
- Flip at 4 Minutes: Cook for 4 minutes, flip, then go another 3-4 minutes—this guarantees both sides crisp without burning the cheese.
Serving Suggestions for air fryer grilled ham and cheese sandwich
Classic Presentation
Cut these sandwiches diagonally from corner to corner for that diner-style look. The triangle shape isn’t just pretty—it exposes more crispy edges. I always use a serrated bread knife for clean cuts without squishing the filling. 💛
Dipping Sauces
Serve with small bowls of Dijon mustard for dipping or a quick mix of 2 tbsp mayonnaise and 1 tsp honey for a sweet contrast. The honey mustard dip I make at the cookouts always disappears first.
Side Pairings
These sandwiches pair beautifully with crispy potato chips or a simple green salad. For something lighter, try pickle spears—the tang cuts through the richness perfectly. I like to use Claussen dill pickles from the fridge section.
Garnish Ideas
Add a sprinkle of paprika or dried parsley on top before serving for a pop of color. A few fresh herb leaves from my foraging trips make it look gourmet. Honestly, even a simple garnish elevates the whole plate.
Serving Temperature
These are best served immediately while the bread is still crispy and the cheese is gooey. If you must hold them, keep in a 200°F oven for up to 10 minutes. But real talk, they’re so good they won’t last that long.
For a Crowd
When making multiple batches, keep finished sandwiches warm on a wire rack in the oven. This prevents the bottoms from getting soggy. I learned this trick at local BBQ competitions—works like a charm.
Nutrition Facts

Trained in classic French technique but raised on slow-cooked ribs and spicy rubs, she blends culinary skill with smoke and soul.
- Recipe for Boneless Pork Chops in Cast Iron Skillet: Sear and Baste to Juicy Perfection - October 3, 2026
- Recipe for Boneless Cross Rib Roast: Slow-Roasted Beef with Herb Crust - October 3, 2026
- Hamburgers in Sauce Recipe Crock Pot: Slow-Cooked Savory Delight - October 3, 2026