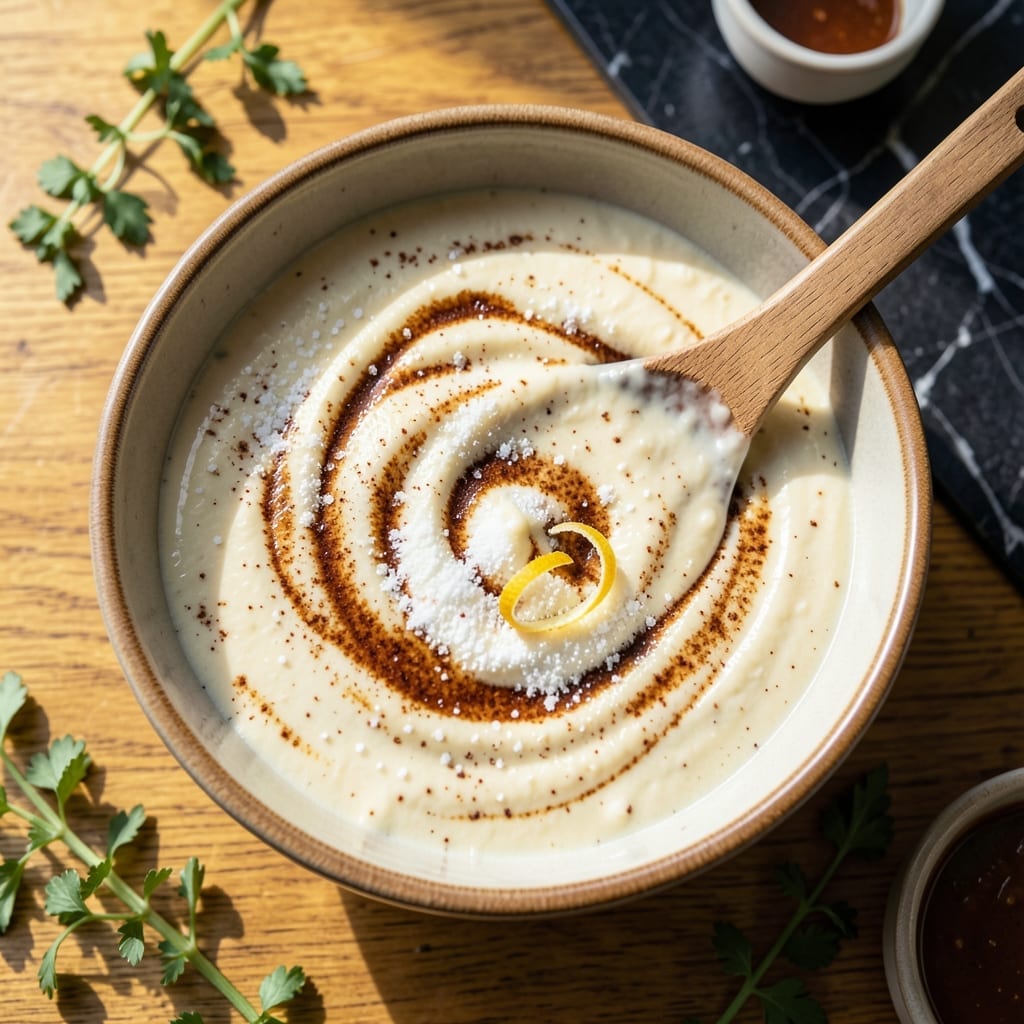
This 5-day fermented starter requires no yeast, relying instead on natural fermentation to create the perfect base for Amish friendship bread.
With simple ingredients and daily stirring, you’ll cultivate a tangy, bubbly starter ready for baking. The process transforms flour and sugar into a living culture that brings depth to your baked goods.
Ingredients for Amish Friendship Bread Starter Recipe Without Yeast
Simple pantry staples and five days transform into your new favorite baking tradition.
| Ingredient | Amount | Notes |
|---|---|---|
| All-Purpose Flour 🌾 | 2 cups | Unbleached preferred for fermentation |
| Granulated Sugar 🍚 | ¾ cup | White granulated for best results |
| Whole Milk 🥛 | 1 cup | Warm, about 110°F |
| Active Starter Culture 🍞 | ½ cup | From previous batch or friend |
| Vanilla Instant Pudding Mix 🍮 | 1 package | 3.4 oz size, any brand |
| Ground Cinnamon 🌿 | 1 tsp | Freshly ground for best flavor |
| Salt 🧂 | ¼ tsp | Kosher or sea salt |
| Baking Soda 🧂 | 1 tsp | For leavening in final bake |
| Baking Powder 🧂 | 1 tsp | Double-acting preferred |
| Large Eggs 🥚 | 2 whole | Room temperature for baking |
| Vegetable Oil 🫒 | ½ cup | Neutral flavor like canola or sunflower |
| Brown Sugar 🍚 | ½ cup | Light or dark, packed |
| Chopped Nuts 🌰 | ½ cup | Walnuts or pecans recommended |
[recipe_ingredient_scaler]
The flour and sugar are doing all the work here—King Arthur or Gold Medal for the flour, any standard granulated sugar. The milk needs to be warm (not hot!) to wake up the natural yeasts. If you don’t have a starter, ask around—someone’s probably got a cup of Amish friendship starter in their fridge. The pudding mix adds moisture and sweetness, and Jell-O brand works just fine.
No whole milk? 2% or even skim will do in a pinch. Out of vanilla pudding? Butterscotch or chocolate mixes work too, just adjust the flavor expectations. The nuts can be omitted entirely (just increase the flour by a quarter cup), or swapped for raisins or chocolate chips. The cinnamon is flexible—use more if you love that warm spice flavor.
This starter actually gets better with age. Feed it daily (just stir!) and it’ll last 2-3 weeks in the fridge. The final baked bread freezes beautifully for up to 3 months. Keep a bit of starter back each time to perpetuate the cycle.
Why You’ll Love This Recipe
- No Yeast Needed: I love that I can skip the yeast entirely and still get that perfect rise from the active starter culture.
- Sweet Vanilla Swirl: The pudding mix adds this warm vanilla sweetness that makes every bite taste like a cozy hug.
- Gift-Worthy Tradition: I’ve passed this starter to three friends already—everyone loves keeping the chain going.
- Pantry Staples Only: Flour, sugar, milk—things I always have on hand, so I can stir this up anytime the craving hits.
Step-by-Step Instructions for Amish Friendship Bread Starter
This 5-day process creates a bubbly, active starter ready for baking.
Step 1: Combine Initial Ingredients
In a large non-metal bowl, whisk together the 2 cups All-Purpose Flour, 0.75 cup Granulated Sugar, and 1 cup Whole Milk until completely smooth. I use a wooden spoon for this—metal can react with the fermentation process.
The mixture should look like thick pancake batter. Cover loosely with a clean kitchen towel or plastic wrap (don’t seal it tightly) and let sit at room temperature for 24 hours. You’ll start to see small bubbles forming within the first few hours.
Step 2: Feed the Starter Daily
After 24 hours, stir in 0.5 cup Active Starter Culture (if you’re starting fresh, use the same flour, sugar, and milk mixture). The mixture should be bubbly and smell slightly tangy—this means the fermentation is working.
Repeat this feeding process every 24 hours for 4 more days. Each time, stir the starter well before adding the new ingredients. By day 3, you’ll notice the mixture becoming more active with larger bubbles and a stronger sour aroma.
Step 3: Prepare for Baking
On day 5, your starter should be very bubbly and smell pleasantly yeasty. Remove 1 cup of the starter for your recipe, and use the remaining to begin a new batch or share with friends.
To make the bread, preheat your oven to 325°F. In a large bowl, combine the 1 cup of starter with the 1 package Vanilla Instant Pudding Mix, 1 tsp Ground Cinnamon, 0.25 tsp Salt, 1 tsp Baking Soda, and 1 tsp Baking Powder. Mix until fully incorporated.
Step 4: Add Wet Ingredients
In a separate bowl, beat the 2 whole Large Eggs, then stir in the 0.5 cup Vegetable Oil, 0.5 cup Brown Sugar, and 0.5 cup Chopped Nuts. I like to use walnuts or pecans for a nice crunch.
Pour the wet mixture into the dry ingredients and stir just until combined. The batter will be thick and lumpy. Avoid overmixing, as this can make the bread dense instead of light and fluffy.
Step 5: Bake to Golden Perfection
Pour the batter into a greased 9×5-inch loaf pan. Bake for 50-60 minutes, or until a toothpick inserted into the center comes out clean. The bread should be deep golden brown on top with a slightly cracked crust.
Let it cool in the pan for 10 minutes before transferring to a wire rack to cool completely. Slice and enjoy the warm, cinnamon-scented bread with a pat of butter. The texture should be moist with a tender crumb.
Pro Tips For Making Amish Friendship Bread Starter Recipe Without Yeast
- Use Room-Temp Milk: Cold milk can shock the starter culture and slow fermentation. I learned this the hard way—warm your whole milk to about 70°F before mixing.
- Whisk Out Lumps: After adding the pudding mix, beat vigorously for 2 minutes to prevent dry pockets in your starter. Sounds tedious, but it actually changes the outcome.
- Skip Metal Bowls: Metal can react with the acidic starter, so use glass or plastic for mixing and storing. My grandmother swore by this, and she was right.
- Stir Daily, No Cheating: Even if you forget once, don’t skip two days in a row—the sugar and flour need that consistent mixing to keep the culture active.
Dietary Considerations for This Dish
Vegetarian Friendly
This recipe fits perfectly into vegetarian diets, as it contains no meat products. The base uses all-purpose flour, sugar, and milk for fermentation, making it suitable for lacto-ovo vegetarians. I always keep some on hand for quick treats. 💪
Dairy Considerations
The recipe includes 1 cup whole milk in the starter. For dairy-free versions, substitute with unsweetened almond milk or oat milk. Note that non-dairy milks may produce slightly less tangy results but still work well.
Egg Allergies
The baking portion uses 2 large eggs, which can be tricky for those with allergies. I’ve had success replacing them with ½ cup applesauce or a commercial egg substitute. The texture may be denser but remains delicious.
Nut-Free Option
Simply omit the ½ cup chopped nuts or replace them with ½ cup raisins or chocolate chips. The bread stays moist and flavorful without nuts. Always check nut-free labels if allergies are severe.
Gluten Sensitivity
Traditional versions use all-purpose flour, but you can experiment with 1:1 gluten-free flour blends. I recommend adding 1 tsp xanthan gum to improve texture. Results may vary, so test small batches first.
Sugar Alternatives
For reduced sugar, replace granulated sugar with coconut sugar or monk fruit sweetener. The fermentation may be slower, so extend the process by 1-2 days if needed. The flavor profile will differ slightly but remains satisfying.
Nutrition Facts
Frequently Asked Questions
How long does the fermentation process take?
The starter needs 5 days of daily stirring to fully develop. Each day, you’ll see more bubbles and a tangier smell as it ferments at room temperature.
What if my starter smells bad?
A strong, slightly sour aroma is normal. If it smells rotten or foul, discard it and start fresh. Healthy starters smell yeasts and tangy, not spoiled.
Can I use a plastic bowl for mixing?
Avoid metal, but plastic or glass works perfectly. Just ensure it’s large enough to accommodate the starter’s growth during fermentation.
How do I know when it’s ready to bake?
By day 5, it should be very bubbly and smell pleasantly yeasty. If it’s sluggish, give it another 12-24 hours before using.

Trained in classic French technique but raised on slow-cooked ribs and spicy rubs, she blends culinary skill with smoke and soul.
- Recipe for Boneless Pork Chops in Cast Iron Skillet: Sear and Baste to Juicy Perfection - October 3, 2026
- Recipe for Boneless Cross Rib Roast: Slow-Roasted Beef with Herb Crust - October 3, 2026
- Hamburgers in Sauce Recipe Crock Pot: Slow-Cooked Savory Delight - October 3, 2026