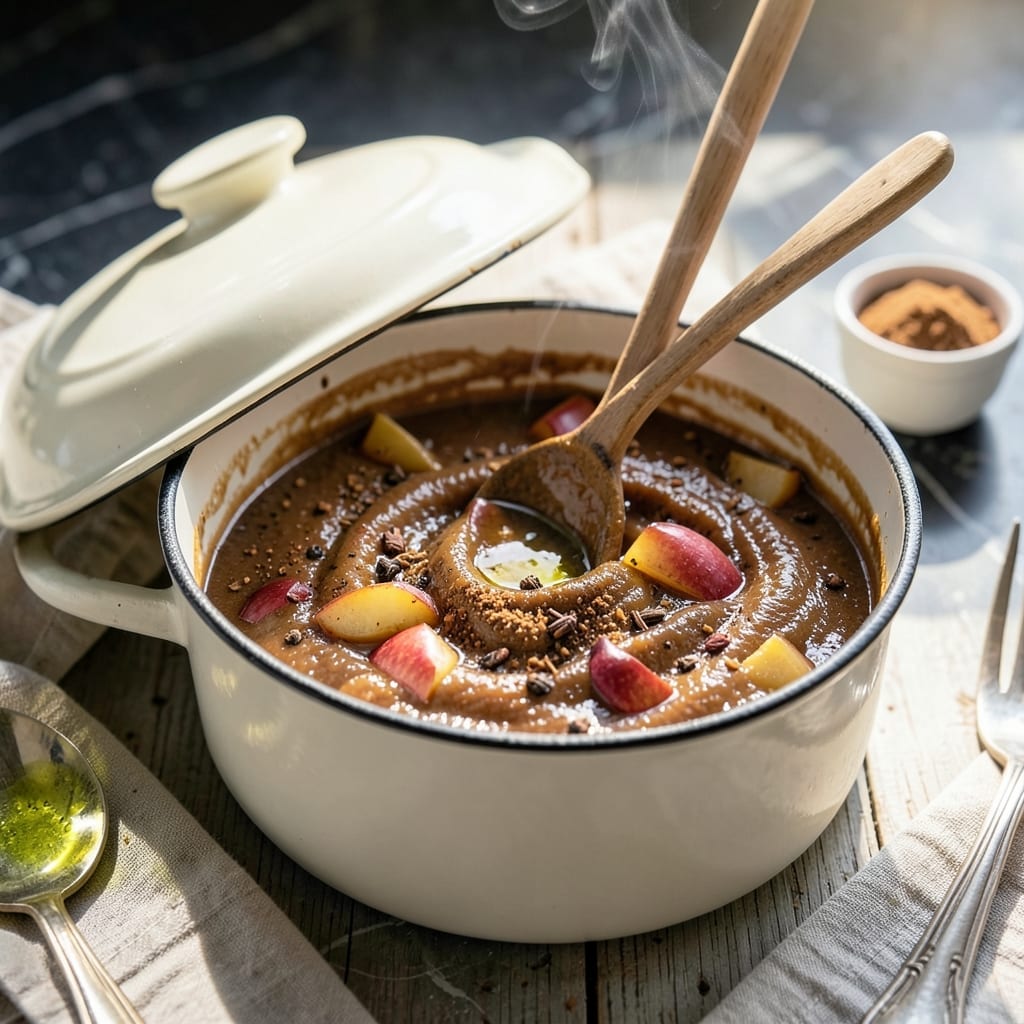
This slow-cooker method transforms fresh apples into a smooth, spiced spread with minimal effort. The long, gentle cooking process deepens the natural sweetness while infusing warm cinnamon and nutmeg flavors throughout.
Use it as a toast topping, pancake syrup, or filling for pastries. The result is a rich, velvety apple butter that keeps well and tastes like autumn in a jar.
Ingredients for Apple Butter Recipe Crockpot
Transform fresh apples into this velvety spiced spread with just a few pantry staples.
| Ingredient | Amount | Notes |
|---|---|---|
| Fresh Apples 🍎 | 6 lb | Peeled, cored, and diced |
| Granulated Sugar 🍚 | 1 cup | Adjust to taste preference |
| Brown Sugar 🍚 | ½ cup | Light or dark variety |
| Ground Cinnamon 🌿 | 1 ½ tbsp | Fresh for best flavor |
| Ground Nutmeg 🌰 | ½ tsp | Freshly grated preferred |
| Ground Cloves 🌶️ | ¼ tsp | Use sparingly for warmth |
| Lemon Juice 🍋 | 2 tbsp | Freshly squeezed for brightness |
| Vanilla Extract 🌿 | 1 tsp | Pure vanilla for depth |
| Salt 🧂 | ¼ tsp | Enhances sweetness and spice |
[recipe_ingredient_scaler]
Apples are the star here—use a mix of sweet and tart varieties like Honeycrisp and Granny Smith for complexity. I grab mine from local orchards in fall, but grocery store apples work fine. The cinnamon should be fresh (check the expiration date on that dusty jar). Penzeys or bulk bins at natural food stores have the best quality spices for this.
Out of brown sugar? Coconut sugar or maple syrup can substitute, but adjust sweetness to taste. No nutmeg? Allspice at half the amount works in a pinch. Skip the cloves if you’re not a fan—the other spices carry the flavor. For extra depth, add a pinch of cardamom (it’s a game-changer).
This keeps beautifully. Store in sterilized jars in the fridge for up to 3 weeks, or process in a water bath for 1 year shelf-stable storage. Freezes for 6 months if you want to save some for later.
Why You’ll Love This Recipe
- Set and Forget: I toss everything in the crockpot before work and come home to the smell of cinnamon and spiced apples filling the house.
- Warm Spiced Comfort: That mix of brown sugar, cinnamon, and nutmeg makes it taste like autumn in a jar—rich, smooth, and just sweet enough.
- Breakfast to Dessert: Honestly, I slather it on toast in the morning and swirl it into oatmeal, then serve it with ice cream for dessert.
- Pantry Stretcher: A big batch costs pennies per serving, and I can it or freeze it for months of cozy breakfasts.
Step-by-Step Instructions for Slow-Cooked Spiced Apple Spread
This method transforms your apples into a rich, velvety spread with minimal effort.
Step 1: Prepare and Combine the Apples
Peel, core, and dice all 6 lb fresh apples into uniform ½-inch pieces. I recommend using a mix of sweet and tart varieties like Fuji and Granny Smith for balanced flavor. As you work, toss the diced apples with the 2 tbsp lemon juice to prevent browning.
Transfer the prepared apples to your slow cooker. This is your foundation—make sure the pieces are evenly sized so they cook down uniformly. The volume will seem massive at first, but the apples will reduce significantly during cooking.
Step 2: Add Sugars and Spices
Sprinkle the 1 cup granulated sugar, 0.5 cup brown sugar, 1.5 tbsp ground cinnamon, 0.5 tsp ground nutmeg, 0.25 tsp ground cloves, and 0.25 tsp salt evenly over the apples. I distribute the spices in layers as I add the apples to ensure even flavor distribution.
Drizzle the 1 tsp vanilla extract over the top. Gently stir everything together with a wooden spoon, making sure the apples are well coated with the sugar and spices. The mixture should look fragrant and slightly glistening from the sugars.
Step 3: Slow Cook Until Thickened
Cover the slow cooker and set it to LOW heat for 8-10 hours. I prefer the longer cook time for deeper caramelization, but start checking at 8 hours. You’ll know it’s ready when the apples have broken down completely and the mixture has darkened to a rich amber color.
About halfway through cooking, I stir the mixture and leave the lid slightly ajar to allow excess moisture to evaporate. This helps achieve the perfect thick, spreadable consistency without any watery separation.
Step 4: Blend and Adjust to Perfection
Once fully cooked, use an immersion blender to puree the mixture directly in the slow cooker. For an ultra-smooth texture, blend for 2-3 minutes until completely smooth. If you prefer a chunkier spread, pulse the blender briefly or mash with a potato masher.
Taste and adjust sweetness if needed. The flavors will intensify as it cools, so err on the side of slightly less sweet at this stage. If the spread seems too thin, cook uncovered on HIGH heat for an additional 30-60 minutes, stirring occasionally, until it reaches your desired thickness.
Step 5: Cool and Store Properly
Allow the apple spread to cool completely at room temperature, which takes about 2 hours. As it cools, it will thicken further. Stir occasionally during this time to prevent a skin from forming on the surface.
Transfer to clean, sterilized jars and store in the refrigerator for up to 2 weeks, or process for canning to extend shelf life. The spread should have a glossy, dark caramel color and a smooth, velvety texture that holds its shape on a spoon.
Pro Tips For Making Apple Butter Recipe Crockpot
- Cook Down Slow: Set your crockpot to LOW for 8-10 hours—rushing it on HIGH gives you applesauce, not that deep, caramelized spread you want.
- Peel but Don’t Core: Skip the coring for now; cooking the apples whole (just peeled and quartered) keeps them from turning to mush too fast, and you can fish out the cores later with a spoon.
- Sugar After Softening: I learned this the hard way—add the granulated and brown sugar only after the apples have softened for an hour or two, or you’ll end up with a syrupy, uneven mess.
- Spice at the End: Stir in the cinnamon and nutmeg the last 30 minutes of cooking; adding them earlier can make the flavors bitter and flat after all those hours.
Common Mistakes When Making apple butter recipe crockpot
Overfilling the Crockpot
This is a common issue. Remember, 6 lb of apples will reduce significantly as they cook down, but starting with too many can cause uneven cooking. I never fill my 6-quart slow cooker more than ¾ full to allow room for stirring.
Skipping the Lemon Juice
The 2 tbsp lemon juice isn’t just for flavor—it prevents browning as you prep. Without it, your apples may turn an unappetizing shade before they even hit the slow cooker. I always toss my diced apples in it immediately after cutting.
Using Old Spices
Ground spices lose potency over time. For this recipe, fresh cinnamon, nutmeg, and cloves make a noticeable difference. I check my spice jars’ dates and replace any older than 6 months. 💡
Not Stirring Occasionally
While low-and-slow is the name of the game, stirring every 2-3 hours prevents sticking at the edges and ensures even cooking. I set a timer to remind myself, especially during the first half of cooking.
Undercooking the Mixture
Rushing the process leads to a watery result. The apples need that full 8-10 hours on LOW to break down completely and develop the deep, caramelized flavor. I start checking at 8 hours but often go the full 10.
Skipping the Final Thickness Check
What looks thick when hot often thins as it cools. If your spread seems runny, cook it uncovered on HIGH for 30-60 minutes to evaporate excess liquid. I always do a spoon test—it should hold its shape briefly when inverted.
Nutrition Facts
Frequently Asked Questions
Can I use a mix of apple varieties?
A blend of sweet and tart types like Honeycrisp and Granny Smith creates the best depth of flavor. The sweet varieties balance the tartness for a more complex spread.
How long does it keep in the fridge?
Properly stored in sterilized jars, your spread stays fresh for up to 2 weeks in the fridge. For longer storage, process the jars in a water bath for 1 year shelf life.
What if my spread is too thin?
Cook it uncovered on HIGH heat for 30-60 minutes, stirring often. The excess moisture will evaporate, giving you that perfect thick consistency. Test by spooning a bit—it should hold its shape briefly.
Can I make this without an immersion blender?
Yes! A regular blender or food processor works in batches. For chunkier texture, use a potato masher. Just ensure all pieces are fully broken down for a smooth finish.

Trained in classic French technique but raised on slow-cooked ribs and spicy rubs, she blends culinary skill with smoke and soul.
- Recipe for Boneless Pork Chops in Cast Iron Skillet: Sear and Baste to Juicy Perfection - October 3, 2026
- Recipe for Boneless Cross Rib Roast: Slow-Roasted Beef with Herb Crust - October 3, 2026
- Hamburgers in Sauce Recipe Crock Pot: Slow-Cooked Savory Delight - October 3, 2026