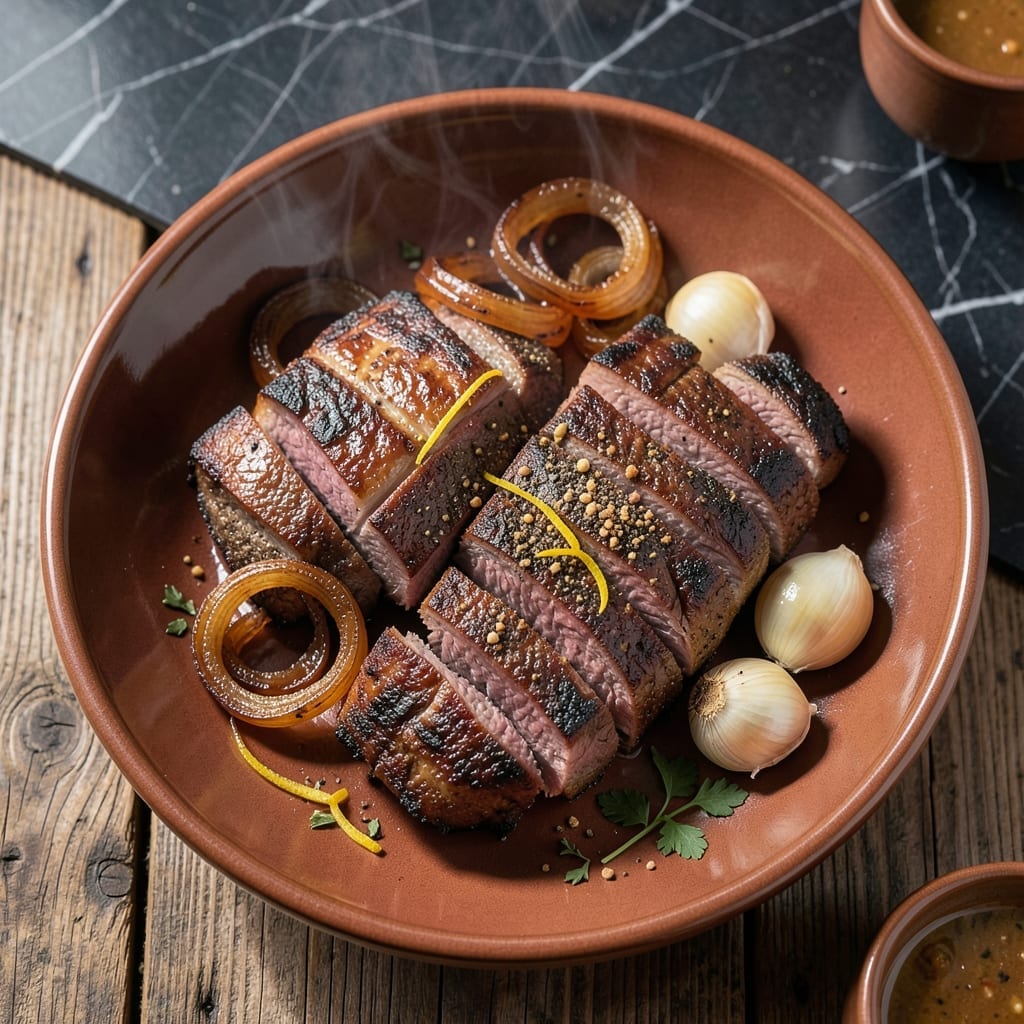
Arm steak delivers tender results with proper technique and patience. This often-overlooked cut transforms into a flavorful centerpiece when cooked correctly.
I developed this method after working with tougher beef cuts in my pitmaster days. The key is low and slow heat to break down the connective tissue while maintaining moisture.
What you get is fall-apart beef with rich, deep flavor that rivals more expensive cuts. The meat absorbs marinades and rubs beautifully during the cooking process.
Serve this with your favorite sides for a hearty meal that satisfies. The process is straightforward but requires attention to detail for the best results.
Ingredients for Arm Steak
Well-marbled arm steak plus pantry spices create this hearty, flavorful dish with ease.
| Ingredient | Amount | Notes |
|---|---|---|
| Arm Steak 🥩 | 2 lb | Well-marbled, about 1-inch thick |
| Kosher Salt 🧂 | 1 ½ tsp | Diamond Crystal preferred |
| Coarsely Ground Black Pepper 🌶️ | 1 tsp | Freshly ground for best flavor |
| Smoked Paprika 🌶️ | 1 tsp | Sweet or hot variety |
| Garlic Powder 🧄 | 1 tsp | Not garlic salt |
| Onion Powder 🧅 | 1 tsp | Fresh ground preferred |
| Dried Thyme 🌿 | ½ tsp | Crushed between fingers |
| Olive Oil 🫒 | 2 tbsp | Extra-virgin for richness |
| Beef Broth 🥘 | 1 cup | Low-sodium preferred |
| Worcestershire Sauce 💧 | 1 tbsp | Anchovy-free if preferred |
| Yellow Onion 🧅 | 1 whole | Medium, thinly sliced |
| Garlic Cloves 🧄 | 4 cloves | Minced for depth |
| Fresh Rosemary 🌿 | 2 tsp | Chopped, stems discarded |
| Unsalted Butter 🧈 | 2 tbsp | For finishing, optional |
[recipe_ingredient_scaler]
The arm steak is the star here. Look for good marbling—that fat keeps it moist during the long cook. Whole Foods or Costco usually have the best selection, but your regular butcher can order it if you ask ahead. I always grab a few extra pounds to freeze (it keeps 6-12 months vacuum-sealed). Avoid anything labeled ’round’—it won’t have the same tenderness.
No smoked paprika? Regular paprika plus a pinch of cayenne works in a bind. Out of beef broth? Mushroom broth at half the amount adds depth. The Worcestershire can be swapped for soy sauce or coconut aminos—just cut the salt elsewhere. Fresh out of rosemary? Dried at one-third the amount (or whatever herbs you’ve got on hand).
Cooked arm steak keeps beautifully—actually gets more tender overnight. Store in the fridge for up to 4 days or freeze for 3 months. Reheat gently in the broth to keep it juicy (don’t nuke it—trust me on this).
Why You’ll Love This Recipe
- 5-Minute Seasoning: That’s all it takes to coat the arm steak with kosher salt, black pepper, smoked paprika, and garlic powder—no marinade, no waiting.
- Weeknight Hero: I throw it on a hot pan after work and dinner’s ready before the kids finish bickering over who gets the last roll.
- Smoky, Meaty Depth: The smoked paprika and garlic powder give it that rich, almost-barbecue flavor without firing up the grill.
- Stretches Two Meals: One arm steak feeds my family of four tonight and makes killer sandwiches for lunch tomorrow.
Step-by-Step Instructions for Arm Steak
Here’s the method I use to transform this budget cut into fall-apart tender perfection.
Step 1: Season the Arm Steak Aggressively
Pat the 2 lb arm steak dry with paper towels. I’m thorough here—any moisture will steam the meat instead of searing it. Combine the 1.5 tsp kosher salt, 1 tsp coarsely ground black pepper, 1 tsp smoked paprika, 1 tsp garlic powder, 1 tsp onion powder, and 0.5 tsp dried thyme in a small bowl.
Rub this mixture all over the steak, pressing it into the meat so it adheres well. Real talk: arm steak needs bold seasoning to stand up to its robust flavor. Let it sit at room temperature for 30 minutes while you prep the remaining ingredients.
Step 2: Sear and Build the Braising Foundation
Heat the 2 tbsp olive oil in a heavy pot or Dutch oven over medium-high heat until it shimmers. Add the arm steak and sear for 4-5 minutes per side until deep brown. Don’t rush this—you want a good crust to develop. Remove the steak and set it aside.
In the same pot, add the thinly sliced yellow onion and cook for 3-4 minutes until softened and just starting to caramelize. Add the minced garlic cloves and 2 tsp fresh rosemary, cooking for 30 seconds until fragrant. The aroma at this point is incredible.
Step 3: Braise to Tender Perfection
Return the arm steak to the pot. Pour in the 1 cup beef broth and 1 tbsp Worcestershire sauce, making sure to scrape up all those browned bits from the bottom. These fond bits are pure flavor. Bring the liquid to a simmer.
Cover the pot and reduce the heat to low. Let it braise gently for 2 to 2.5 hours, turning the steak every 30 minutes. You’ll know it’s done when a fork slides in easily and the meat pulls apart with minimal resistance. This low and slow method is what transforms the arm steak into something melt-in-your-mouth tender.
Step 4: Finish and Rest Before Serving
Once the arm steak is tender, transfer it to a cutting board. If you’d like, stir the 2 tbsp unsalted butter into the braising liquid to create a rich, glossy sauce. Taste and adjust seasoning if needed.
Let the steak rest for 10 minutes before slicing against the grain. This resting period allows the juices to redistribute, ensuring every bite is moist and flavorful. Serve the sliced arm steak with the braising liquid spooned over the top. The meat should be fork-tender with a deep, beefy flavor that absorbs all those spices beautifully.
Pro Tips For Making Arm Steak
- Sear It Hot: I learned this the hard way—arm steak needs a screaming-hot pan to develop that deep crust. Use high heat for the first 2-3 minutes per side, then finish at medium to avoid burning the spices.
- Salt Generously: Arm steak can handle more salt than you think, especially with just kosher salt and spices. Coat both sides aggressively before searing—it’s the thing that matters most for flavor.
- Don’t Overcrowd: Resist the urge to cram multiple steaks in one pan. Too many pieces drop the temperature, and you’ll end up steaming instead of searing.
- Rest Before Slicing: Give it a solid 5-10 minutes under foil after cooking. I skip this when I’m lazy, but the juices stay put way better when I don’t.
Troubleshooting This Recipe
Tough Meat Issues
If your arm steak isn’t tender after braising, it likely needs more time. Return it to the pot with additional ½ cup beef broth and cook for another 30-45 minutes. I check every 15 minutes until it reaches that fork-tender stage. The connective tissue needs that extended time to break down properly. 💡
Dry Meat Problems
Overcooking or insufficient liquid can dry out the meat. Always maintain enough braising liquid to come halfway up the steak. If it reduces too much, add ¼ cup hot water or broth. Also, avoid boiling—keep it at a gentle simmer to prevent toughness.
Bland Flavor Fix
If the flavor seems flat, the seasoning might not have penetrated enough. Next time, let the rubbed steak sit for 1 hour before cooking instead of 30 minutes. For immediate fixes, stir 1 tsp Worcestershire sauce or a pinch of smoked paprika into the braising liquid before serving.
Sauce Too Thin
For a thicker sauce, remove the steak and simmer the braising liquid uncovered over medium heat for 5-10 minutes. A cornstarch slurry (1 tbsp cornstarch mixed with 1 tbsp cold water) can also thicken it quickly. Stir constantly until it reaches your desired consistency.
Uneven Cooking
If parts of the steak are done while others aren’t, ensure your heat source is even. Rotate the pot 180 degrees halfway through cooking. Also, make sure the steak is fully submerged in liquid. I use a Dutch oven for the most even heat distribution.
Burnt Bottom
If the bottom of your pot is burning, your heat is too high. Reduce to low immediately and add ¼ cup broth to deglaze. Scrape up any burnt bits to prevent bitterness. Next time, use a heavy-bottomed pot and maintain medium-low heat throughout. 🔥
Nutrition Facts
Frequently Asked Questions
How do I know when it’s done?
It’s ready when a fork slides in easily and the meat pulls apart with minimal resistance. This typically takes 2 to 2.5 hours of braising time.
Can I use a different cooking method?
Yes, you can slow cook it in a crockpot on low for 6-8 hours. The braising liquid and seasoning approach remain the same for best results.
What if my steak is still tough after cooking?
Return it to the pot with ½ cup beef broth and cook for another 30-45 minutes. Check every 15 minutes until fork-tender.
How should I store leftovers?
Store in an airtight container in the fridge for up to 4 days or freeze for 3 months. Reheat gently in the braising liquid.

Trained in classic French technique but raised on slow-cooked ribs and spicy rubs, she blends culinary skill with smoke and soul.
- Recipe for Boneless Pork Chops in Cast Iron Skillet: Sear and Baste to Juicy Perfection - October 3, 2026
- Recipe for Boneless Cross Rib Roast: Slow-Roasted Beef with Herb Crust - October 3, 2026
- Hamburgers in Sauce Recipe Crock Pot: Slow-Cooked Savory Delight - October 3, 2026