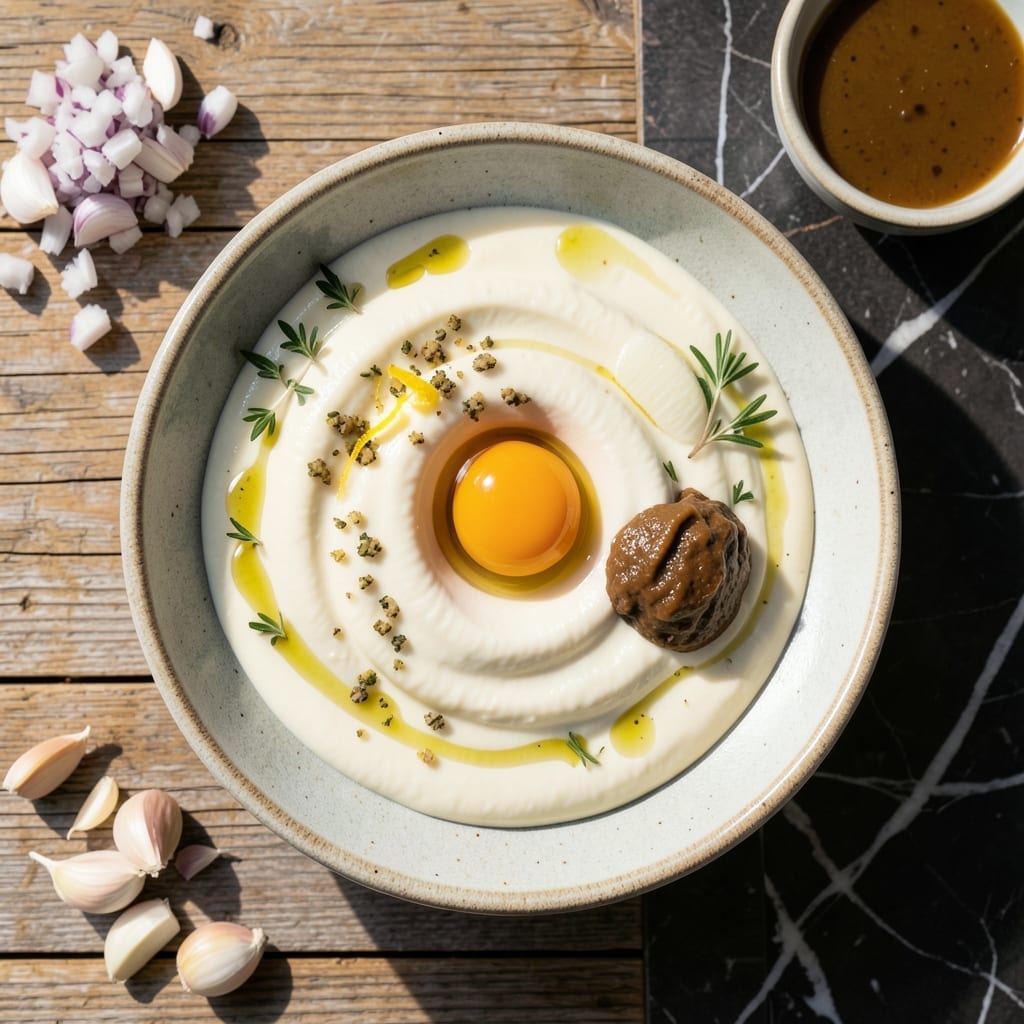
This traditional emulsion traces its roots to Mediterranean kitchens, where garlic and oil create a creamy, potent sauce. The method demands patience and precision to achieve the perfect consistency.
I rely on fresh garlic and neutral oil, slowly whisking to build a stable, velvety authentic aioli that elevates any dish it touches.
Ingredients for Authentic Aioli
Eight ingredients transform into a velvety, traditional emulsion with bold garlic character.
| Ingredient | Amount | Notes |
|---|---|---|
| Fresh Garlic Cloves 🧄 | 6 cloves | Peeled, minced to paste |
| Neutral Oil 🫒 | 1 ½ cups | Grapeseed or light olive oil |
| Large Egg Yolk 🥚 | 1 whole | Room temperature, optional emulsifier |
| Dijon Mustard 🟡 | 1 tsp | High-quality for stability |
| Lemon Juice 🍋 | 1 tbsp | Freshly squeezed, acidulates |
| White Wine Vinegar 💧 | 1 tsp | Balances richness |
| Sea Salt 🧂 | ½ tsp | Fine grain, adjust to taste |
| Cold Water 💧 | 2 tbsp | For consistency adjustment |
[recipe_ingredient_scaler]
The garlic is non-negotiable for authenticity—fresh only, never jarred or powdered. Mediterranean cooks traditionally use a mortar and pestle to create a paste, but a fine mincing plus a pinch of salt achieves the same. For oil, grapeseed or light olive oil (not extra-virgin) ensures a clean, neutral base. Whole Foods carries excellent neutral oils if your local store’s selection is limited. The egg yolk, though not traditional in some regions, provides foolproof emulsification for beginners.
Omitting the egg? Increase Dijon to 1 tablespoon for stability—it contains natural emulsifiers. No mortar? A heavy chef’s knife and patience work fine. For a lighter aioli, reduce oil to 1 cup. If your sauce breaks, whisk in 1 teaspoon hot water (trust me, it fixes it). Always use room-temperature ingredients; cold separates more easily.
Aioli holds at room temperature for 2 hours during service. Refrigerate in an airtight container for up to 5 days—the flavors deepen overnight. If it thickens too much, whisk in cold water 1 teaspoon at a time. Avoid freezing; the emulsion may separate irreparably.
Why You’ll Love This Recipe
- One-Bowl Wonder: I just throw everything in a bowl and whisk—no fancy gadgets, no mess.
- Garlic Lovers’ Dream: The fresh garlic and lemon juice make it taste like sunshine in a jar.
- Party Staple: I slather it on sandwiches, drizzle over veggies, and serve with fries—it never goes to waste.
- Keeps for Days: Honestly, it stays fresh in the fridge for a week, so I always have some on hand.
Step-by-Step Instructions for Authentic Aioli
Master this traditional emulsion technique for a rich, garlicky sauce with perfect consistency.
Step 1: Prepare the Garlic Base
Begin by mincing the 6 cloves fresh garlic cloves to a fine paste using a mortar and pestle or the flat side of your knife. I prefer the mortar and pestle method as it releases more of the garlic’s natural oils, creating a more robust base flavor for your aioli.
The garlic should be completely smooth, with no visible pieces remaining. This fine texture ensures it incorporates evenly into the emulsion. The paste will be quite pungent at this stage – that’s exactly what you want for an authentic aioli.
Step 2: Create the Initial Emulsion
In a medium bowl, combine the garlic paste with the 1 whole large egg yolk, 1 tsp Dijon mustard, 1 tbsp lemon juice, 1 tsp white wine vinegar, and 0.5 tsp sea salt. Whisk these together until smooth and slightly thickened.
The mustard acts as a natural emulsifier, while the acid from the lemon juice and vinegar brightens the flavor and helps stabilize the mixture. This base should look creamy and well-combined before you begin adding the oil.
Step 3: Slowly Incorporate the Oil
With your whisk in one hand and the 1.5 cups neutral oil in a measuring cup with a spout in the other, begin drizzling the oil into the bowl in a very thin, steady stream while whisking constantly. Start with just a few drops at a time, then gradually increase to a thin stream as the emulsion begins to form.
This is the critical step where the aioli comes together. You’ll notice the mixture starting to thicken and lighten in color as the oil emulsifies with the egg yolk. Continue whisking vigorously until all the oil is incorporated. If the mixture becomes too thick, add 1 tbsp cold water at a time to thin it to your desired consistency.
Step 4: Adjust Consistency and Seasoning
Once all the oil is incorporated, taste and adjust the seasoning. You may want to add a bit more sea salt depending on your preference. If the aioli is too thick, whisk in the remaining 2 tbsp cold water, one tablespoon at a time, until it reaches your ideal texture.
The finished aioli should be thick but still pourable, with a glossy appearance and a pale ivory color. It should coat the back of a spoon but still drip slowly. This traditional method produces a rich, creamy sauce with a bold garlic flavor that’s perfect for dipping or dressing.
Pro Tips For Making Authentic Aioli
- Grate the Garlic: Raw garlic can overpower, so finely grate 1-2 cloves instead of mincing—this distributes the flavor evenly without harsh bites. I learned this the hard way after a batch tasted like a vampire repellent.
- Room Temp Egg: Pull the egg out 30 minutes before starting. Cold yolk resists emulsifying, and you’ll spend forever whisking to get that thick, creamy texture.
- Slow Drizzle Oil: Pour the oil in a thin, steady stream—about 1 teaspoon every 5 seconds—while whisking. Rushing this step breaks the emulsion, and suddenly you’ve got a sad, separated mess.
- Acid Last: Add the lemon juice after the aioli thickens. Mixing it in too early can prevent the emulsion from forming properly, and you’ll be stuck with a runny sauce.
Dietary Considerations for These Flavors
Egg-Free Version
For a traditional approach without egg, rely on 1 tbsp Dijon mustard as your emulsifier. Whisk it with the garlic paste, acid, and salt first. The mustard’s natural stabilizers will help bind the oil. I’ve made this version for years at local BBQ competitions with great success. 💛
Vegan Aioli
Replace the egg yolk with 1 tbsp aquafaba (chickpea brine) for a plant-based version. It whips up beautifully and creates a stable emulsion. I forage wild garlic sometimes for an extra earthy note in this adaptation.
Gluten-Free Considerations
This recipe is naturally gluten-free as written. Just ensure your Dijon mustard is certified gluten-free—some brands use wheat as a thickener. I always check labels at my local butcher shop for safe options.
Low-FODMAP Option
Garlic can be problematic for some. Use 1 tbsp garlic-infused oil (FODMAP-friendly) instead of fresh cloves. The flavor won’t be as potent, but it still delivers that classic aioli character without the fermentable carbs.
Allium-Free Variation
For those avoiding all alliums, substitute 1 tsp asafoetida powder for the garlic. It provides a similar savory depth. I’ll admit, it’s not the same, but it’s a solid workaround for sensitive digestive systems.
Salt Adjustments
If watching sodium, reduce sea salt to ¼ tsp initially. The garlic and mustard provide plenty of flavor. Taste as you go—this sauce should sing with boldness, not just saltiness. 🌟
Nutrition Facts
Frequently Asked Questions
Why does aioli sometimes break?
It breaks when oil is added too quickly or ingredients are cold. Fix it by whisking in 1 teaspoon hot water to re-emulsify. Always use room-temperature ingredients.
Can I use extra virgin olive oil?
Not recommended. Its strong flavor and low smoke point can make aioli bitter. Stick with neutral oils like grapeseed or light olive oil for authentic results.
How long does homemade aioli last?
Store in an airtight container in the fridge for up to 5 days. The flavors deepen overnight. Discard if it smells off or separates.
Can I make aioli without a whisk?
A food processor works well for large batches. For small batches, a fork and steady hand can create a smooth emulsion. The key is slow, consistent motion.

Trained in classic French technique but raised on slow-cooked ribs and spicy rubs, she blends culinary skill with smoke and soul.
- Recipe for Boneless Pork Chops in Cast Iron Skillet: Sear and Baste to Juicy Perfection - October 3, 2026
- Recipe for Boneless Cross Rib Roast: Slow-Roasted Beef with Herb Crust - October 3, 2026
- Hamburgers in Sauce Recipe Crock Pot: Slow-Cooked Savory Delight - October 3, 2026