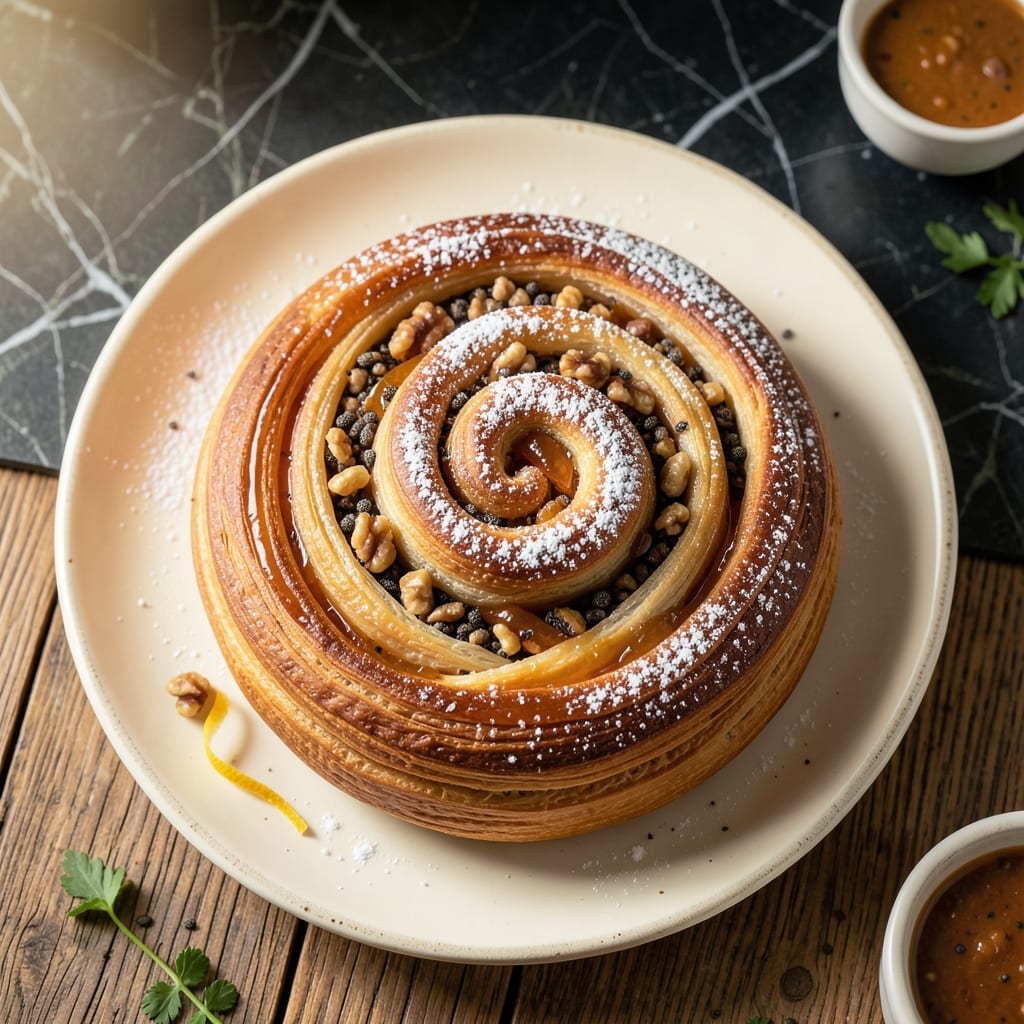
This recipe preserves the traditional Polish method for creating nut roll, a pastry that’s been passed down through generations. The technique requires patience and precision, but the result is worth every minute.
What makes this authentic is the attention to detail in every step, from preparing the tender yeast dough to creating the sweet walnut filling. The swirl pattern is the signature of a true Polish nut roll.
The final pastry boasts a soft, slightly sweet dough wrapped around a rich, nutty filling that’s perfectly spiced. Each slice reveals the beautiful spiral that’s become a symbol of Polish baking tradition.
This version stays true to the original while making it accessible for home bakers. The process delivers a pastry that tastes like it came from a Polish grandmother’s kitchen.
Ingredients for Authentic Polish Nut Roll
Traditional ingredients create this authentic sweet walnut-swirled pastry with generations of Polish heritage.
| Ingredient | Amount | Notes |
|---|---|---|
| All-Purpose Flour 🌾 | 4 cups | Plus extra for dusting |
| Active Dry Yeast 🍞 | 2 ¼ tsp | One packet, proofed in warm water |
| Granulated Sugar 🍚 | ¼ cup | Divided for dough and filling |
| Whole Milk 🥛 | 1 cup | Warmed to 110 degrees F |
| Unsalted Butter 🧈 | ½ cup | Softened, cut into pieces |
| Large Eggs 🥚 | 2 whole | Room temperature, beaten |
| Salt 🧂 | 1 tsp | Fine sea salt preferred |
| Vanilla Extract 🌿 | 1 tsp | Pure vanilla for best flavor |
| Walnuts 🌰 | 3 cups | Finely chopped, lightly toasted |
| Light Brown Sugar 🍯 | ¾ cup | Packed, for filling |
| Ground Cinnamon 🌿 | 1 ½ tsp | Freshly ground for intensity |
| Raisins 🍇 | ½ cup | Optional, soaked in warm water |
| Egg Yolk 🥚 | 1 whole | For egg wash finish |
| Powdered Sugar 🍬 | ¼ cup | For dusting finished roll |
[recipe_ingredient_scaler]
The walnuts are non-negotiable for authenticity. English walnuts (the most common kind) work perfectly—just make sure they’re fresh, not stale. Whole Foods or Trader Joe’s have great options in bulk, so you can buy just what you need. For the milk, whole is ideal for richness, but 2% works in a pinch. The yeast should be active dry—check the expiration date, as old yeast won’t rise properly.
No walnuts? Pecans or almonds can substitute, though the flavor will differ. Skip the raisins if you’re not a fan, or swap in dried cranberries for a tart twist. The brown sugar can be light or dark—dark adds a deeper molasses note. For a dairy-free version, use oat milk and vegan butter, though this deviates from tradition.
The dough can be made a day ahead and refrigerated—just bring it to room temperature before rolling. Finished nut rolls keep at room temperature for 2-3 days in an airtight container, or freeze for up to 3 months. Slice just before serving to show off that perfect spiral.
Why You’ll Love This Recipe
- One Bowl Wonder: I love that I can mix the dough with just flour, yeast, milk, and butter—no fancy equipment, no mess.
- Buttery Richness: The whole milk and butter make the dough so tender it practically melts, and the nut filling? Pure comfort.
- Holiday Hero: Between us, this is my secret weapon for Christmas morning—impressive but totally doable ahead of time.
- Stretches for Days: One batch makes two loaves, so I freeze half and pull it out for unexpected guests. Honestly, it tastes just as fresh.
Step-by-Step Instructions for Polish Nut Roll
Follow this traditional method to achieve the perfect swirl of sweet nut filling in tender pastry.
Step 1: Prepare and Proof the Dough
In a large mixing bowl, combine the 1 cup Whole Milk warmed to 110°F with the 0.25 cup Granulated Sugar and 2.25 tsp Active Dry Yeast. Let it sit for 5-7 minutes until the mixture becomes foamy and doubled in volume—this confirms the yeast is active.
Add the 2 whole Large Eggs, 0.5 cup Unsalted Butter, 1 tsp Salt, and 1 tsp Vanilla Extract to the yeast mixture. Gradually incorporate the 4 cups All-Purpose Flour, mixing until a soft dough forms. The dough should pull away from the sides of the bowl but remain slightly sticky to the touch.
Step 2: Knead and First Rise
Turn the dough out onto a lightly floured surface and knead for 8-10 minutes until smooth and elastic. You’ll notice the dough transforms from shaggy to silky as the gluten develops. If it sticks, add a dusting of flour, but avoid over-flouring, which can make the pastry dense.
Place the kneaded dough in a greased bowl, cover with a clean kitchen towel, and let it rise in a warm, draft-free place for 1.5-2 hours or until doubled in size. The dough is ready when it springs back slowly when gently pressed with a finger.
Step 3: Prepare the Nut Filling
While the dough rises, make the filling. In a bowl, combine the 3 cups Walnuts, 0.75 cup Light Brown Sugar, 1.5 tsp Ground Cinnamon, and 0.5 cup Raisins (if using). The mixture should hold together when pressed but remain crumbly. Toasting the walnuts first enhances their natural oils and deepens the flavor.
Set the filling aside until ready to use. The warmth of the filling shouldn’t be too hot when spreading it on the dough, or it may begin to melt the butter in the pastry.
Step 4: Assemble and Roll the Nut Roll
After the dough has risen, punch it down gently and turn it out onto a floured surface. Roll it into a rectangle approximately 16×12 inches. Spread the nut filling evenly over the dough, leaving a ½-inch border along all edges. The filling should be a consistent thickness for even swirls.
Starting from the long side, tightly roll the dough into a log, pinching the seam to seal. Tuck the ends under slightly to prevent the filling from leaking out during baking. Place the roll seam-side down on a parchment-lined baking sheet.
Step 5: Second Rise, Bake, and Finish
Cover the roll loosely with a towel and let it rise for another 45-60 minutes until puffy. Preheat the oven to 350°F. Brush the top of the roll with the 1 whole Egg Yolk beaten with a tablespoon of water for a golden finish.
Bake for 35-40 minutes until the roll is deep golden brown and sounds hollow when tapped. Cool completely on a wire rack before dusting with 0.25 cup Powdered Sugar. Slice with a sharp serrated knife for clean, even pieces.
Pro Tips For Making Authentic Polish Nut Roll
- Proof the Yeast: Always activate your yeast in warm milk (about 110°F) with a pinch of sugar first—I learned this the hard way after killing three batches with water that was too hot.
- Chill the Dough: After rolling out the dough, let it rest in the fridge for 15-20 minutes before adding the filling. It makes the nut roll infinitely easier to handle and prevents shrinking.
- Use Room-Temp Butter: Your unsalted butter should be soft enough to dent with a finger but not melted. Cold butter tears the dough, and melted butter makes it greasy—this is the thing that matters most.
- Roll It Tight: When forming the log, pull the dough snugly around the filling and pinch the seam hard. Sounds weird, but it works: this keeps the nuts from leaking out during baking.
Pro Cooking Tips for authentic polish nut roll
Dough Temperature Control
Warm your 1 cup Whole Milk to exactly 110°F—any hotter and you’ll kill the yeast, any cooler and it won’t activate. I use a Thermoworks Thermapen for precision. The proofing environment matters too; I turn on my oven light to create a warm, draft-free zone for the first rise.
Perfect Filling Texture
Toast your 3 cups Walnuts in a dry skillet over medium heat for 5-7 minutes until fragrant. Let them cool completely before mixing with the sugars. If your filling seems dry, add 1-2 tbsp melted butter to help it bind without making the dough soggy. 💡
Rolling Technique
Roll your dough to an even 16×12 inches on a floured surface. Use a ruler for accuracy—the swirl pattern depends on this. Spread the filling to the edges but maintain that ½-inch border to prevent leakage during baking.
Sealing the Roll
After rolling, pinch the seam tightly and tuck both ends under. I use a bit of beaten Egg Yolk as “glue” to ensure a strong seal. Place the roll seam-side down on your baking sheet—this prevents it from unrolling during the second rise.
Baking Precision
Don’t rush the second rise—45-60 minutes is ideal. Bake at 350°F until deep golden brown. If the top browns too quickly, tent with foil. The roll is done when it sounds hollow when tapped and reaches an internal temp of 190°F. 🌡️
Cooling and Slicing
Cool completely on a wire rack—this prevents the filling from oozing out. Use a serrated knife and saw gently to avoid squishing the roll. Dust with ¼ cup Powdered Sugar just before serving for that classic Polish bakery finish.
Nutrition Facts
Frequently Asked Questions
Why is my dough not rising properly?
Check your yeast first—it may be expired. Also ensure your milk is exactly 110°F. If your kitchen is cold, place the bowl near a warm oven.
Can I use a different nut for the filling?
Yes! Pecans or almonds work well, though walnuts are traditional. Toast them first for best flavor.
How do I prevent the filling from leaking?
Pinch the seam tightly and leave a ½-inch border. Tuck the ends under before baking.
How long can I store the finished nut roll?
It keeps at room temperature for 2-3 days in an airtight container. For longer storage, freeze for up to 3 months.

Trained in classic French technique but raised on slow-cooked ribs and spicy rubs, she blends culinary skill with smoke and soul.
- Recipe for Boneless Pork Chops in Cast Iron Skillet: Sear and Baste to Juicy Perfection - October 3, 2026
- Recipe for Boneless Cross Rib Roast: Slow-Roasted Beef with Herb Crust - October 3, 2026
- Hamburgers in Sauce Recipe Crock Pot: Slow-Cooked Savory Delight - October 3, 2026