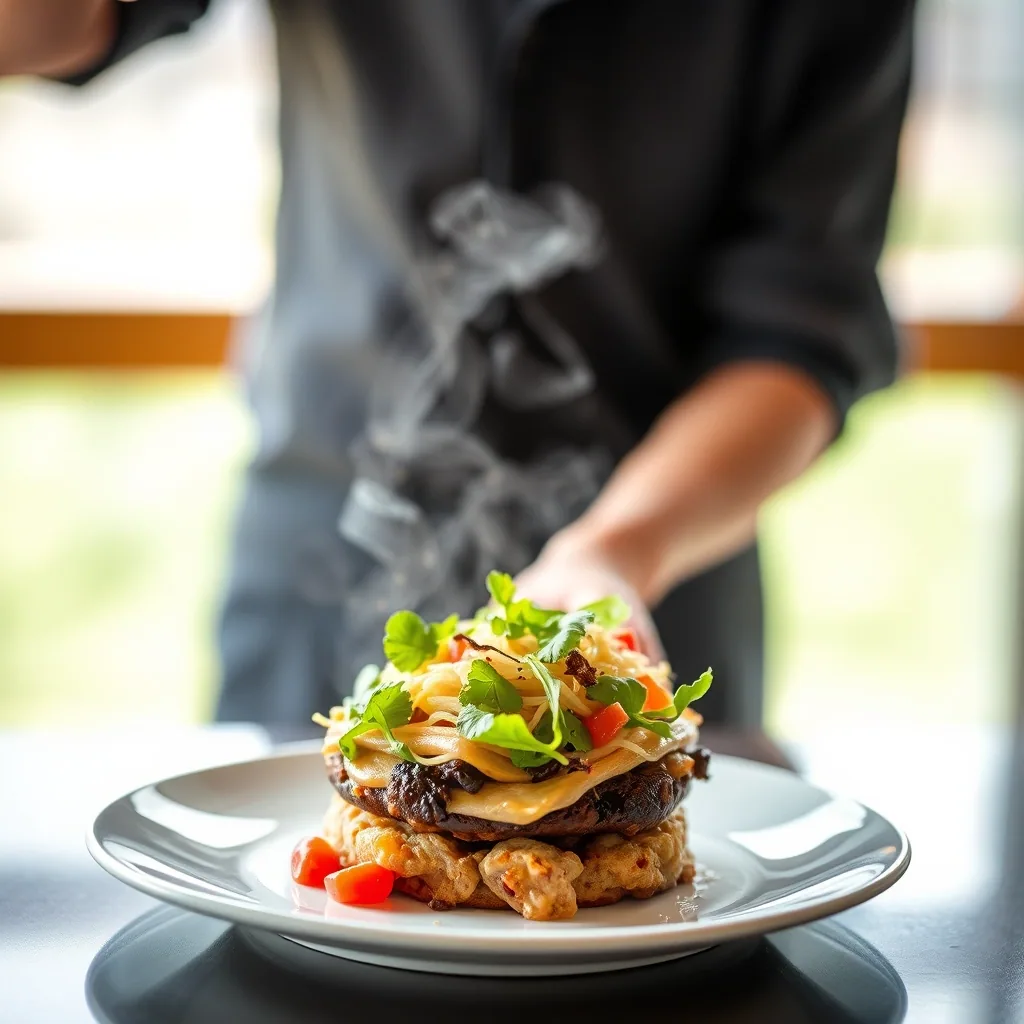
Craving the ultimate game day chili? You’re in for a treat with this incredible recipe from celebrity chef and NBA wife Ayesha Curry! 🔥 I love how she balances classic comfort food with elevated ingredients, creating a rich, hearty chili that’s become my go-to for feeding hungry sports fans. 😋
Ingredients for ayesha curry chili
Gather these premium ingredients to create Ayesha Curry’s signature game day chili recipe.
| Ingredient | Amount | Notes |
|---|---|---|
| Ground Beef 🥩 | 2 lb | 80/20 lean-to-fat ratio preferred |
| Yellow Onion 🧅 | 1 cup | Finely diced |
| Red Bell Pepper 🫑 | 1 cup | Diced small |
| Garlic Cloves 🧄 | 4 tbsp | Minced fresh |
| Kidney Beans 🫘 | 30 oz | Two 15-oz cans, drained |
| Diced Tomatoes 🍅 | 28 oz | With juices |
| Tomato Paste 🥫 | 2 tbsp | For richness |
| Chili Powder 🌶️ | 2 tbsp | Premium blend recommended |
| Ground Cumin 🧂 | 1 tbsp | Fresh ground preferred |
| Paprika 🌶️ | 1 tbsp | Sweet or smoked variety |
| Beef Broth 🥣 | 1 cup | Low sodium preferred |
| Brown Sugar 🍯 | 1 tbsp | Balances acidity |
[recipe_ingredient_scaler]
Source your ground beef from quality butchers like Whole Foods or local meat markets. For spices, Penzeys or McCormick’s premium line offer the best flavor profiles. Choose San Marzano-style canned tomatoes for authentic taste.
For the ground beef, look for bright red color and proper marbling. Fresh vegetables should be firm and aromatic. Beans can be substituted with black beans or pinto beans if preferred. Adjust spice levels to taste.
Store leftover chili in airtight containers for up to 4 days in the refrigerator. Flavors actually improve after 24 hours. Freeze portions for up to 3 months.
Step-by-Step Instructions for Ayesha Curry Chili
Let me walk you through creating this hearty game day chili that’s become a staple in my kitchen.
🔥 Step 1: Prep and Brown
I always start by heating 2 tablespoons of olive oil in a large Dutch oven over medium-high heat. While the pot heats up, I dice my onions, bell peppers, and garlic to ensure everything’s ready to go.
Once the oil is shimmering, I add the ground beef and break it up with a wooden spoon. I let it brown for 8-10 minutes until it develops a nice crust, stirring occasionally. This is where we build our first layer of flavor.
🍳 Step 2: Build the Base
After the meat is browned, I add the diced onions, bell peppers, and garlic to the pot. I cook this mixture for 5-6 minutes until the vegetables soften and become fragrant. This is when I add all my spices – the chili powder, cumin, paprika, and cayenne.
I stir everything together and let the spices toast for 1-2 minutes to bloom their flavors. The aroma at this point is absolutely incredible and fills the whole kitchen.
🥘 Step 3: Simmer and Develop
Now comes the liquid phase. I add the diced tomatoes, tomato sauce, and kidney beans to the pot. After stirring well, I pour in the beef broth and bring everything to a gentle boil. This is when I add my secret ingredient – 1 tablespoon of cocoa powder – which adds incredible depth.
Once boiling, I reduce the heat to low, cover the pot, and let it simmer for 45-60 minutes, stirring occasionally. The chili should thicken nicely and develop complex flavors. If it gets too thick, I’ll add a splash more broth.
During the final 10 minutes of cooking, I taste and adjust the seasoning with salt and pepper. The chili is ready when it’s reached your desired thickness and the flavors have melded together beautifully.
Serving Suggestions for This Dish
For casual game day gatherings, I love serving this Ayesha Curry chili straight from a large enameled Dutch oven set on a sturdy trivet. Create a DIY chili bar by arranging colorful toppings in individual ramekins – think freshly grated cheddar, diced red onions, sliced jalapeños, sour cream, and crushed tortilla chips. This interactive setup lets guests customize their bowls while keeping the chili at the perfect serving temperature of 165°F. 🍽️
When hosting a more formal dinner party, I elevate the presentation by serving individual portions in pre-warmed ceramic bowls. Layer the chili with strategic garnishes – start with a swirl of Mexican crema, add a neat stack of diced avocado, and finish with micro cilantro and a single tortilla strip standing upright as a dramatic accent. Let the chili rest for 5-7 minutes after cooking to allow the flavors to settle and achieve the perfect consistency. ✨
For buffet-style service, I recommend using a slow cooker on warm setting with a ladle resting on a spoon rest. Calculate about 1½ cups per person for main servings, or ¾ cup for smaller portions when serving with other dishes. Place garnishes in ice-filled serving trays to keep them fresh, and arrange complementary sides like cornbread muffins and Mexican rice in attractive serving vessels nearby. 🍽️
When serving larger groups of 10 or more, I organize the layout in stations: the main chili station with bowls and ladles, a toppings bar with clearly labeled ingredients, and a bread station featuring various options like cornbread and warm flour tortillas. Keep serving utensils for each topping, and consider having backup heated chili ready in the kitchen. Remember to slice any garnish proteins like grilled chicken or bacon into bite-sized pieces for easy serving. ✨
Nutrition Facts
485kcal
[recipe_ingredient_scaler]

Trained in classic French technique but raised on slow-cooked ribs and spicy rubs, she blends culinary skill with smoke and soul.
- Recipe for Boneless Pork Chops in Cast Iron Skillet: Sear and Baste to Juicy Perfection - October 3, 2026
- Recipe for Boneless Cross Rib Roast: Slow-Roasted Beef with Herb Crust - October 3, 2026
- Hamburgers in Sauce Recipe Crock Pot: Slow-Cooked Savory Delight - October 3, 2026