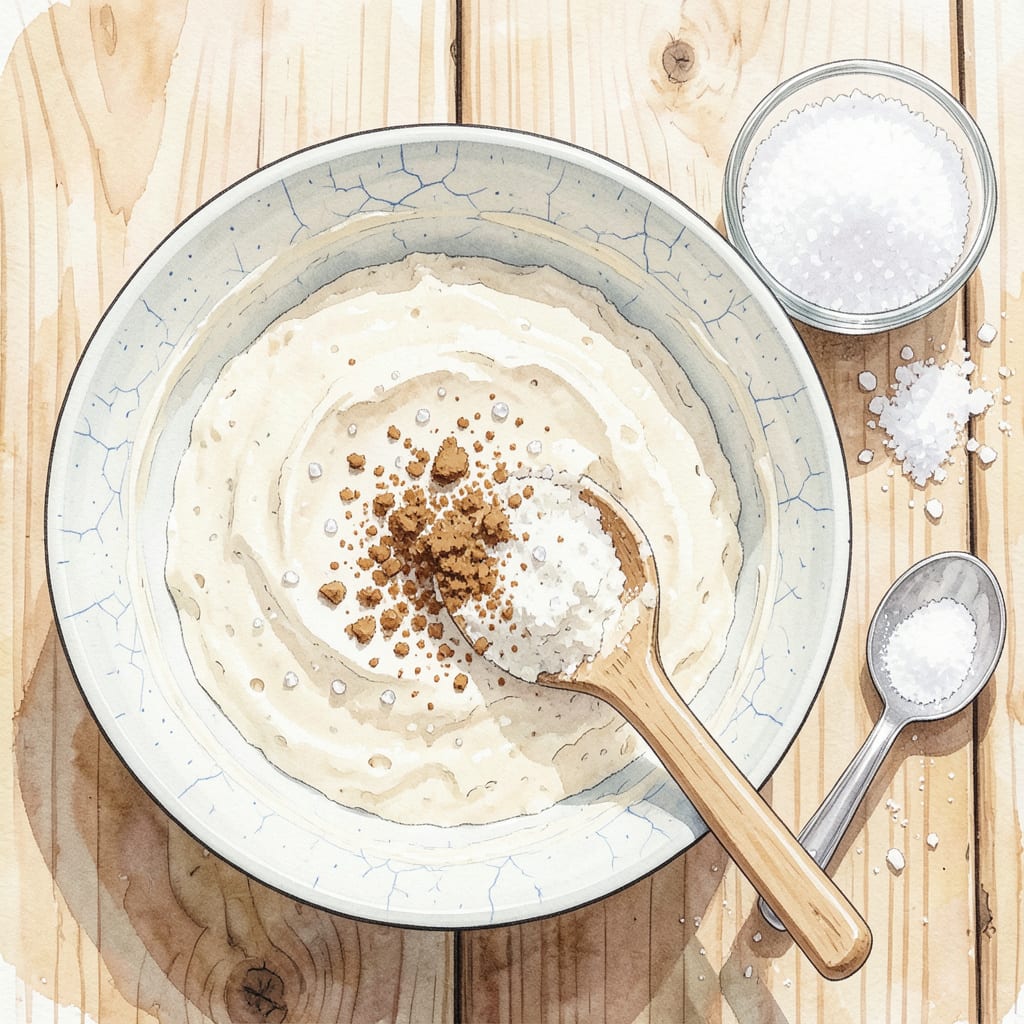
Creating the perfect homemade donut—light, fluffy, and reminiscent of classic bakery treats—is simpler than you think. This recipe delivers that signature vanilla cake texture with a golden-brown exterior and tender crumb, whether you choose to bake or fry. After years of testing ratios and techniques, I’ve refined a method that guarantees consistent results every time.
The secret lies in balancing the dough’s moisture and leavening for optimal rise, then cooking at the precise temperature to achieve that ideal crispness without drying out the interior. You’ll master shaping techniques that ensure uniform donuts, plus professional glazing tips for that bakery-worthy finish. No specialty equipment required—just fundamental techniques executed with care.
Ingredients for Babycakes Donut
These pantry staples plus a few fridge essentials create that signature bakery-style vanilla cake donut texture at home.
| Ingredient | Amount | Notes |
|---|---|---|
| All-Purpose Flour 🌾 | 2 ½ cups | Spoon and level for accuracy |
| Granulated Sugar 🍚 | ¾ cup | Fine white sugar preferred |
| Baking Powder 🧂 | 2 tsp | Fresh for optimal rise |
| Baking Soda 🧂 | ½ tsp | Balances acidity in dough |
| Salt 🧂 | ¾ tsp | Fine sea salt recommended |
| Ground Nutmeg 🌰 | ¼ tsp | Freshly grated for best flavor |
| Large Eggs 🥚 | 2 whole | Room temperature preferred |
| Whole Milk 🥛 | ¾ cup | Full-fat for richness |
| Pure Vanilla Extract 🌿 | 2 tsp | High-quality for best flavor |
| Unsalted Butter 🧈 | 4 tbsp | Melted and cooled slightly |
| Vegetable Oil 🫒 | 4 cups | For frying (peanut oil works too) |
| Powdered Sugar 🍚 | 2 cups | Sifted for smooth glaze |
| Heavy Cream 🥛 | 3 tbsp | Or whole milk for glaze |
[recipe_ingredient_scaler]
The flour and leavening agents are the backbone here. King Arthur Flour gives the most consistent results—I’ve tested with generic brands and the texture just isn’t the same. For baking powder and soda, check the expiration date (they lose potency fast). The nutmeg might seem odd, but it’s the secret to that classic donut shop flavor. I grab mine from Penzeys (their freshly ground is worth it), but any grocery store brand works in a pinch. Just don’t skip it—it’s doing more work than you’d think.
No whole milk? Oat milk or half-and-half are solid swaps, but avoid skim—it’ll dry out the crumb. Vanilla extract matters here—Nielsen-Massey or Rodelle are my go-tos (the real stuff, not imitation). If you’re out of butter, coconut oil works at a 1:1 ratio, though the flavor shifts slightly. For frying, peanut oil has a higher smoke point, but vegetable oil is fine. The glaze is flexible: swap heavy cream for milk or even a splash of vanilla almond milk if that’s what you’ve got.
Dough keeps in the fridge for 24 hours—just wrap it tight. Fried donuts are best eaten same-day (they get dense overnight), but baked ones hold for 2 days in an airtight container. Glaze them right before serving (it’ll soak in otherwise). Extra powdered sugar? Store it with a silica packet to prevent clumping. Pro tip: freeze unglazed donuts for up to 3 months—reheat in the oven before glazing.
Step-by-Step Instructions for Fluffy Vanilla Cake Donuts
Here’s how to make bakery-quality donuts at home—light, tender, and perfectly sweet.
Step 1: Prepare the Donut Batter
In a large mixing bowl, whisk together the 2.5 cups all-purpose flour, 2 tsp baking powder, 0.5 tsp baking soda, 0.75 tsp salt, and 0.25 tsp ground nutmeg. I always spoon and level my flour for accuracy—this prevents dense donuts. The nutmeg adds warmth without overpowering the vanilla flavor.
In a separate bowl, beat the 2 whole large eggs with the 0.75 cup granulated sugar until pale and slightly thickened. Stir in the 0.75 cup whole milk, 2 tsp pure vanilla extract, and 4 tbsp unsalted butter (melted and cooled). Pour this wet mixture into the dry ingredients and fold gently with a silicone spatula until just combined. The batter should be thick but pourable—don’t overmix or your donuts will be tough.
Step 2: Heat the Oil and Shape the Donuts
Pour the 4 cups vegetable oil into a heavy-bottomed pot or Dutch oven. Heat over medium heat until the oil reaches 350°F on a deep-fry thermometer. While the oil heats, transfer the batter to a piping bag fitted with a large round tip (or use a ziplock bag with the corner snipped off).
Pipe 3-inch rings of batter directly into the hot oil, working in batches to avoid crowding. I like to pipe a small test donut first—if it browns too quickly, lower the heat slightly. The donuts should sizzle gently when they hit the oil, not smoke or splatter violently. Use a slotted spoon to flip them after about 1-2 minutes, when the edges turn golden brown and puffed.
Step 3: Fry to Golden Perfection
Fry the donuts for 2-3 minutes total, flipping once, until they’re deep golden brown on both sides and cooked through. The oil temperature will drop when you add batter, so adjust the heat to maintain 340-350°F. If the oil gets too hot, the outside will brown before the center cooks; too cool, and the donuts will absorb excess oil and become greasy.
Transfer the fried donuts to a wire rack set over a baking sheet to drain. Let them cool for 5 minutes before glazing—they need to be warm but not piping hot, or the glaze will melt right off. This cooling time also helps the donuts set slightly, preventing them from absorbing too much glaze.
Step 4: Make and Apply the Vanilla Glaze
While the donuts cool, whisk together the 2 cups powdered sugar (sifted to remove lumps) and 3 tbsp heavy cream in a medium bowl. The glaze should be thick but pourable—add another teaspoon of cream if needed. Stir in ½ tsp pure vanilla extract for extra flavor depth. I always sift my powdered sugar first; it makes the glaze silky smooth instead of grainy.
Dip the warm donuts into the glaze one at a time, letting the excess drip off. Place them back on the wire rack to set for 10 minutes. The glaze will harden slightly but remain tender. For a thicker coating, double-dip after the first layer sets for 5 minutes. Serve immediately for that perfect just-fried texture, or store in an airtight container for up to 2 days (though they’re best fresh).
Storing and Reheating This babycakes donut
Room Temperature Storage
Freshly glazed donuts taste best eaten within 6-8 hours of making, but they’ll keep at room temperature for up to 2 days in an airtight container. I use a glass cake stand with a dome lid—it keeps them visible (so I
Fridge for Longer Freshness
If you need to store them longer, place donuts in a single layer on a plate, cover tightly with plastic wrap, and refrigerate for up to 5 days. The cold will firm up the texture, so let them sit at room temperature for 30 minutes before serving. I’ve found that adding a slice of bread to the container helps absorb excess moisture and keeps donuts softer.
Freezing Unglazed Donuts
For make-ahead convenience, freeze unglazed donuts on a baking sheet until solid (1 hour), then transfer to a freezer bag with parchment between layers. They’ll keep for 3 months. When ready to serve, reheat in a 350°F oven for 5-7 minutes until warm, then glaze fresh. This method preserves that just-fried texture beautifully.
Reheating Fried Donuts
To revive day-old fried donuts, place them on a wire rack set over a baking sheet and warm in a 325°F oven for 8-10 minutes. This restores crispness without drying them out. Avoid the microwave—it makes donuts soggy. For extra indulgence, I sometimes brush warm donuts with melted butter before re-glazing.
Baked Donut Storage
Baked donuts stay fresher longer than fried. Store in an airtight container at room temperature for up to 3 days, or freeze for 2 months. To reheat, wrap in foil and warm at 300°F for 10 minutes. The lower temperature prevents the edges from drying out while gently reviving that tender crumb.
Glaze Revival Tip
If your stored donuts have lost their glaze shine, make a quick refresh by brushing with a mixture of 1 tbsp milk + ½ cup powdered sugar. This light coating brings back that fresh-bakery look without overpowering the original flavor. I keep this trick in my back pocket for last-minute gatherings when I need donuts to look their best. ✨
Nutrition Facts

Trained in classic French technique but raised on slow-cooked ribs and spicy rubs, she blends culinary skill with smoke and soul.
- Recipe for Boneless Pork Chops in Cast Iron Skillet: Sear and Baste to Juicy Perfection - October 3, 2026
- Recipe for Boneless Cross Rib Roast: Slow-Roasted Beef with Herb Crust - October 3, 2026
- Hamburgers in Sauce Recipe Crock Pot: Slow-Cooked Savory Delight - October 3, 2026