Making ice cream in a bag isn’t just a fun science experiment—it produces homemade, creamy results in minutes with minimal effort. I first tried this method with my kids on a hot Austin afternoon, and we were amazed at how well it worked.
The technique relies on the classic combination of milk, sugar, and vanilla sealed in a bag, then vigorously shaken in a salt-ice bath. The salt lowers the freezing point of ice, allowing the mixture to reach the perfect creamy consistency.
What emerges is smooth, sweet ice cream with a texture that rivals traditional churned versions. The hands-on process makes it especially satisfying, and you control exactly what goes into your dessert.
No special equipment required—just a few household items and about 10 minutes of active time. The results speak for themselves.
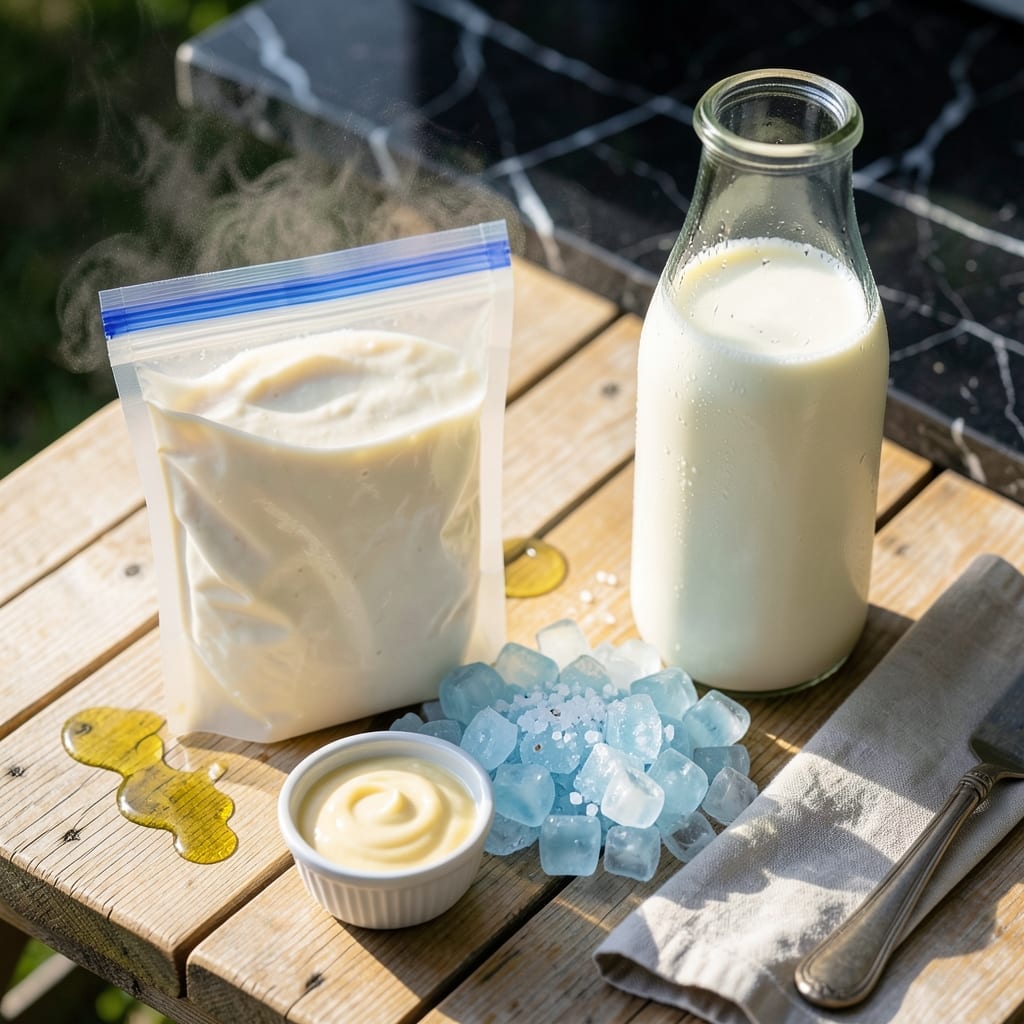
Ingredients for Bag Ice Cream Recipe with Milk
Just milk, sugar, vanilla, and a few household items create this creamy homemade treat in minutes.
| Ingredient | Amount | Notes |
|---|---|---|
| Whole Milk 🥛 | 2 cups | Cold, for creamiest texture |
| Granulated Sugar 🍚 | ½ cup | Adjust to taste preference |
| Vanilla Extract 🌿 | 1 tsp | Pure for best flavor |
| Ice Cubes ❄️ | 8 cups | Crushed slightly for better contact |
| Kosher Salt 🧂 | ½ cup | For lowering freezing point |
| Heavy Cream 🥛 | ½ cup | Optional for richer texture |
| Ziploc Freezer Bags 🛍️ | 2 bags | 1 quart and 1 gallon size |
| Chocolate Syrup 🍫 | ¼ cup | Optional mix-in for flavor |
| Sprinkles 🎉 | 2 tbsp | Optional topping choice |
| Fresh Berries 🍓 | ½ cup | Optional chopped mix-in |
| Cocoa Powder 🍫 | 2 tbsp | Unsweetened for chocolate version |
[recipe_ingredient_scaler]
The milk is key here—use whole milk for richness (2% works but won’t be as luscious). I grab mine from HEB or Whole Foods when I’m in Austin. The vanilla? Pure extract not imitation. That artificial stuff tastes like plastic. For the salt, kosher or rock salt works best—table salt can make the ice slushy instead of solid.
No whole milk? Half-and-half or heavy cream makes it even richer. Skipping the cream? Add an extra egg yolk for creaminess (though you’ll need to cook it first). Want chocolate ice cream? Swap 2 tbsp cocoa powder for some of the sugar. The bags need to seal tight—double-bagging prevents leaks. Trust me on this one.
This is best eaten immediately (obviously), but you can freeze leftovers for up to 1 week. It’ll get icy, so let it sit at room temp for 5-10 minutes before scooping. The salt-ice mix is safe to dump—no special disposal needed.
Why You’ll Love This Recipe
- No Churn Needed: I just shake the bag for 10 minutes and it turns into creamy ice cream—no fancy machine required.
- Sweet Simplicity: The sugar and vanilla bloom in the milk, creating that classic ice cream flavor I crave.
- Kid-Tested Fun: Honestly, my kids fight over who gets to shake the bag, and it’s a hit at every summer BBQ.
- Pantry Staples: Between us, I always have milk, sugar, and vanilla on hand, so this costs me less than a pint from the store.
Step-by-Step Instructions for Bag Ice Cream With Milk
This method is so simple you’ll wonder why you ever bought ice cream from the store.
Step 1: Mix the Creamy Base
In the quart-sized Ziploc Freezer Bag, combine the 2 cups Whole Milk, 0.5 cup Granulated Sugar, and 1 tsp Vanilla Extract. Seal the bag tightly, squeezing out as much air as possible before zipping it closed.
Gently squish the bag with your hands for about 1 minute until the sugar fully dissolves. You want a smooth, slightly frothy mixture with no visible sugar granules. For richer texture, add the 0.5 cup Heavy Cream at this stage and mix it in thoroughly.
Step 2: Prepare the Ice Bath
Fill the gallon-sized Ziploc Freezer Bag about halfway with the 8 cups Ice Cubes. Then add the 0.5 cup Kosher Salt on top of the ice. The salt is crucial—it lowers the freezing point of the ice, allowing your mixture to freeze properly.
Seal this bag tightly as well. Give it a gentle shake to distribute the salt evenly among the ice. You should see the ice starting to melt slightly as the salt begins working its magic. This creates the perfect environment for freezing your ice cream base.
Step 3: Freeze and Agitate the Mixture
Place the sealed quart bag containing your milk mixture inside the gallon bag with the ice and salt. Seal the outer bag completely, ensuring no salt or ice can leak into your ice cream mixture.
Now comes the fun part: vigorously shake and massage the bags for 10-15 minutes. I like to wrap the outer bag in a towel to keep my hands from getting too cold. You’ll notice the mixture gradually thickening. Keep at it until it reaches a soft-serve consistency—this is when it’s ready for mix-ins.
Step 4: Add Mix-Ins and Finish Freezing
Open the quart bag and add your choice of mix-ins. For chocolate ice cream, stir in the 2 tbsp Cocoa Powder and 0.25 cup Chocolate Syrup. For berry ice cream, fold in the 0.5 cup Fresh Berries. Top with 2 tbsp Sprinkles if you want a fun, colorful touch.
Reseal the bag and return it to the ice bath. Continue shaking for another 5-10 minutes until the mixture firms up completely. You’ll know it’s done when it holds its shape and doesn’t slosh around in the bag. The texture should be smooth and creamy, not icy.
Step 5: Serve and Enjoy Immediately
Carefully remove the quart bag from the ice bath. Wipe off any salt or water from the outside of the bag. Open it up and scoop your freshly made ice cream into bowls or cones.
Serve immediately for the creamiest texture. If you prefer a firmer consistency, you can transfer it to a container and freeze for 1-2 hours. Either way, you’ll have delicious homemade ice cream that’s ready in minutes with minimal effort and maximum satisfaction.
Pro Tips For Making Bag Ice Cream Recipe With Milk
- Chill the Milk First: I learned this the hard way—using room-temperature milk makes the ice cream take forever to set. Pop it in the fridge for 30 minutes before mixing, and you’ll cut the shaking time in half.
- Double-Bag the Ice: Sounds weird, but it works: Put your ice-salt mix in one bag, then nest it inside a second bag before adding the milk mixture. Prevents leaks and saves you from a salty, soggy mess.
- Shake, Don’t Swirl: Swirling just moves the liquid around—vigorously shaking the bag for 5-7 minutes is what actually turns it into creamy ice cream. Your arm will get tired, but it’s worth it.
- Use Fine Salt: After burning through a few batches with coarse salt, I switched to fine kosher salt. It dissolves faster in the ice, lowering the temperature more efficiently for smoother results.
Serving Suggestions for This Recipe
Classic Presentation
Serve this creamy treat in chilled glass bowls or waffle cones for that authentic ice cream parlor feel. I love using the colorful bowls I found at Austin’s Central Market—they make the dessert pop. 💛
Topping Ideas
Set up a topping bar with chocolate syrup, sprinkles, and fresh berries so everyone can customize. David always goes for the hot fudge drizzle, while the kids prefer rainbow sprinkles. Keep toppings in small bowls with spoons for easy access.
Temperature Matters
For best results, serve immediately after making—it’s soft-serve perfect right from the bag. If you prefer firmer scoops, transfer to a container and freeze for 30-60 minutes. Just don’t wait too long or it’ll get icy.
Fancy Garnishes
A dusting of cocoa powder or a few mint leaves elevates the presentation. I like adding a drizzle of caramel sauce for extra indulgence. Even simple touches make it feel special.
Portion Control
Use an ice cream scoop for uniform portions. A #16 scoop (about ¼ cup) gives perfect single servings. For a crowd, pre-scoop into individual cups and let guests add their own toppings.
Pairing Suggestion
This ice cream pairs beautifully with freshly baked cookies or brownies. I often serve it alongside my Nana Mae’s chocolate chip cookies—David swears it’s his favorite combo. 🍪
Nutrition Facts
Frequently Asked Questions
Why does this method use salt in the ice?
The salt lowers the freezing point of ice, allowing the mixture to get cold enough to freeze properly. Without it, the milk mixture would never reach the right consistency.
Can I make this with non-dairy milk?
Yes, but use full-fat versions like coconut or oat milk for best results. Skim or almond milk won’t give you the same creamy texture. The higher fat content is key for richness.
How do I prevent the bags from leaking?
Double-bag both the ice and mixture bags for extra security. Squeeze out all air before sealing and check for any gaps. A small leak can ruin your batch.
What if my ice cream turns icy?
This usually means it wasn’t shaken enough or sat too long. Shake vigorously for the full 10-15 minutes and serve immediately for smoothest results.

Trained in classic French technique but raised on slow-cooked ribs and spicy rubs, she blends culinary skill with smoke and soul.
- Recipe for Boneless Pork Chops in Cast Iron Skillet: Sear and Baste to Juicy Perfection - October 3, 2026
- Recipe for Boneless Cross Rib Roast: Slow-Roasted Beef with Herb Crust - October 3, 2026
- Hamburgers in Sauce Recipe Crock Pot: Slow-Cooked Savory Delight - October 3, 2026