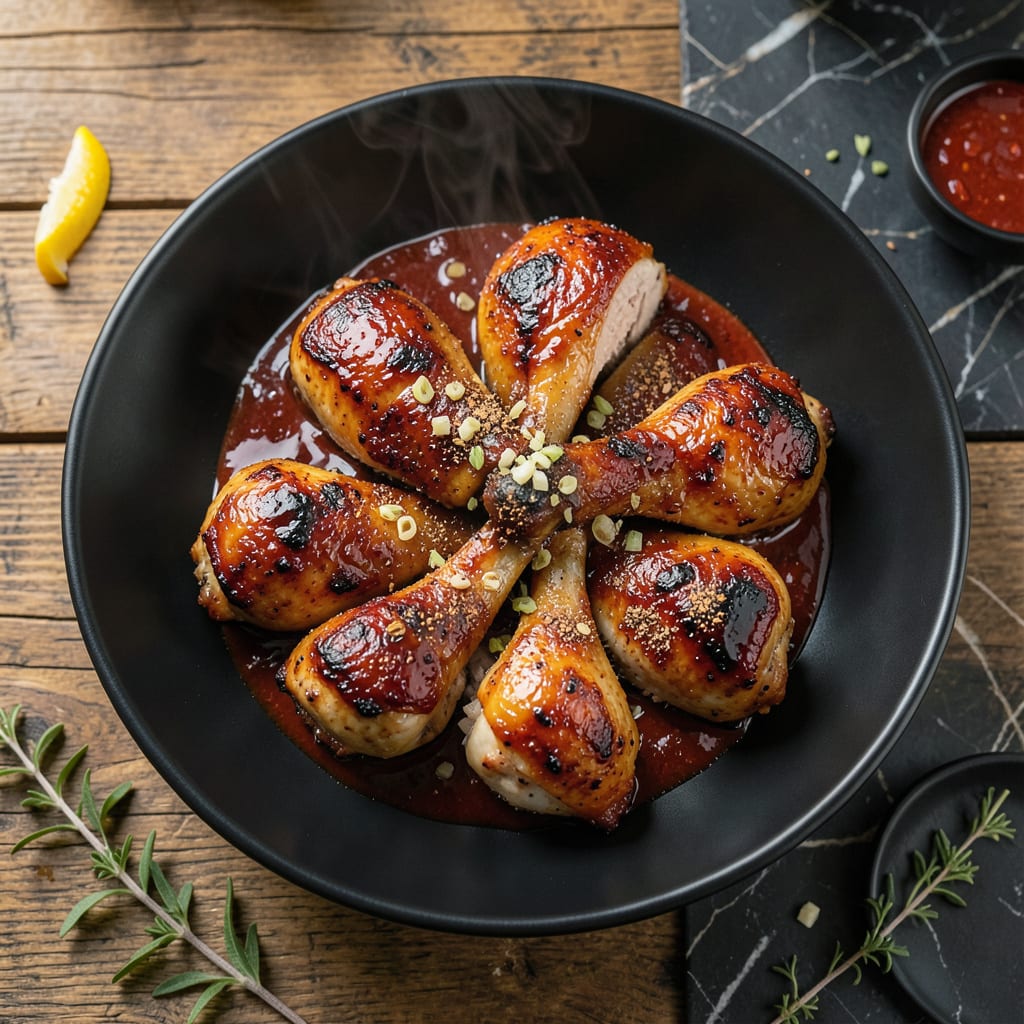
This baked chicken delivers juicy meat with a sticky glaze that caramelizes beautifully in the oven. The secret is a two-step baking process that locks in moisture while creating that perfect barbecue finish.
With simple prep and hands-off cooking, you’ll achieve professional results every time. The sauce forms a glossy coating that clings to each piece, making this dish as impressive as it is delicious.
Ingredients for Baked Chicken with Bbq Sauce
Simple ingredients for juicy, sticky-glazed chicken that bakes to perfection every time.
| Ingredient | Amount | Notes |
|---|---|---|
| Chicken Thighs 🍗 | 2 lb | Boneless, skinless preferred |
| Barbecue Sauce 🍯 | 1 ½ cups | High-quality, thick variety |
| Olive Oil 🫒 | 2 tbsp | Extra-virgin for best results |
| Apple Cider Vinegar 🍏 | 1 tbsp | Balances sweetness in sauce |
| Brown Sugar 🧈 | 2 tbsp | Light or dark, packed |
| Garlic Powder 🧄 | 1 tsp | Freshly ground if possible |
| Onion Powder 🧅 | 1 tsp | Enhances savory depth |
| Smoked Paprika 🌶️ | 1 tsp | Adds authentic BBQ flavor |
| Salt 🧂 | 1 tsp | Kosher or sea salt |
| Black Pepper 🌶️ | ½ tsp | Freshly ground preferred |
| Worcestershire Sauce 💧 | 1 tbsp | Deepens umami in glaze |
| Dijon Mustard 🟡 | 1 tsp | Smooth, not whole grain |
[recipe_ingredient_scaler]
The chicken is crucial here. Thighs stay juicier than breasts during baking—look for bone-in, skin-on at Whole Foods or your butcher for the best texture. I always grab organic if it’s on sale, but standard works fine. The barbecue sauce should be thick enough to cling; Stubb’s or Sweet Baby Ray’s are reliable store-bought options.
No apple cider vinegar? White vinegar at half the amount works in a pinch. Swap brown sugar for honey or maple syrup (use 25% less). Missing smoked paprika? Regular paprika plus a pinch of liquid smoke gets you close. The Worcestershire adds depth—Annie’s makes a great vegetarian version if needed. Dijon mustard can be yellow mustard, but the flavor won’t be as complex.
Leftovers keep for 4 days in the fridge, and the glaze actually thickens as it sits. Freeze for up to 3 months—just thaw overnight before reheating. The sauce caramelizes even more when microwaved, so don’t skip the final broil step if you’re reviving it.
Why You’ll Love This Recipe
- One Pan Wonder: I just toss the chicken thighs with olive oil, vinegar, and brown sugar, then let the oven do the work.
- Sticky Sweet Glaze: The barbecue sauce caramelizes with the brown sugar for that perfect balance of tangy and sweet.
- Weeknight Hero: Between us, this is my go-to for busy evenings when I need dinner fast but still crave restaurant-quality flavor.
- Budget Friendly: Chicken thighs stay juicy and cost less than breasts, and one batch stretches for leftovers or meal prep.
Step-by-Step Instructions for Baked Chicken With BBQ Sauce
Here’s the method. Straightforward, tested, works every time.
Step 1: Season and Marinate the Chicken Thighs
Pat the 2 lb Chicken Thighs dry with paper towels to ensure maximum browning. In a large bowl, whisk together the 2 tbsp Olive Oil, 1 tbsp Apple Cider Vinegar, 1 tsp Garlic Powder, 1 tsp Onion Powder, 1 tsp Smoked Paprika, 1 tsp Salt, and 0.5 tsp Black Pepper.
Add the chicken thighs to the bowl and toss until each piece is evenly coated. This marinade infuses the meat with deep, smoky flavor while the vinegar tenderizes it. Let it sit for 10-15 minutes at room temperature to allow the flavors to penetrate.
Step 2: Create the BBQ Glaze Mixture
In a separate bowl, combine the 1.5 cups Barbecue Sauce, 2 tbsp Brown Sugar, 1 tbsp Worcestershire Sauce, and 1 tsp Dijon Mustard. Stir until the brown sugar fully dissolves and the mixture is smooth.
The Dijon mustard adds a subtle tang that balances the sweetness of the barbecue sauce, while the Worcestershire deepens the umami. This glaze will caramelize beautifully in the oven, creating a sticky, finger-licking finish.
Step 3: Bake the Chicken to Perfection
Preheat your oven to 400°F. Arrange the marinated chicken thighs in a single layer on a parchment-lined baking sheet. Bake for 20 minutes, then remove from the oven and brush each piece generously with the glaze.
Return the chicken to the oven and bake for another 10-15 minutes, basting once more halfway through. The thighs are done when the internal temperature reaches 165°F and the edges are caramelized and slightly charred.
Step 4: Rest and Serve with Extra Glaze
Transfer the baked chicken to a serving platter and let it rest for 5 minutes. This allows the juices to redistribute, ensuring every bite is moist and flavorful. Drizzle any remaining glaze over the top or serve it on the side for dipping.
The skin should be sticky and glossy, with a deep mahogany color. Serve immediately while the glaze is still warm and gooey. The chicken should pull apart easily with a fork but still hold its shape.
Pro Tips For Making Baked Chicken With Bbq Sauce
- Preheat the Pan: Sear the chicken thighs in olive oil for 3-4 minutes per side before baking—this locks in juices and gives the bbq sauce something to cling to.
- Pat Dry First: Blot the chicken thighs with a paper towel before seasoning; wet skin steams instead of crisping, and the sauce won’t stick as well.
- Skip the Early Sauce: Brush on the bbq sauce only in the last 10-15 minutes of baking, or the sugar in the sauce will burn before the chicken cooks through.
- Add Vinegar Last: Stir the apple cider vinegar into the bbq sauce just before using—it keeps the acidity bright and prevents the sauce from turning bitter during baking.
Essential Equipment for This Dish
Baking Sheet Essentials
Invest in a heavy-duty half-sheet pan (I love Nordic Ware) for even heat distribution. Look for 13×18 inches to give chicken pieces space to caramelize without crowding. Darker pans brown faster, so adjust baking time by 2-3 minutes if using one. 🔥
Parchment Paper
Always line your pan with parchment paper for easy cleanup and to prevent the BBQ sauce from sticking. I use pre-cut sheets from Reynolds Kitchens for convenience. Avoid wax paper—it can’t handle oven temperatures above 350°F.
Basting Brush
A silicone basting brush (like OXO’s) is perfect for glaze application. Silicone handles high heat better than bristles and won’t absorb flavors between uses. I keep one dedicated to sweet sauces and another for savory.
Meat Thermometer
Don’t guess—use a digital instant-read thermometer. I trust my ThermoWorks ThermoPop for accuracy. Check the thickest piece of chicken: 165°F is your target internal temperature. Calibrate it yearly for precision.
Mixing Bowls
For the marinade and glaze, use stainless steel or glass bowls (I prefer Pyrex). These won’t absorb odors and clean up easily. A 2-quart bowl works perfectly for this recipe’s quantities.
Tongs
Use 12-inch locking tongs for flipping chicken safely. I recommend OXO Good Grips for comfort. Avoid piercing the meat to keep those juices locked in. The long handles protect your hands from hot pans.
Nutrition Facts

Trained in classic French technique but raised on slow-cooked ribs and spicy rubs, she blends culinary skill with smoke and soul.
- Recipe for Boneless Pork Chops in Cast Iron Skillet: Sear and Baste to Juicy Perfection - October 3, 2026
- Recipe for Boneless Cross Rib Roast: Slow-Roasted Beef with Herb Crust - October 3, 2026
- Hamburgers in Sauce Recipe Crock Pot: Slow-Cooked Savory Delight - October 3, 2026