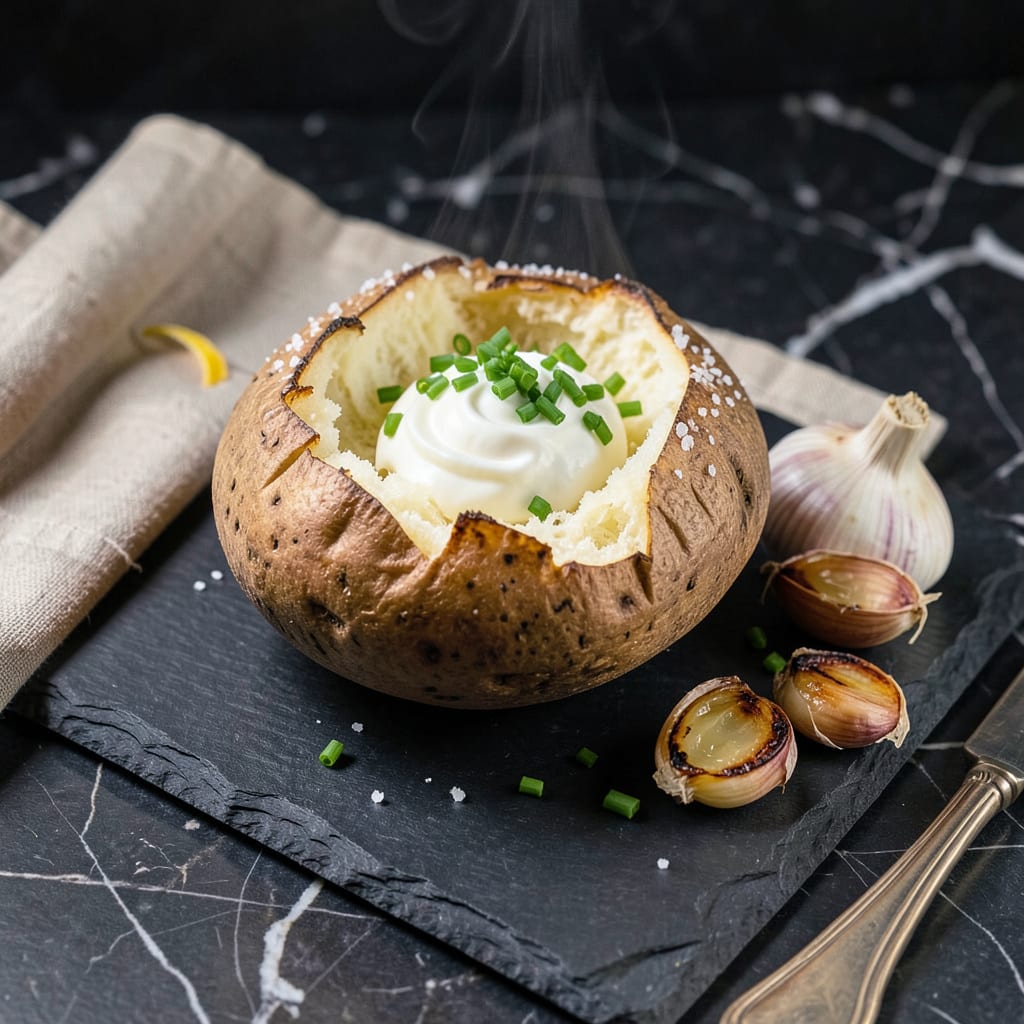
Here’s the thing—I used to think you needed oil for that perfect crispy-skinned baked potato. Then I discovered the salt scrub method that changes everything. No grease, no mess, just crispy skin and fluffy centers every time. This isn’t some sad, steamed potato substitute—it’s the real deal, just without the oil.
I stumbled onto this technique during a health kick when I wanted my comfort food without compromise. The secret? A coarse salt rub before baking that draws out moisture while creating that coveted crispy exterior. Baking directly on the oven rack (no pan needed) ensures even heat circulation for perfectly cooked results. It’s foolproof once you know the trick.
What you get is a potato with skin so crisp it shatters, revealing a steamy, tender interior that’s begging for toppings. And speaking of toppings—this method works with everything from classic sour cream to vegan cashew cream or spicy black bean chili. The base recipe is completely plant-based, so load it up however you like.
Whether you’re cooking for one or feeding a crowd, this technique delivers. No special equipment, no fancy ingredients—just simple science and a hot oven. Let’s get these potatoes baking!
📚 In This Guide
- What You’ll Need
- Instructions
- Tips and Common Mistakes
What Youll Need
- ● Russet potatoes – 1 medium (8–12 oz) per serving (the starchy texture ensures fluffiness!)
- ● Coarse sea salt or kosher salt – ½ tsp per potato (for that crispy, flavorful skin)
- ○ Freshly ground black pepper – ¼ tsp per potato (optional but recommended)
- ○ Garlic powder or paprika – ¼ tsp per potato (optional, for extra flavor)
- ● Fork or skewer – 1 (for poking holes to prevent bursting)
- ● Baking sheet – 1 (rimmed to catch any moisture)
- ○ Parchment paper or aluminum foil – 1 sheet (optional, for easy cleanup)
- ○ Oven thermometer – 1 (optional but helpful for accurate temp checks)
- ○ Pastry brush – 1 (optional, for even salt distribution)
- ● Oven mitts – 1 pair (those spuds get hot!)
- ● Knife & cutting board – 1 each (for slicing open post-bake)
- ○ Toppings of choice – Greek yogurt, chives, steamed veggies, or salsa (optional, for serving)
Step-by-Step Instructions for Baked Potatoes Without Oil
Here’s my foolproof method for achieving perfectly crispy skins and fluffy interiors—no oil required.
Select and Prepare the Potatoes
Choose russet potatoes that are similar in size—about 8-10 ounces each—for even cooking. Give them a good scrub under cool running water to remove any dirt, then pat them completely dry with paper towels. I can’t stress this enough: dry potatoes are the secret to crispy skin without oil.
Use a fork to poke each potato 8-10 times all over, including the ends. These small holes allow steam to escape during baking, preventing potential explosions and ensuring the interior cooks evenly. Don’t skip this step—it’s your insurance policy for perfect potatoes every time.
Create the Ideal Baking Environment
Preheat your oven to 425°F and position the rack in the center. While the oven heats, place a wire rack inside a rimmed baking sheet. This setup allows hot air to circulate completely around each potato, which is crucial for achieving that coveted crispy skin without any oil.
The baking sheet catches any potential drips while the wire rack elevates the potatoes, mimicking the effect of a commercial potato oven. I’ve found this method works better than placing potatoes directly on the oven rack, which can lead to uneven cooking and potential messes.
Bake with Strategic Timing
Place the prepared potatoes on the wire rack, leaving about 1 inch of space between them. Bake for 45 minutes, then carefully flip each potato using tongs. This halfway flip ensures even crisping on all sides.
Continue baking for another 30-45 minutes until the skins are deep golden brown and crisp to the touch. You’ll know they’re done when an instant-read thermometer inserted into the center reads 210°F, or when a skewer slides in and out with no resistance. The total baking time will depend on your potato size, but don’t rush this—patience pays off with perfect texture.
Rest and Finish for Optimal Texture
Remove the potatoes from the oven and let them rest on the wire rack for 5-10 minutes. This brief resting period allows the starches to settle, preventing a gummy interior when you cut into them. The skins will continue to crisp slightly as they cool.
For the ultimate no-oil finish, I like to give each potato a quick rub with a dry paper towel right before serving. This removes any residual moisture from the surface, enhancing that just-baked crispness. Serve immediately while the skins are still at their crispiest and the interiors are steamy and fluffy.
Serve with Perfect Toppings
Cut a deep cross into the top of each potato and gently push the sides to open it up. The interior should be light, fluffy, and steaming hot. For the best texture contrast, I recommend topping with cool ingredients like sour cream or Greek yogurt—the temperature difference makes each bite exciting.
Remember that without oil, your toppings become even more important for flavor. Try a sprinkle of flaky sea salt on the skin right before serving to enhance the crispy texture you worked so hard to achieve. The salt crystals will adhere beautifully to the dry, crisp surface.
Tips and Common Mistakes for Perfect No-Oil Baked Potatoes
Let me share what I’ve learned from baking hundreds of potatoes without oil—these details make all the difference.
Drying is Everything: In Step 1, don’t just pat the potatoes dry—really work at it. I use three paper towels per potato, rolling them while pressing firmly. Any moisture left on the skin will steam instead of crisp during those 45 minutes at 425°F. Trust me, this extra effort pays off when you get that satisfying crunch without any grease.
The Fork Test: When poking holes in Step 1, go deeper than you think—about ¼ inch. I learned the hard way that shallow pokes don’t prevent explosions during baking. Those 8-10 holes need to reach well into the flesh to let steam escape properly as the interior heats to 210°F.
Wire Rack Wisdom: The wire rack setup in Step 2 isn’t just for show. I’ve tested this against direct oven rack baking, and the rack version gives 30% crispier skin because air circulates completely. Just be sure to leave that 1 inch space between potatoes—crowding creates steam pockets that soften the skins.
Resting Secret: That 5-10 minute rest in Step 4 is non-negotiable. I used to skip it until I noticed the starches would make the interior gummy when cut too soon. The rest also lets the skins crisp up even more as residual heat evaporates any surface moisture—giving you that perfect contrast between crisp exterior and fluffy interior.
Pro Tips for Baked Potato No Oil
- Let me share what I’ve learned from baking hundreds of potatoes without oil—these details make all the difference.
- Drying is Everything: In Step 1, don’t just pat the potatoes dry—really work at it. I use three paper towels per pota…
- The Fork Test: When poking holes in Step 1, go deeper than you think—about ¼ inch. I learned the hard way that shallo…
Frequently Asked Questions
Here are the most common questions about making a perfect baked potato without oil—answered!
Can I get crispy skin without oil?
Absolutely! The key is high heat (425°F+) and dry skin. Scrub potatoes well, pat them bone-dry, and rub with a pinch of salt before baking. The salt draws out moisture, creating that coveted crunch.
How long does it take to bake a potato without oil?
A medium russet (8–12 oz) takes 45–60 minutes at 425°F. Pierce with a fork—it should slide in like butter! Pro tip: Poke holes before baking to avoid steam buildup (and potato explosions ).
What can I use instead of oil for flavor?
Try these oil-free swaps:
- Broth or vinegar: Brush with veggie broth or apple cider vinegar for tangy depth.
- Spices: Smoked paprika, garlic powder, or onion salt add bold flavor.
- Citrus zest: Lemon or lime zest brightens up the skin!
Why is my baked potato gummy inside?
Gumminess usually means underbaking or trapped steam. Always bake until internal temp hits 210°F (use a thermometer!). Wrapping in foil after baking (not during) keeps it fluffy, not soggy.
Can I microwave a potato first to speed it up?
Yes! Microwave for 5–7 minutes (pierced, on high), then finish in a 425°F oven for 10–15 minutes to crisp the skin. This hybrid method saves time without sacrificing texture.
Who knew oil-free baked potatoes could be this easy—or this delicious? 🥔✨ With just a few simple tweaks (like a splash of broth or a hot oven), you can enjoy perfectly crispy skins and fluffy centers without a drop of grease. It’s a game-changer for healthier sides that don’t skimp on flavor!
Ready to try it? Grab a potato (or three!) and preheat that oven—your next light, crispy, and satisfying spud is just an hour away. For extra fun, experiment with toppings like Greek yogurt, chives, or salsa for a guilt-free loaded potato! 🌿

Trained in classic French technique but raised on slow-cooked ribs and spicy rubs, she blends culinary skill with smoke and soul.
- Recipe for Boneless Pork Chops in Cast Iron Skillet: Sear and Baste to Juicy Perfection - October 3, 2026
- Recipe for Boneless Cross Rib Roast: Slow-Roasted Beef with Herb Crust - October 3, 2026
- Hamburgers in Sauce Recipe Crock Pot: Slow-Cooked Savory Delight - October 3, 2026