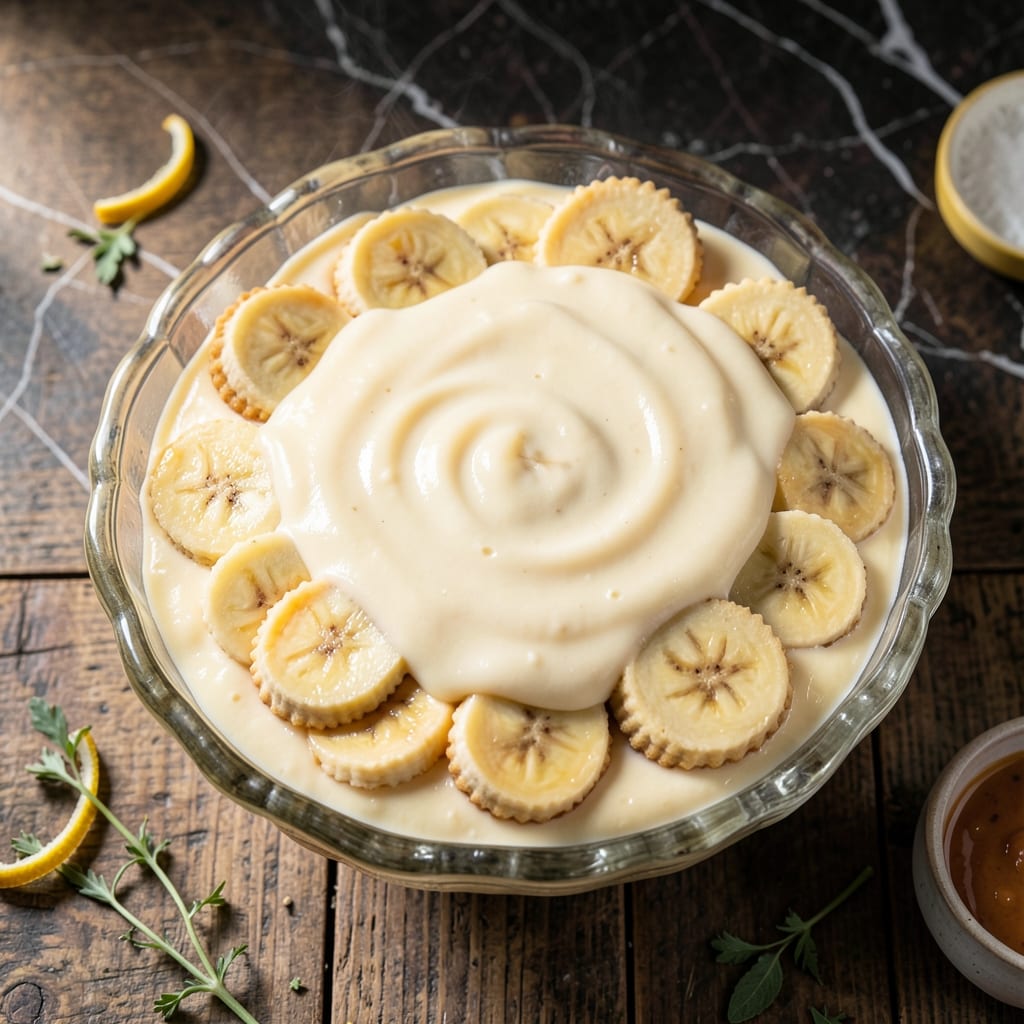
There’s something truly special about a classic banana pudding made the old-fashioned way. This version delivers homemade creaminess without shortcuts, using simple ingredients and a little patience.
The key is a rich vanilla custard layered with ripe bananas and crisp vanilla wafers, creating a dessert that’s both nostalgic and deeply satisfying. Every spoonful offers a perfect balance of textures and flavors.
Unlike store-bought versions, this pudding gets its luscious consistency from a properly cooked custard base. The layers soften just enough to meld together while keeping their distinct character.
Serve it chilled for a refreshing treat that’s ideal for gatherings or a cozy night in. Here’s how to make it right.
Ingredients for Banana Pudding Recipe Without Cool Whip
Simple pantry staples and fresh dairy create this nostalgic layered dessert with ease.
| Ingredient | Amount | Notes |
|---|---|---|
| Ripe Bananas 🍌 | 6 whole | Sliced just before layering |
| Vanilla Wafer Cookies 🍪 | 12 oz | About 36 wafers |
| Whole Milk 🥛 | 3 cups | Full-fat for richness |
| Granulated Sugar 🧂 | ¾ cup | Divided for custard and meringue |
| All-Purpose Flour 🌾 | ¼ cup | For thickening custard |
| Large Egg Yolks 🥚 | 4 whole | Room temperature preferred |
| Vanilla Extract 🌿 | 2 tsp | Pure extract for best flavor |
| Salt 🧂 | ¼ tsp | Fine sea salt preferred |
| Unsalted Butter 🧈 | 2 tbsp | For custard base |
| Heavy Cream 🥛 | 1 cup | Whipped to soft peaks |
| Egg Whites 🥚 | 4 whole | For meringue topping |
| Cream of Tartar 🧂 | ½ tsp | Stabilizes meringue |
[recipe_ingredient_scaler]
The custard base demands quality dairy. Whole milk from local dairies offers superior richness compared to national brands (the fat content difference is noticeable). For the wafers, Nilla Wafers are the classic choice, but any vanilla wafer will do. Use bananas with some brown speckling—they’re sweeter and hold up better to layering. The butter should be European-style if possible, as it has higher fat content.
No vanilla wafers? Shortbread cookies or graham crackers work in a pinch (though the texture differs). Swap heavy cream for coconut cream if avoiding dairy—just chill the can overnight first. Out of cream of tartar? Lemon juice at half the amount stabilizes the meringue. Granulated sugar can’t be skipped, but brown sugar adds a caramel note if you’re feeling fancy.
Assemble in a glass dish for the prettiest layers. The pudding keeps 3-4 days refrigerated, though the wafers soften more each day. The meringue is best eaten within 24 hours (it weeps after that). For make-ahead, prepare components separately and assemble before serving.
Why You’ll Love This Recipe
- No Fuss Cooking: I just stir the flour and sugar into warm milk—no special tools, no fancy steps.
- Layered Heaven: The ripe bananas and vanilla wafers soak up that creamy custard like they were made for each other.
- Potluck Hero: Between us, this is my go-to dish for summer picnics because it travels well and feeds a crowd.
- Budget Friendly: Honestly, five simple ingredients and not a single one is expensive.
Step-by-Step Instructions for Banana Pudding Without Cool Whip
This classic method delivers layers of creamy custard, fresh bananas, and crisp vanilla wafers.
Step 1: Prepare the Custard Base
In a medium saucepan, whisk together the 3 cups whole milk, 0.75 cup granulated sugar, 0.25 cup all-purpose flour, and 0.25 tsp salt until no lumps remain. I always use full-fat milk here—it creates a richer, more velvety custard that coats the bananas beautifully.
Place the saucepan over medium heat and cook, stirring constantly, for 5-7 minutes until the mixture thickens to the consistency of pudding. You’ll know it’s ready when it coats the back of a spoon and leaves a clear path when you run your finger through it.
Step 2: Temper and Thicken the Custard
In a separate bowl, whisk the 4 whole large egg yolks with the 2 tsp vanilla extract. Slowly ladle about 1 cup of the hot milk mixture into the yolks while whisking constantly—this tempering step prevents the eggs from scrambling.
Pour the tempered egg mixture back into the saucepan and cook for an additional 2-3 minutes over medium-low heat, stirring constantly. The custard should thicken further, becoming smooth and glossy. Remove from heat and stir in the 2 tbsp unsalted butter until fully melted.
Transfer the custard to a bowl and cover with plastic wrap pressed directly onto the surface to prevent a skin from forming. Let it cool to room temperature.
Step 3: Assemble the Layers
Begin layering in a 9×13-inch baking dish (or individual serving dishes). Start with a layer of 12 oz vanilla wafer cookies, followed by a layer of sliced ripe bananas—I use all 6 whole ripe bananas for maximum flavor and texture. Spoon half of the cooled custard over the bananas, spreading it evenly.
Repeat with another layer of vanilla wafers, bananas, and the remaining custard. The wafers will soften slightly as they absorb the custard, creating the perfect balance of textures.
Step 4: Prepare the Meringue Topping
In a clean, grease-free bowl, combine the 4 whole egg whites and 0.5 tsp cream of tartar. Using an electric mixer, beat on medium-high speed until soft peaks form. Gradually add the remaining granulated sugar (about ¼ cup from the original 0.75 cup) and beat until stiff, glossy peaks form.
Spread the meringue evenly over the custard layer, sealing it to the edges of the dish. This creates a protective barrier that prevents the pudding from developing a skin.
Step 5: Chill and Serve
Refrigerate the pudding for at least 4 hours, or preferably overnight. This chilling time allows the flavors to meld and the vanilla wafers to soften to the ideal texture. For an extra touch, whip the 1 cup heavy cream to soft peaks and serve it alongside the pudding.
When ready to serve, the pudding should be cool and set, with distinct but harmonious layers of creamy custard, tender bananas, and soft vanilla wafers. The meringue will have a light, airy texture that contrasts perfectly with the rich custard below.
Pro Tips For Making Banana Pudding Recipe Without Cool Whip
- Cook the Flour: Whisk the flour into the milk mixture first and cook for 2-3 minutes over medium heat. I learned this the hard way—raw flour taste ruins the pudding.
- Use Spotty Bananas: The riper the bananas, the sweeter and creamier the pudding. I skip the green ones now—they just don’t break down right.
- Layer Twice: Do one layer of wafers and bananas, then pudding, then repeat. Sounds weird, but it works—every bite gets a good mix.
- Chill 4 Hours: Resist the urge to dig in early. After burning three batches rushing it, I finally figured out the wafers need time to soften properly.
Flavor Customization for This banana pudding recipe without cool whip
Spiced Chai Infusion
Add 1 tsp ground cinnamon and ½ tsp ground cardamom to the custard while cooking for warm, aromatic depth. I love how these spices complement the sweetness of the bananas. The chai flavor is subtle but noticeable. 🌟
Chocolate Lovers’ Twist
Mix ½ cup miniature chocolate chips into the custard before layering, or sprinkle them between each layer. For an extra indulgent touch, use chocolate wafers instead of vanilla. The chocolate melts slightly into the custard as it chills.
Tropical paradise
Swap 2 bananas for 1 cup diced fresh pineapple in the layers for a bright, tangy contrast. Add ½ cup toasted coconut flakes between the custard and meringue. This gives the dish a fun, island-inspired flavor.
Coffee Buzz
Stir 1 tbsp instant espresso powder into the custard for a mocha-like depth. The coffee enhances the vanilla and balances the sweetness beautifully. I use Medaglia d’Oro for the best flavor.
Nutty Crunch
Fold ½ cup chopped toasted pecans or walnuts into the custard before layering. Sprinkle extra nuts on top of the meringue before chilling. The crunch contrasts perfectly with the creamy texture.
Citrus Zing
Add 1 tbsp orange zest to the custard and a splash of orange extract for a bright, citrusy note. The orange pairs wonderfully with the vanilla and bananas. I find it makes the dish taste lighter. 💛
Nutrition Facts
Frequently Asked Questions
Can I make this ahead of time?
Yes! Assemble the pudding and refrigerate for up to 2 days. The wafers will soften more over time, but the flavors deepen beautifully.
What can I use instead of vanilla wafers?
Try shortbread cookies or graham crackers for a different texture. Both hold up well to the custard and add their own unique flavor.
Why did my custard turn lumpy?
Lumps usually mean the eggs scrambled slightly. Always temper the yolks with hot milk slowly while whisking constantly to prevent this.
Can I skip the meringue topping?
Serve with whipped heavy cream instead, or enjoy it as-is. The pudding is delicious either way.

Trained in classic French technique but raised on slow-cooked ribs and spicy rubs, she blends culinary skill with smoke and soul.
- Recipe for Boneless Pork Chops in Cast Iron Skillet: Sear and Baste to Juicy Perfection - October 3, 2026
- Recipe for Boneless Cross Rib Roast: Slow-Roasted Beef with Herb Crust - October 3, 2026
- Hamburgers in Sauce Recipe Crock Pot: Slow-Cooked Savory Delight - October 3, 2026