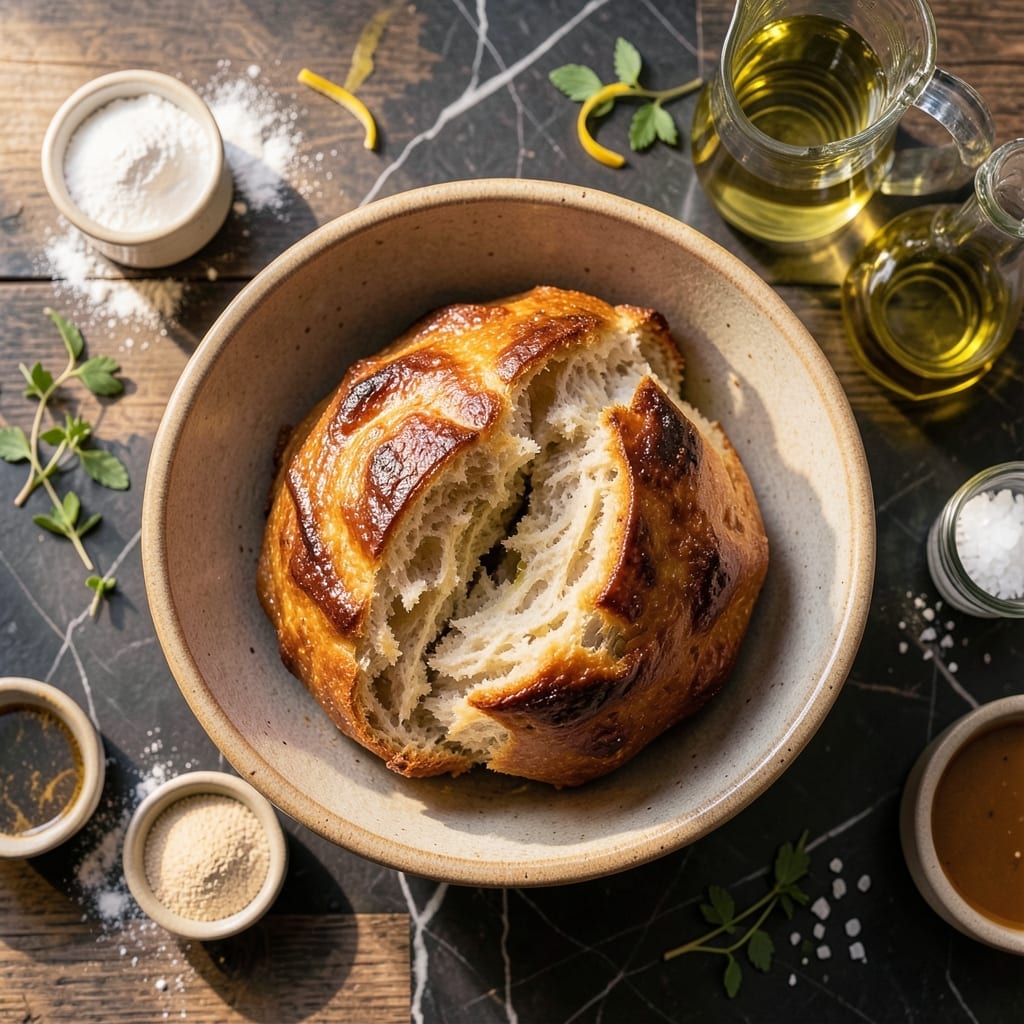
This grilled flatbread delivers smoky depth with charred edges that capture the essence of outdoor cooking. The dough comes together in 10 minutes before hitting the grill.
Each bite offers a crisp exterior with a soft, chewy center, enhanced by barbecue seasoning worked into the dough. It is the perfect companion to any cookout spread.
Ingredients for Barbecue Bread
Simple pantry staples transform into smoky, charred flatbread with minimal effort.
| Ingredient | Amount | Notes |
|---|---|---|
| All-Purpose Flour 🌾 | 3 cups | Plus extra for dusting |
| Instant Yeast 🍞 | 2 ¼ tsp | Or 1 active dry yeast packet |
| Granulated Sugar 🍚 | 1 tbsp | Activates the yeast |
| Warm Water 💧 | 1 ¼ cups | About 110°F |
| Olive Oil 🫒 | 2 tbsp | Divided for dough and brushing |
| Salt 🧂 | 1 tsp | Fine sea salt preferred |
| Barbecue Seasoning 🌶️ | 2 tbsp | Store-bought or homemade blend |
| Smoked Paprika 🌶️ | 1 tsp | Enhances smoky flavor |
| Garlic Powder 🧄 | 1 tsp | Adds savory depth |
| Onion Powder 🧅 | 1 tsp | Balances the seasoning |
| Cornmeal 🌽 | ¼ cup | For dusting, prevents sticking |
[recipe_ingredient_scaler]
The flour is the foundation here. King Arthur or Gold Medal all-purpose flour both work beautifully—just avoid bread flour, which can make the dough too dense. Instant yeast is my go-to for speed (SAF or Fleischmann’s are reliable brands), but active dry yeast works too with a 5-minute proof. The barbecue seasoning is key—look for a blend with visible herbs and spices, not just salt and sugar.
No barbecue seasoning? Mix 1 tbsp smoked paprika, 1 tsp garlic powder, 1 tsp onion powder, and 1 tsp brown sugar for a quick substitute. Cornmeal can be swapped with semolina or extra flour in a pinch. For deeper flavor, add 1/2 tsp liquid smoke to the dough—just a little goes a long way.
The dough can rest at room temperature for up to 2 hours or in the fridge for 24 hours (great for prepping ahead). Once grilled, the bread is best served warm but holds up well for 2-3 days in an airtight container. Reheat briefly on the grill to revive the char.
Why You’ll Love This Recipe
- No-Fuss Dough: Honestly, mixing flour, yeast, sugar, water, and olive oil takes less time than preheating the oven.
- Smoky Sweetness: The sugar in the dough caramelizes slightly, giving it that subtle barbecue-like depth without overpowering.
- Crowd-Pleasing Side: I bring this to potlucks and it’s always the first thing to disappear—great with soups, salads, or solo.
- Budget Stretch: Five pantry staples, one loaf, and it costs pennies compared to store-bought bread that never tastes this fresh.
Step-by-Step Instructions for Barbecue Bread
Follow this method precisely for smoky, charred flatbread with a tender interior and crisp edges.
Step 1: Activate the Yeast and Prepare the Dough
In a large mixing bowl, whisk together the 1.25 cups warm water, 1 tbsp granulated sugar, and 2.25 tsp instant yeast. Let it sit for 5-7 minutes until the mixture becomes frothy and cloudy—this confirms the yeast is active.
Add 2 tbsp olive oil, 1 tsp salt, 2 tbsp barbecue seasoning, 1 tsp smoked paprika, 1 tsp garlic powder, and 1 tsp onion powder. Stir to combine. Gradually mix in the 3 cups all-purpose flour until a shaggy dough forms.
Step 2: Knead and Let the Dough Rise
Turn the dough out onto a lightly floured surface and knead for 8-10 minutes until smooth and elastic. The dough should spring back slowly when pressed with a finger. If it’s too sticky, dust with a bit more all-purpose flour, but avoid adding too much.
Place the dough in a lightly oiled bowl, cover with a clean kitchen towel, and let it rise in a warm, draft-free spot for 1-2 hours, or until doubled in size. A properly risen dough will be puffy and leave an indent when pressed gently with a finger.
Step 3: Shape and Prepare for Grilling
Punch down the risen dough to release the air and divide it into 4 equal portions. Roll each portion into a ball, then flatten into a ¼-inch thick oval or rectangle on a surface dusted with 0.25 cup cornmeal. The cornmeal prevents sticking and adds a subtle crunch.
Generously brush the tops of the dough with the remaining olive oil and let them rest for 10-15 minutes while you preheat your grill. This brief rest relaxes the gluten, making the dough easier to stretch and less likely to shrink on the grill.
Step 4: Grill to Charred Perfection
Preheat your grill to medium-high heat (about 400°F). Carefully transfer the dough directly onto the grill grates, oiled side down. Grill for 2-3 minutes until the bottom is charred and golden brown with distinct grill marks.
Flip the dough using tongs and grill for another 2-3 minutes until the second side is equally charred. Keep a close eye on it—barbecue bread cooks quickly, and the sugars in the dough can burn if left unattended.
Step 5: Serve Warm with Optional Toppings
Remove the bread from the grill and transfer it to a cutting board. For extra flavor, brush the warm bread with a little more olive oil and sprinkle with a pinch of barbecue seasoning. Let it cool for 2-3 minutes before slicing.
Serve the barbecue bread warm, either whole or torn into pieces. It’s best enjoyed fresh off the grill, with a smoky aroma and a slightly crisp, charred exterior giving way to a soft, flavorful interior.
Pro Tips For Making Barbecue Bread
- Test Your Water First: I learned this the hard way—if your warm water is too hot, it’ll kill the instant yeast. Aim for 105-110°F, or just dip your finger in and make sure it feels warm but not scalding.
- Knead Longer Than You Think: This isn’t the prettiest method, but 8-10 minutes of kneading the dough really develops the gluten for that chewy texture barbecue bread needs.
- Skip Cold Olive Oil: After burning three batches, I finally figured out that using room-temperature olive oil mixes better into the dough and keeps the yeast active.
- Let It Double: Sounds weird, but it works—give the dough a full 1-2 hours to rise until it’s truly doubled in size. Rushing this step leaves you with dense, flat bread.
Essential Equipment for This Dish
Grill Essentials
You need a grill that can reach 400°F with even heat distribution. My go-to is a Weber Genesis EX-335 gas grill for precise temperature control. For charcoal purists, a Kamado Joe holds heat beautifully for that authentic smoky flavor I grew up with.
Dough Prep Tools
A sturdy stand mixer with dough hook attachment saves time and effort. I use my KitchenAid Artisan for this. A large mixing bowl and clean kitchen towel are essential for the rising process. Don’t skimp on these basics.
Grill Accessories
Invest in long-handled tongs for safe flipping—I prefer OXO Good Grips for their durability. A grill brush with stiff bristles keeps your grates clean between batches. These tools make grilling easier and safer.
Temperature Control
An instant-read thermometer is non-negotiable for accuracy. I rely on my ThermoWorks ThermoPop to monitor grill temperature. This prevents burning and ensures even cooking every time. 🌡️
Surface Protection
Use a pizza peel dusted with cornmeal to transfer dough to the grill. I recommend a wooden peel for its lightweight handling. This prevents sticking and makes the process smoother.
Finishing Touches
A pastry brush for olive oil application gives that perfect golden sheen. I always keep a small bowl of extra barbecue seasoning nearby for that final flavor boost. Simple tools, professional results. 🔥
Nutrition Facts
Frequently Asked Questions
Can I make this without a grill?
Yes! Use a cast iron skillet on medium-high heat for 2-3 minutes per side. The char won’t be as pronounced, but the flavor remains.
Why does my dough spring back when rolling?
Let it rest 10-15 minutes after shaping. If still resistant, knead for an extra 2-3 minutes to relax the gluten.
Can I add cheese or toppings before grilling?
Add toppings after flipping to prevent burning. Sprinkle shredded cheese during the last 1-2 minutes of cooking.
How do I store leftovers?
Keep in an airtight container at room temperature for 2-3 days. Reheat briefly on the grill to restore crispness.

Trained in classic French technique but raised on slow-cooked ribs and spicy rubs, she blends culinary skill with smoke and soul.
- Recipe for Boneless Pork Chops in Cast Iron Skillet: Sear and Baste to Juicy Perfection - October 3, 2026
- Recipe for Boneless Cross Rib Roast: Slow-Roasted Beef with Herb Crust - October 3, 2026
- Hamburgers in Sauce Recipe Crock Pot: Slow-Cooked Savory Delight - October 3, 2026