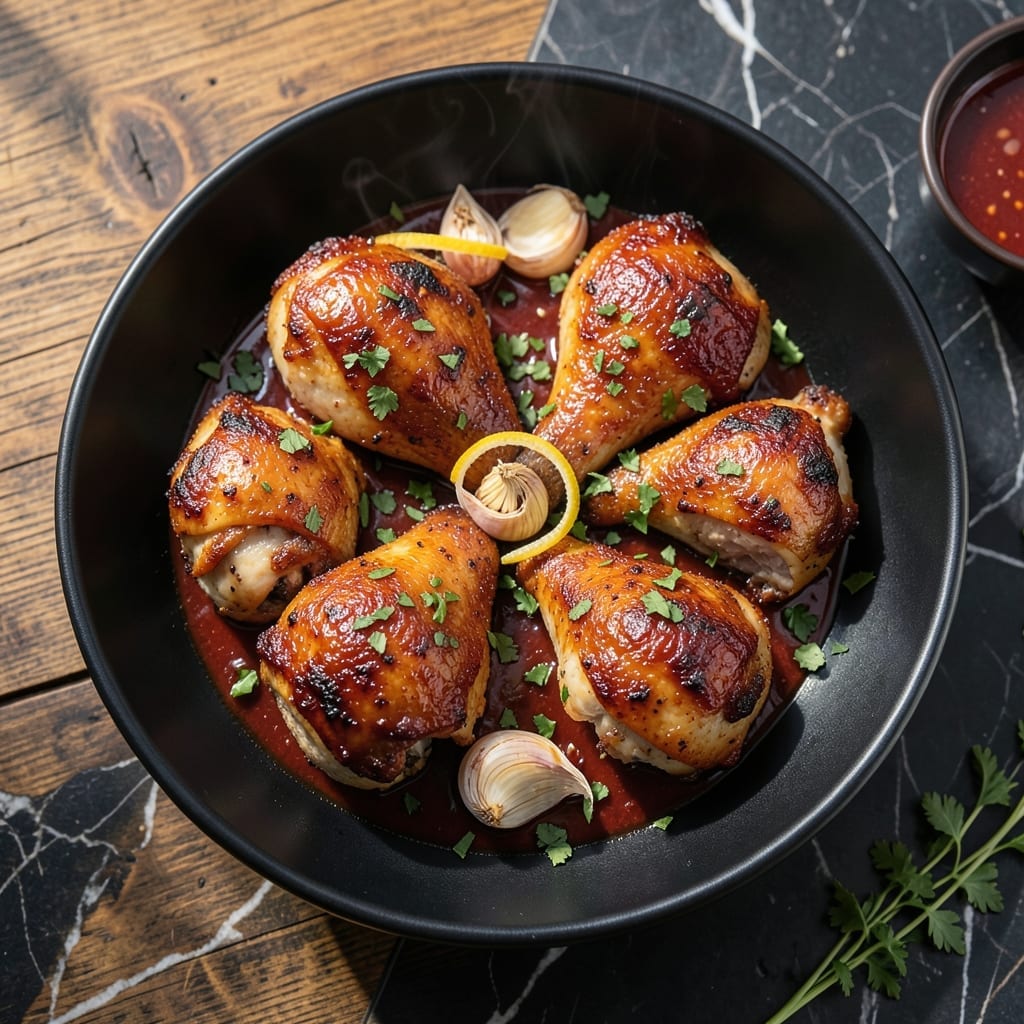
Achieving sticky glaze and charred edges on chicken thighs requires patience and proper heat control. My years as a pitmaster taught me that low and slow builds flavor depth.
This method uses simple techniques to transform ordinary thighs into restaurant-quality barbecue. The glaze caramelizes perfectly while the meat stays juicy and tender.
Ingredients for Barbecue Chicken Thigh
Bone-in thighs, bold sauce, and a few pantry staples make this happen.
| Ingredient | Amount | Notes |
|---|---|---|
| Bone-in, Skin-on Chicken Thighs 🍗 | 2 lb | About 8 thighs, trimmed of excess fat |
| Barbecue Sauce 🍯 | 1 ½ cups | High-quality, hickory or applewood preferred |
| Olive Oil 🫒 | 2 tbsp | For searing and moisture |
| Kosher Salt 🧂 | 1 ½ tsp | Diamond Crystal brand recommended |
| Black Pepper 🌶️ | 1 tsp | Freshly ground for best flavor |
| Garlic Powder 🧄 | 1 tsp | Not garlic salt |
| Smoked Paprika 🌶️ | 1 tsp | Adds depth and color |
| Brown Sugar 🍚 | 2 tbsp | Light or dark, for caramelization |
| Apple Cider Vinegar 🍏 | 1 tbsp | Balances sweetness in glaze |
| Worcestershire Sauce 🥫 | 1 tbsp | Adds umami complexity |
| Onion Powder 🧅 | 1 tsp | Enhances savory base |
| Cayenne Pepper 🔥 | ¼ tsp | Optional, for heat adjustment |
[recipe_ingredient_scaler]
The chicken matters most here. Bone-in, skin-on thighs stay juicier than breasts and handle the heat better. I grab mine from Whole Foods or Costco—look for uniform size so they cook evenly. The skin should be smooth and slightly tacky, not slimy. If you find thighs with the skin already removed, save those for another recipe. Patience with the sear is what gets you those charred edges.
No barbecue sauce? Ketchup plus brown sugar and vinegar gets you close in a pinch. Short on smoked paprika? Regular paprika plus a drop of liquid smoke works (but use sparingly). The Worcestershire can be swapped for soy sauce or coconut aminos—just reduce the salt elsewhere. For extra stickiness, let the sauce reduce on the stovetop for a few minutes before glazing.
Leftovers keep 4 days in the fridge and actually taste better the next day. Freezes beautifully for 3 months—just thaw overnight before reheating. For meal prep, cook a double batch and portion into containers. The glaze will thicken as it cools, so thin with a splash of water if needed.
Why You’ll Love This Recipe
- One Pan Wonder: I toss the thighs with oil, salt, and pepper, then let the oven do the work—minimal cleanup, maximum flavor.
- Sticky, Smoky Goodness: That caramelized barbecue glaze on crispy skin? I’ll be real: it’s the reason I make this weekly.
- Feeds the Crew: Between us, it’s my go-to for game night—fills everyone up without breaking the bank.
- Better as Leftovers: Honestly, the flavors deepen overnight, so I always make extra for next-day sandwiches.
Step-by-Step Instructions for Barbecue Chicken Thighs
This method guarantees crispy skin and that signature sticky, charred glaze you crave.
Step 1: Season the Chicken Thighs Thoroughly
Pat the 2 lb Bone-in, Skin-on Chicken Thighs completely dry with paper towels. I press hard to remove every bit of moisture—this is non-negotiable for crispy skin. In a small bowl, mix the 1.5 tsp Kosher Salt, 1 tsp Black Pepper, 1 tsp Garlic Powder, 1 tsp Smoked Paprika, 1 tsp Onion Powder, and 0.25 tsp Cayenne Pepper.
Rub this spice blend all over the chicken, making sure to get it under the skin and into every crevice. The smoked paprika gives that deep, smoky color and flavor that pairs perfectly with barbecue. Let the seasoned thighs sit at room temperature for 15 minutes while you preheat the oven.
Step 2: Sear the Chicken for Maximum Flavor
Heat the 2 tbsp Olive Oil in a large oven-safe skillet over medium-high heat until it shimmers. Place the chicken thighs skin-side down in the hot oil. Don’t crowd the pan—work in batches if needed. You’ll hear a beautiful sizzle when they hit the pan.
Let them sear undisturbed for 6-8 minutes until the skin turns deep golden brown and crispy. This creates a flavorful foundation that the barbecue sauce will build upon. Flip the thighs and sear the other side for 3-4 minutes, then transfer the skillet to a 375°F oven.
Step 3: Create the Barbecue Glaze
While the chicken roasts, make the glaze. In a bowl, whisk together the 1.5 cups Barbecue Sauce, 2 tbsp Brown Sugar, 1 tbsp Apple Cider Vinegar, and 1 tbsp Worcestershire Sauce. The vinegar cuts through the sweetness, while the Worcestershire adds a savory depth that balances the whole dish.
The brown sugar will help the sauce caramelize and create that sticky, finger-licking glaze. Taste it and adjust the sweetness or tang if needed, but remember it will reduce slightly when cooked.
Step 4: Glaze and Char the Chicken
After the chicken has roasted for 15 minutes, brush the thighs generously with the barbecue glaze. Return to the oven and continue roasting for another 5-7 minutes, then brush with more glaze. The glaze should start to bubble and darken at the edges.
For the final touch, switch the oven to broil on high for 2-3 minutes. Watch it like a hawk—the sugar in the glaze can burn quickly. You want those edges to char slightly, creating that perfect balance of sweet, smoky, and slightly bitter that makes barbecue chicken irresistible.
Step 5: Rest and Serve
Remove the chicken from the oven and let it rest in the skillet for 5 minutes. This allows the juices to redistribute, keeping the meat moist and flavorful. Brush with any remaining glaze from the pan.
Serve immediately while hot. The skin should be crispy, the glaze should be sticky and slightly charred, and the meat should pull away from the bone with ease. This is barbecue chicken done right—no fancy techniques, just perfect execution of the basics.
Pro Tips For Making Barbecue Chicken Thigh
- Pat Thighs Dry: I learned this the hard way—wet skin steams instead of crisps. Use paper towels to dry the thighs thoroughly before seasoning, especially if they came from a wet brine.
- Start Skin-Side Down: After burning three batches, I finally figured out: sear the skin first in a hot pan with 1 tablespoon of olive oil for 6-8 minutes until golden and crisp.
- Skip Early Saucing: Sounds weird, but it works: wait until the last 10 minutes of cooking to brush on the barbecue sauce, or it’ll burn before the chicken cooks through.
- Rest Before Serving: Give them a solid 5-10 minutes under foil after cooking—yes, even if you’re impatient like me—to let the juices redistribute.
Storing and Reheating Leftovers
Refrigerator Storage
Let your thighs cool completely before storing—this prevents condensation that makes the skin soggy. I use glass containers with tight lids from my farmers market hauls. They’ll keep for 4 days at 40°F or below. The flavors actually deepen overnight as the spices meld. ❄️
Freezer Method
For longer storage, wrap each thigh individually in plastic wrap, then place in a freezer bag. Squeeze out all air to prevent freezer burn. They’ll stay at peak quality for 3 months. Label with the date—I once forgot and was disappointed at the 6-month mark.
Oven Reheating
Preheat to 350°F and place thighs on a wire rack over a baking sheet. This keeps the skin crispy. Heat for 15-20 minutes, brushing with extra barbecue sauce in the last 5 minutes. The wire rack is non-negotiable for maintaining texture. 🔥
Skillet Revival
My preferred method for next-day meals. Heat a dry skillet over medium heat, add thighs skin-side down, and cover for 5 minutes. Add 2 tbsp water, cover again for 3 minutes to steam. This restores moisture beautifully.
Microwave Quick Fix
Place thighs on a microwave-safe plate with a damp paper towel. Heat on 50% power for 2 minutes, flip, then repeat. The paper towel traps steam to prevent drying. Not ideal, but works in a pinch for lunch at the shop.
Nutrition Facts
Frequently Asked Questions
Should I use bone-in or boneless thighs?
Bone-in, skin-on is ideal for juicier meat and crispier skin. The bone keeps the meat moist during cooking. Boneless works but tends to dry out faster.
Can I make this on a grill instead of oven?
Start with indirect heat at 375°F for 20 minutes, then move to direct heat to char. Watch the glaze closely to prevent burning.
How do I prevent the glaze from burning?
Keep the oven temperature at 375°F and only broil for 2-3 minutes at the end. Brush on glaze in thin layers and baste frequently.
What if my sauce is too thin?
Simmer it on the stovetop for 5-10 minutes before using. The brown sugar helps thicken it naturally as it cooks.

Trained in classic French technique but raised on slow-cooked ribs and spicy rubs, she blends culinary skill with smoke and soul.
- Recipe for Boneless Pork Chops in Cast Iron Skillet: Sear and Baste to Juicy Perfection - October 3, 2026
- Recipe for Boneless Cross Rib Roast: Slow-Roasted Beef with Herb Crust - October 3, 2026
- Hamburgers in Sauce Recipe Crock Pot: Slow-Cooked Savory Delight - October 3, 2026