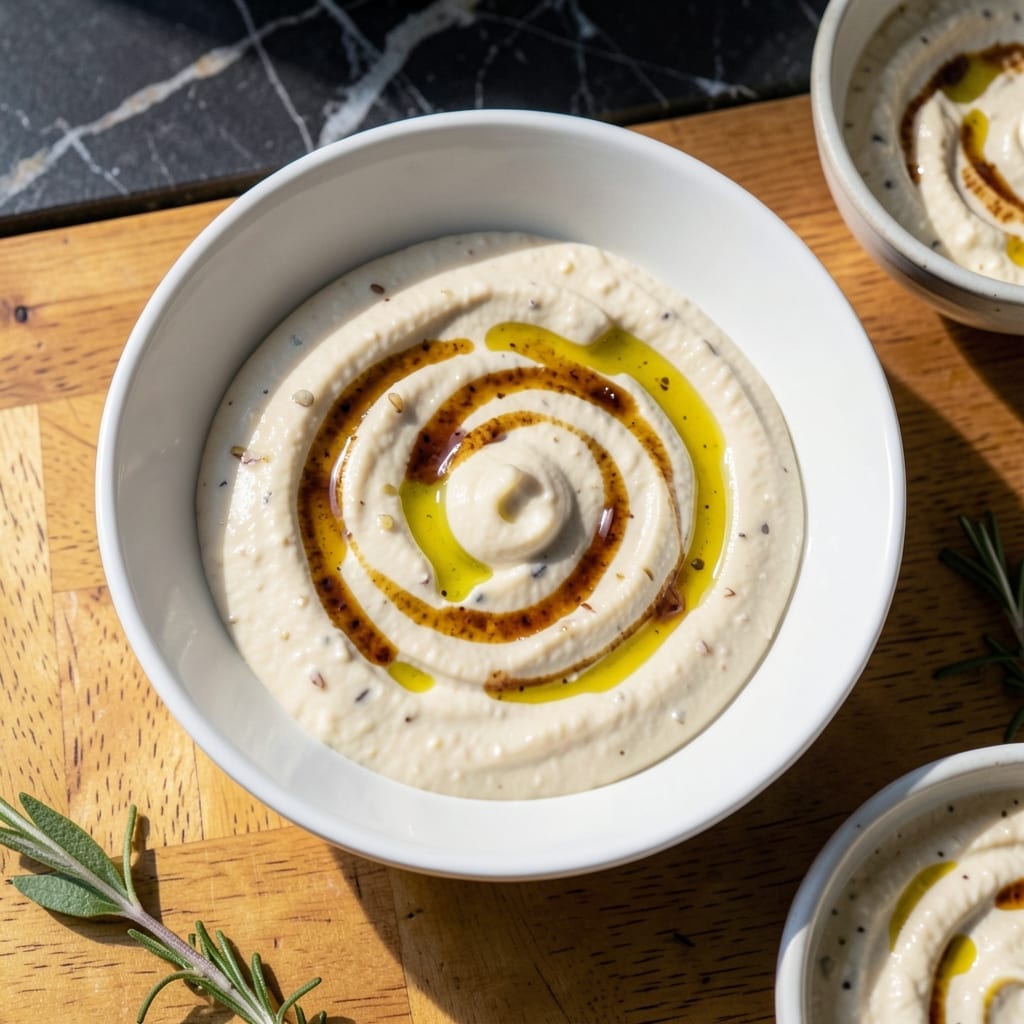
This creamy garlic sauce transforms any dish with its rich, velvety texture and bold flavor. I’ve perfected this emulsion through years of French training and pitmaster experience.
With just a few simple ingredients and 5 minutes of whisking, you’ll have a restaurant-quality condiment that elevates sandwiches, seafood, and vegetables.
Ingredients for Basic Aioli
Eight ingredients. Five minutes. Restaurant-quality garlic sauce ready to elevate everything.
| Ingredient | Amount | Notes |
|---|---|---|
| Garlic Cloves 🧄 | 4 cloves | Freshly pressed for bold flavor |
| Large Egg Yolks 🥚 | 2 whole | Room temperature for better emulsion |
| Dijon Mustard 🟡 | 1 tbsp | Smooth, not whole grain |
| Lemon Juice 🍋 | 1 tbsp | Freshly squeezed, about 1 lemon |
| Extra-Virgin Olive Oil 🫒 | 1 cup | High quality, neutral taste acceptable |
| White Wine Vinegar 💧 | 1 tsp | Or substitute apple cider vinegar |
| Sea Salt 🧂 | ½ tsp | Fine grain preferred for even distribution |
| White Pepper 🌶️ | ¼ tsp | Freshly ground for subtle heat |
[recipe_ingredient_scaler]
The garlic is non-negotiable here—use fresh, plump cloves (the kind that still smell sharp when raw). I grab mine from Whole Foods or the farmers market when I can, but any grocery store will do. The egg yolks? Room temperature is key—they emulsify better. If you’re worried about raw eggs, pasteurized yolks work too (just check the label). For the oil, splurge on good olive oil if you can taste it, but a neutral oil like avocado works if you want the garlic to shine.
No Dijon? Yellow mustard in a pinch, but it’ll be milder. Short on lemon juice? Lime or white wine vinegar can stand in. The vinegar adds acidity to balance the richness, so don’t skip it. If you’re out of white pepper, black pepper is fine (just use half the amount). Want it thicker? Add another yolk. Too thick? A splash of warm water thins it right out.
Aioli keeps 3-4 days in the fridge in a sealed jar. The flavor actually deepens after a day. Don’t freeze it—the emulsion breaks. If it separates, just whisk in a splash of warm water to bring it back. Glass jars work best for storage (plastic can absorb odors).
Why You’ll Love This Recipe
- Whisk and Done: I can make this in 5 minutes flat—just a bowl, a whisk, and those egg yolks emulsifying with the olive oil like magic.
- Garlic Punch: The fresh garlic and Dijon give it that sharp, creamy kick that makes everything from fries to fish taste better.
- Dip or Spread: Honestly, I slather it on sandwiches, drizzle it over roasted veggies, or serve it as a dip for crudités.
- Fridge Staple: It keeps for a week, so I always have a jar ready to save me from boring leftovers.
Step-by-Step Instructions for Basic Aioli
Here’s the method for creating a rich, creamy emulsion that’s bold with garlic flavor.
Step 1: Prepare the Garlic Base
Press the 4 cloves Garlic Cloves through a garlic press directly into a medium bowl. This releases more oils and creates a smoother paste than mincing. Add the 0.5 tsp Sea Salt immediately and grind it into the garlic with the back of a spoon to create a uniform paste.
This step is crucial for even flavor distribution in your aioli. You’ll notice the garlic becomes almost liquid as it breaks down with the salt. The salt also helps draw out moisture from the garlic, which aids in the initial emulsification process.
Step 2: Combine the Emulsifiers
Add the 2 whole Large Egg Yolks, 1 tbsp Dijon Mustard, 1 tbsp Lemon Juice, and 1 tsp White Wine Vinegar to the garlic paste. Whisk vigorously until the mixture becomes pale and slightly thickened, about 1 minute.
The mustard acts as a secondary emulsifier, helping to stabilize the mixture as you add the oil. The acid from both the lemon juice and vinegar brightens the flavor and helps balance the richness of the oil. Make sure all ingredients are fully incorporated before moving to the next step.
Step 3: Slowly Incorporate the Oil
Begin adding the 1 cup Extra-Virgin Olive Oil in a very thin, steady stream while whisking constantly. I recommend using a slow-pour measuring cup or a spouted container for better control. The mixture will start to thicken almost immediately.
After adding about ¼ cup of the oil, the emulsion will begin to form. At this point, you can increase the stream slightly, but continue whisking vigorously. If the mixture starts to separate, stop adding oil and whisk vigorously until it comes back together before continuing.
This gradual addition is what creates the stable emulsion that gives aioli its signature creamy texture.
Step 4: Finish and Adjust Seasoning
Once all the oil is incorporated, add the 0.25 tsp White Pepper and whisk to combine. Taste and adjust seasoning if needed, though be cautious with additional salt as the garlic and mustard already contribute significant flavor.
The aioli should be thick and glossy, with a pale yellow color. If it’s too thick, you can thin it with a teaspoon of warm water. If it’s too thin, you can whisk in a bit more oil to reach your desired consistency.
Let it rest for 5 minutes before serving to allow the flavors to meld together. The texture will also thicken slightly as it sits.
Pro Tips For Making Basic Aioli
- Temper Your Eggs: Let the egg yolks sit at room temperature for 10 minutes before starting—I learned this the hard way after my aioli broke twice with cold yolks straight from the fridge.
- Grate the Garlic: Use a microplane for the garlic instead of mincing. It blends seamlessly into the emulsion and avoids those unpleasant raw garlic chunks that can overpower the sauce.
- Slow Stream the Oil: Drizzle the olive oil in the thinnest possible stream, especially at the beginning. After ruining a batch by pouring too fast, I now use a measuring cup with a spout for better control.
- Rescue Broken Aioli: If it separates, don’t panic. Whisk 1 tablespoon of warm water into the broken mixture, then slowly reincorporate the oil—sounds weird, but it works every time.
Perfect Pairings for This Dish
Seafood Companions
This sauce was practically made for grilled shrimp—toss 1 lb peeled shrimp in 2 tbsp aioli before grilling for a flavor explosion. It’s also incredible with pan-seared scallops or steamed mussels. The garlic and oil complement the sweetness of seafood perfectly. 🌊
Sandwich Superstar
Spread a generous layer on crusty French bread for the ultimate cold cut sandwich. I love it with prosciutto, salami, and provolone—the creaminess cuts through the saltiness. It’s also fantastic on a fried egg sandwich for breakfast. Honestly, it turns any sandwich into a gourmet experience.
Vegetable Elevation
Roasted or grilled vegetables come alive with a drizzle of this sauce. Try it on asparagus, zucchini, or roasted cauliflower. For a quick snack, dip raw crudités like carrots, cucumbers, or bell peppers. The garlic punch makes even the simplest veggies taste extraordinary.
Meat Pairings
Use it as a dip for grilled chicken tenders or a topping for burgers. I also love it as a marinade for lamb chops—let them soak in ¼ cup aioli for 2 hours before grilling. The acidity tenderizes the meat while adding incredible depth of flavor.
French Fry Game-Changer
Swap ketchup for aioli next time you make fries or sweet potato wedges. The creamy, garlicky dip takes them to another level. I even use it for onion rings—trust me, you’ll never go back to plain mayo. 💡
Nutrition Facts
Frequently Asked Questions
Can I make this without raw eggs?
Yes! Use 2 tbsp mayonnaise as a base instead of egg yolks. The mustard and garlic will still create great flavor. This version keeps for 1 week in the fridge.
Why did my aioli break?
Most likely the oil was added too quickly. If it separates, whisk in 1 tsp warm water to bring it back together. Always add oil in a thin, steady stream while whisking constantly.
Can I use a blender instead of whisking?
A blender or food processor works perfectly. Add all ingredients except oil, pulse to combine, then slowly drizzle in the oil while blending.
How can I make it spicier?
Add ½ tsp cayenne pepper or 1 tsp sriracha to the finished aioli. For a smoky kick, try ½ tsp smoked paprika. Adjust to taste.

Trained in classic French technique but raised on slow-cooked ribs and spicy rubs, she blends culinary skill with smoke and soul.
- Recipe for Boneless Pork Chops in Cast Iron Skillet: Sear and Baste to Juicy Perfection - October 3, 2026
- Recipe for Boneless Cross Rib Roast: Slow-Roasted Beef with Herb Crust - October 3, 2026
- Hamburgers in Sauce Recipe Crock Pot: Slow-Cooked Savory Delight - October 3, 2026