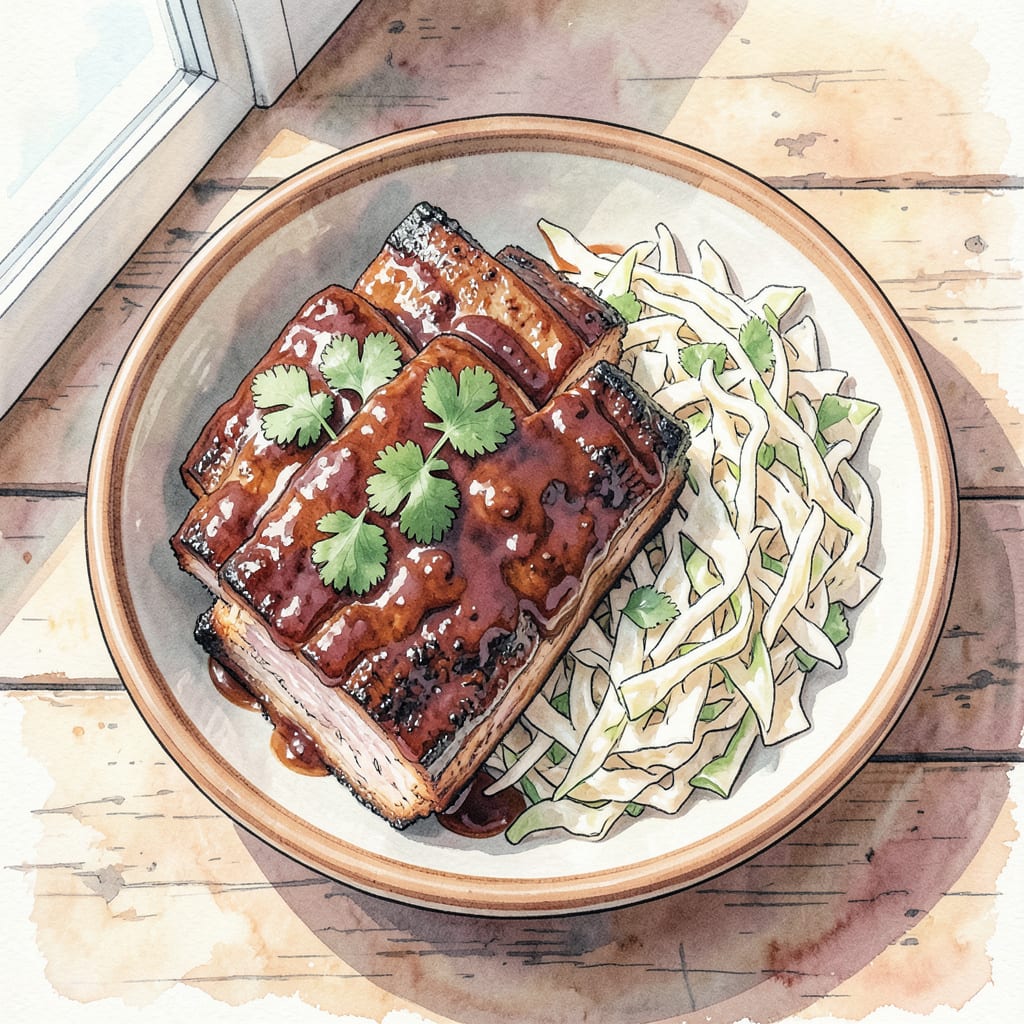
As a pitmaster, I’ve perfected the art of BBQ dino ribs that are fall-off-the-bone tender in just 2 hours. My secret? A blend of classic French technique and smoke-cooking tradition that elevates these ribs to new heights.
By combining a dry rub that adds depth with a slow cook that breaks down the meat, you’ll achieve ribs that are both tender and full of flavor. Let’s get started on this mouth-watering recipe that’s sure to impress.
Ingredients for Bbq Dino Ribs
Gather these ingredients for fall-off-the-bone BBQ dino ribs in just 2 hours.
| Ingredient | Amount | Notes |
|---|---|---|
| Beef Dino Ribs 🥩 | 4 lb | Preferably 2-3 inches thick |
| Brown Sugar 🍮 | ½ cup | Dark brown for richer flavor |
| Smoked Paprika 🌶️ | 2 tbsp | For smoky depth |
| Garlic Powder 🧄 | 1 tbsp | Not garlic salt |
| Onion Powder 🧅 | 1 tbsp | Adds savory base |
| Kosher Salt 🧂 | 2 tbsp | Coarse grind preferred |
| Black Pepper 🌶️ | 1 tbsp | Freshly ground |
| Chili Powder 🌶️ | 1 tsp | Mild or hot variety |
| Cumin 🌿 | 1 tsp | Ground cumin preferred |
| Cayenne Pepper 🔥 | ½ tsp | Optional for heat |
| Apple Cider Vinegar 🍎 | ¼ cup | For marinade |
| Worcestershire Sauce 💧 | 2 tbsp | Adds umami flavor |
| Beef Broth 🍜 | 1 cup | Low sodium recommended |
[recipe_ingredient_scaler]
The dry rub is where the magic happens. Penzeys has great smoked paprika that adds that authentic BBQ flavor. For the ribs, Costco often has great dino ribs. If you can’t find them, any thick beef ribs work. Make sure to get a good balance of meat and bone.
No apple cider vinegar? White wine vinegar or red wine vinegar work as substitutes. For extra heat, bump up the cayenne or add some red pepper flakes. The Worcestershire sauce adds depth, but you can skip it if you’re out. The beef broth should be low sodium so you can control the salt level.
These ribs freeze beautifully before cooking. Wrap them tightly in plastic wrap, then foil, and freeze for up to 3 months. Thaw completely before using. Leftovers keep in the fridge for 3-4 days and reheat nicely in the oven or microwave.
Step-by-Step Instructions for BBQ Dino Ribs
Follow these simple steps to achieve fall-off-the-bone tender BBQ dino ribs in just 2 hours.
Step 1: Prepare the Dry Rub and Marinate the Ribs
In a small bowl, mix together the 2 tbsp Kosher Salt, 1 tbsp Black Pepper, 2 tbsp Smoked Paprika, 1 tbsp Garlic Powder, 1 tbsp Onion Powder, 1 tsp Chili Powder, 1 tsp Cumin, and 0.5 tsp Cayenne Pepper. Generously coat the 4 lb Beef Dino Ribs with this dry rub, making sure to cover all surfaces evenly. Place the ribs in a large zip-top bag or a non-reactive container, and refrigerate for at least 1 hour or overnight for better flavor penetration.
After the ribs have marinated, remove them from the refrigerator and let them sit at room temperature for 30 minutes before cooking. This helps the ribs cook more evenly.
Step 2: Sear the Ribs on High Heat
Preheat your grill to high heat (around 450°F). Remove the ribs from the marinade, letting any excess liquid drip off. Place the ribs on the grill, bone-side down, and sear for 5 minutes per side, or until a nice crust forms. You want a good char on the outside, which adds flavor and texture. Once seared, move the ribs to a cooler part of the grill or reduce the heat to low (around 225°F) to continue cooking.
During this step, you’ll notice the ribs start to release some of their fat, which is normal. This process helps keep the meat moist and tender.
Step 3: Braise the Ribs in Liquid
In a small saucepan, combine 0.25 cup Apple Cider Vinegar, 2 tbsp Worcestershire Sauce, and 1 cup Beef Broth. Bring this mixture to a simmer over medium heat until it reduces slightly, creating a rich, flavorful braising liquid. Pour this liquid into a large foil pan or a disposable aluminum pan, then add the seared ribs. Cover the pan tightly with foil to trap the moisture and heat.
Continue cooking the ribs in this braising liquid for 1.5 to 2 hours, or until they reach your desired level of tenderness. The low and slow cooking process breaks down the connective tissues, making the meat fall-off-the-bone tender.
Step 4: Finish with a Glaze
After the ribs have cooked, remove them from the braising liquid and place them back on the grill over medium heat. Brush the ribs with a mixture of 0.5 cup Brown Sugar and a bit of the braising liquid to create a sticky glaze. Cook for an additional 10-15 minutes on each side, or until the glaze is caramelized and sticky. Keep an eye on the ribs during this step, as the sugar can burn quickly if the heat is too high.
Once glazed, remove the ribs from the grill and let them rest for 5-10 minutes before slicing. This resting period allows the juices to redistribute, ensuring the ribs stay moist and flavorful.
Pro Cooking Tips for This Dish
Temperature Control Mastery
For perfect BBQ dino ribs, maintaining consistent temperature is crucial. I preheat my grill to 450°F for searing, then reduce to 225°F for slow cooking. This temperature shift creates that perfect bark while keeping the meat tender. I use a ThermoWorks Smoke thermometer to monitor both grill and meat temperatures. 🔥
The Importance of Resting
After cooking, let your ribs rest for 5-10 minutes before slicing. This resting period allows the juices to redistribute throughout the meat, ensuring maximum tenderness and flavor. I like to wrap mine in foil and let them relax on a cooler part of the grill.
Perfect Braising Liquid
The braising liquid is where much of the flavor lives. I combine 1 cup beef broth, ¼ cup apple cider vinegar, and 2 tbsp Worcestershire sauce for a rich, complex base. Bringing this to a simmer before adding the ribs helps intensify the flavors that penetrate the meat during cooking.
Searing Techniques
Searing over high heat for 5 minutes per side creates that essential bark. Make sure your grill grates are clean and preheated properly to prevent sticking. I lightly oil mine with avocado oil just before adding the ribs.
Glazing for Perfection
The final glaze makes all the difference. Mixing ½ cup brown sugar with some reserved braising liquid creates a sticky, caramelized coating. Brush this on during the last 10-15 minutes of cooking, turning frequently to prevent burning. The result is a beautifully glazed exterior. 💡
Equipment Essentials
Investing in proper equipment makes a big difference. I swear by my Big Green Egg for temperature control and a sharp boning knife for trimming. Having the right tools helps achieve professional results at home.
Nutrition Facts

Trained in classic French technique but raised on slow-cooked ribs and spicy rubs, she blends culinary skill with smoke and soul.
- Recipe for Boneless Pork Chops in Cast Iron Skillet: Sear and Baste to Juicy Perfection - October 3, 2026
- Recipe for Boneless Cross Rib Roast: Slow-Roasted Beef with Herb Crust - October 3, 2026
- Hamburgers in Sauce Recipe Crock Pot: Slow-Cooked Savory Delight - October 3, 2026