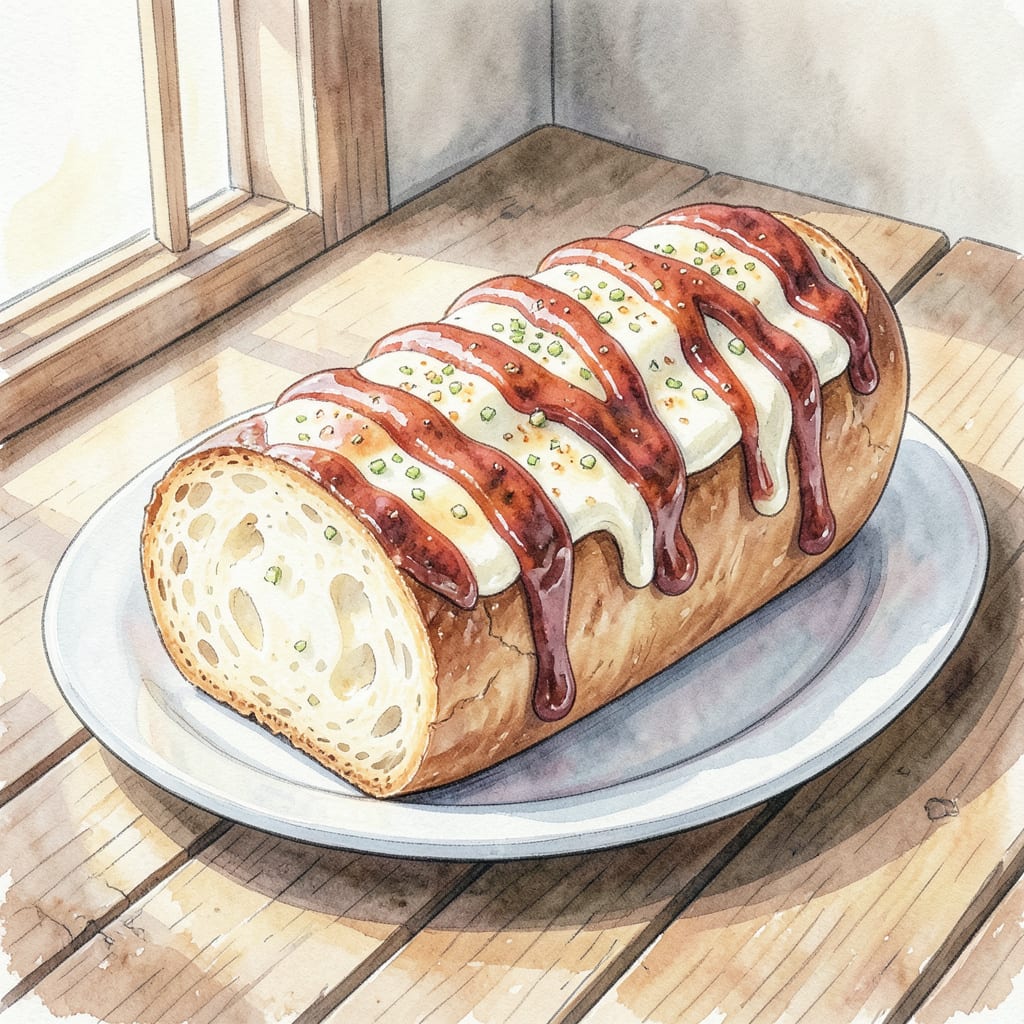
I’ve perfected my BBQ garlic bread recipe through years of backyard cookouts and experimenting with different techniques. 🔥 The result is a cheesy, buttery masterpiece that’s ready in minutes and pairs perfectly with your favorite grilled meats.
This recipe combines the richness of garlic butter with the smoky flavor of BBQ sauce, all wrapped up in a crusty bread that’s sure to become a family favorite. With simple ingredients and straightforward instructions, you’ll be enjoying this delicious side dish in no time.
Ingredients for Bbq Garlic Bread
Simple ingredients come together to create this cheesy, garlicky masterpiece in minutes.
| Ingredient | Amount | Notes |
|---|---|---|
| French Bread Loaf 🍞 | 1 whole | Crusty bread preferred |
| Unsalted Butter 🧈 | ½ cup | Softened for easy mixing |
| Garlic Cloves 🧄 | 4 cloves | Minced for maximum flavor |
| Mozzarella Cheese 🧀 | 1 cup | Shredded for even melting |
| Parmesan Cheese 🧀 | ½ cup | Freshly grated for best flavor |
| BBQ Sauce 🍯 | ¼ cup | Sweet or smoky variety |
| Fresh Parsley 🌿 | ¼ cup | Chopped for garnish |
| Salt 🧂 | ½ tsp | Kosher or sea salt preferred |
| Black Pepper 🌶️ | ¼ tsp | Freshly ground for best flavor |
| Italian Seasoning 🌿 | ½ tsp | Optional for extra flavor |
[recipe_ingredient_scaler]
For the best results, use a high-quality crusty bread like a French or Italian loaf. I’ve found that Trader Joe’s or local bakery bread works beautifully. The garlic butter is where the magic happens—don’t skimp on the fresh garlic.
No mozzarella? Monterey Jack or Provolone make great substitutes. For a spicy kick, add some red pepper flakes to the garlic butter. If you’re feeling fancy, sprinkle some fresh thyme on top before baking.
This bread is best served fresh, but you can prepare the garlic butter ahead of time and store it in the fridge for up to 3 days. Leftovers can be stored in an airtight container at room temperature for 1 day or frozen for 1 month.
Step-by-Step Instructions for BBQ Garlic Bread
Let’s create this cheesy, garlicky masterpiece together – it’s easier than you think.
🔥 Step 1: Prep the Garlic Butter
Start by mixing the 0.5 cup Unsalted Butter with the 4 cloves Garlic Cloves (minced for maximum flavor) in a bowl until well combined. I like to use a fork to mash the garlic into the butter until it’s smooth and fragrant. Add the 0.5 tsp Salt and 0.25 tsp Black Pepper to this mixture and mix well. The garlic butter should be creamy and aromatic – this is the flavor foundation of your BBQ garlic bread.
Make sure your butter is softened to room temperature before mixing – it makes the process much easier. If you’re using salted butter, adjust the amount of salt you add accordingly.
👨🍳 Step 2: Prepare the Bread
Preheat your oven to 375°F. Slice the 1 whole French Bread Loaf into 1-inch thick slices. You should get about 8-10 slices depending on the size of your loaf. Place the slices on a baking sheet lined with parchment paper. I like to arrange them in a single layer with a bit of space between each slice for even toasting.
Brush the garlic butter mixture evenly onto each slice, making sure to get both sides. Don’t be shy – use all the garlic butter to get that delicious flavor into every bite.
🥘 Step 3: Add Cheese and BBQ Sauce
Sprinkle the 1 cup Mozzarella Cheese and 0.5 cup Parmesan Cheese evenly over the bread slices. You can adjust the amount of cheese to your liking, but I find this ratio gives a perfect balance of creaminess and flavor. Drizzle the 0.25 cup BBQ Sauce over the cheese – you can use more or less depending on how saucy you like it.
The mozzarella provides a melty texture while the Parmesan adds a nice salty kick. The BBQ sauce brings everything together with its tangy sweetness.
🔥 Step 4: Bake to Perfection
Place the baking sheet in the preheated oven and bake for 12-15 minutes until the cheese is melted and bubbly. You’ll know it’s done when the edges are golden brown and the cheese is melted and slightly browned. If you prefer a crisper bread, you can broil for an additional 1-2 minutes – watch closely to prevent burning.
Keep an eye on the bread during the last few minutes as oven temperatures can vary. You’re looking for that perfect golden-brown color on the cheese and a crispy edge on the bread.
👨🍳 Step 5: Finish with Fresh Parsley
Remove the BBQ garlic bread from the oven and sprinkle with 0.25 cup Fresh Parsley immediately. The heat from the bread will slightly wilt the parsley, releasing its fresh flavor. If you like a bit of extra flavor, sprinkle some 0.5 tsp Italian Seasoning on top before serving.
Slice the bread into serving portions if needed, though it’s perfectly delicious served in the rustic slices straight from the oven. This cheesy, garlicky, BBQ-infused bread is perfect as a side dish or even as a snack on its own. Enjoy the ooey-gooey cheesy goodness!
Common Mistakes When Making Great bbq garlic bread
Common Temperature Mistakes
One of the most critical mistakes when making BBQ garlic bread is incorrect oven temperature. I always preheat to 375°F for the perfect balance between crispy crust and melted cheese. If your oven runs hot, consider reducing the temperature to 350°F to prevent burning. 🔥
Overloading with Cheese
While it’s tempting to add extra cheese, overloading can make the bread soggy. I stick to 1 cup mozzarella and
Garlic Butter Missteps
Using cold butter is a common mistake that makes mixing with garlic difficult. I always soften my butter to room temperature before mixing with 4 cloves of minced garlic. This ensures a smooth, creamy spread that coats the bread evenly.
Uneven Bread Slices
To achieve even baking, slice your bread into consistent 1-inch thick pieces. I find using a serrated knife helps make clean cuts. Uneven slices can lead to some pieces being overcooked while others remain underdone.
Not Watching the Broiler
When you choose to broil for that perfect golden-brown top, keep a close eye on it. The difference between perfectly toasted and burnt can be as little as 30 seconds. I stay right next to the oven during this step.
Skipping the Resting Time
After baking, let your bread rest for a few minutes. This allows the cheese to set slightly, making it easier to serve. I find that a 5-minute rest makes a big difference in the final presentation.
Nutrition Facts

Trained in classic French technique but raised on slow-cooked ribs and spicy rubs, she blends culinary skill with smoke and soul.
- Recipe for Boneless Pork Chops in Cast Iron Skillet: Sear and Baste to Juicy Perfection - October 3, 2026
- Recipe for Boneless Cross Rib Roast: Slow-Roasted Beef with Herb Crust - October 3, 2026
- Hamburgers in Sauce Recipe Crock Pot: Slow-Cooked Savory Delight - October 3, 2026