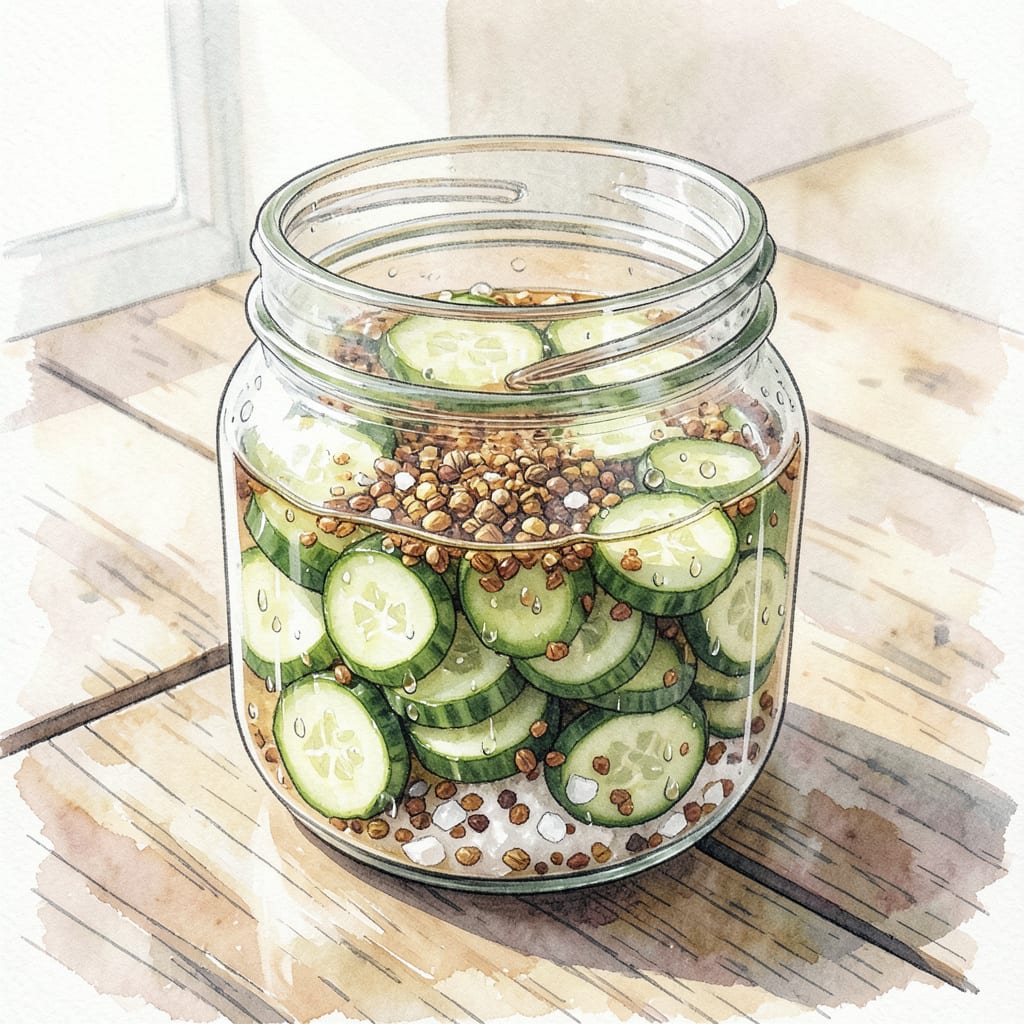
I’m obsessed with these BBQ quick pickles that add a tangy crunch to any barbecue. Made with thinly sliced cucumbers in a flavorful brine, they’re ready in just 30 minutes and elevate any grilled meal.
With a perfect balance of vinegar, sugar, and spices, these pickles bring a professional touch to your backyard BBQ. The quick pickling process ensures they’re ready when you need them most – no canning required.
Ingredients for Bbq Quick Pickles
Quick, tangy, and crunchy – these pickles elevate any BBQ in just 30 minutes.
| Ingredient | Amount | Notes |
|---|---|---|
| Thinly Sliced Cucumbers 🥒 | 4 cups | Sliced 1/8 inch thick |
| White Vinegar 💧 | 1 cup | Distilled white vinegar |
| Granulated Sugar 🍮 | ½ cup | White granulated sugar |
| Water 💧 | ½ cup | Cold water |
| Kosher Salt 🧂 | 2 tbsp | Non-iodized salt |
| Pickling Spice 🌶️ | 1 tsp | Store-bought mix |
| Mustard Seeds 🌱 | 1 tsp | Yellow or brown |
| Dill Seed 🌿 | ½ tsp | Optional for flavor |
[recipe_ingredient_scaler]
For the best cucumbers, look for English or Kirby varieties – they’re naturally firmer. Most grocery stores carry them, but farmers markets often have the freshest options. Try to get them within 24 hours of when they’re picked for maximum crunch.
No pickling spice? Make your own with equal parts mustard seeds, coriander, and peppercorns. The dill seed adds a nice touch, but skip it if you don’t have it. For a spicier kick, add 1/4 teaspoon red pepper flakes to the brine. The sugar helps balance the vinegar – adjust to taste if you prefer less sweet.
These pickles keep for 2 weeks in the fridge. Store them in a glass jar with a tight lid. They’ll continue to soften a bit over time, but the flavor will remain great. Make them fresh every week for the best results.
Step-by-Step Instructions for BBQ Quick Pickles
Let’s make these tangy, crunchy pickles that’ll elevate your BBQ game in just a few simple steps.
Step 1: Prepare the Cucumber Slices
Start by taking the 4 cups Thinly Sliced Cucumbers and placing them in a large colander. I like to sprinkle the 2 tbsp Kosher Salt evenly over the cucumbers to help draw out excess moisture. Let them sit for 10-15 minutes until you notice beads of water forming on their surface. This step is crucial as it helps maintain their crunch.
After the cucumbers have sat for the appropriate time, rinse them under cold running water to remove the salt. I usually give them a gentle stir to ensure all the salt is washed away. Then, pat them dry with paper towels to remove excess moisture. This helps the pickling liquid adhere better to the cucumbers.
Step 2: Create the Pickling Liquid
In a medium saucepan, combine the 1 cup White Vinegar, 0.5 cup Granulated Sugar, 0.5 cup Water, 1 tsp Pickling Spice, 1 tsp Mustard Seeds, and 0.5 tsp Dill Seed. I like to stir these ingredients together well before applying heat to ensure everything is properly mixed.
Place the saucepan over medium heat and bring the mixture to a simmer. You’ll know it’s ready when the sugar has dissolved, and the liquid is just below boiling point. This should take about 5-7 minutes. The mixture will be aromatic and slightly thickened. Remove it from the heat once it’s done.
Step 3: Combine Cucumbers and Pickling Liquid
Transfer the prepared cucumber slices to a clean, heatproof jar or container. I prefer using a glass jar with a tight-fitting lid to keep everything fresh. Pour the hot pickling liquid over the cucumbers, making sure they’re completely covered. If necessary, you can add a bit more water to ensure they’re submerged.
Let the pickles cool to room temperature. This step is important as it allows the flavors to meld together. Once cooled, cover the jar and refrigerate. I like to give them at least 30 minutes in the fridge before serving to allow the flavors to intensify.
Step 4: Serve and Enjoy
Once chilled, your BBQ quick pickles are ready to be enjoyed. I like to serve them as a tangy side dish at barbecues or picnics. They’ll keep in the refrigerator for up to 2 weeks, though they’re usually gone much sooner! The flavors will continue to develop over time, making them even more delicious after a day or two.
Perfect Pairings for This bbq quick pickles
Main Dish Pairings
These BBQ quick pickles shine alongside grilled meats, particularly smoked brisket or ribs. The tangy crunch cuts through rich barbecue flavors beautifully. I often serve them with grilled chicken or pulled pork sandwiches for a refreshing contrast. The pickles’ acidity helps balance the fattiness of these meats.
Side Dish Combinations
For a classic Southern-style meal, pair these pickles with creamy coleslaw and baked beans. The cool, creamy slaw and sweet beans complement the pickles’ tanginess perfectly. You can also serve them with grilled vegetables like asparagus or bell peppers for a lighter option. The pickles add a nice burst of flavor to these sides.
Salad Enhancements
Chop these pickles and add them to green salads or pasta salads for an extra kick. They work particularly well with ranch or blue cheese dressings, as the creamy dressing balances the pickles’ acidity. I like to mix them into chickpea or quinoa salads for added texture and flavor. The pickles’ crunch and tanginess elevate these salads.
Beverage Pairings
For drinks, these pickles pair nicely with craft beers like pale ales or IPAs. The hoppy bitterness complements the pickles’ tanginess. If you prefer wine, a crisp Sauvignon Blanc or dry Rosé works well. For non-alcoholic options, try serving them with sparkling lemonade or iced tea infused with fresh herbs like mint or basil. The pickles’ acidity cuts through the sweetness of these beverages.
Additional Serving Ideas
Use these pickles as a topping for burgers or hot dogs at your next barbecue. They also make a great addition to charcuterie boards, providing a tangy contrast to cured meats and cheeses. For a unique twist, try adding them to tacos or grilled cheese sandwiches for an unexpected flavor boost. The pickles’ versatility makes them a valuable addition to many dishes.
Storage Tips
Store any leftover pickles in an airtight container in the refrigerator. They’ll keep for up to 2 weeks, though they’re usually consumed much sooner! The flavors will continue to develop over time, making them even more delicious after a day or two. Keep them refrigerated at all times to maintain their crunch and flavor.
Nutrition Facts

Trained in classic French technique but raised on slow-cooked ribs and spicy rubs, she blends culinary skill with smoke and soul.
- Recipe for Boneless Pork Chops in Cast Iron Skillet: Sear and Baste to Juicy Perfection - October 3, 2026
- Recipe for Boneless Cross Rib Roast: Slow-Roasted Beef with Herb Crust - October 3, 2026
- Hamburgers in Sauce Recipe Crock Pot: Slow-Cooked Savory Delight - October 3, 2026