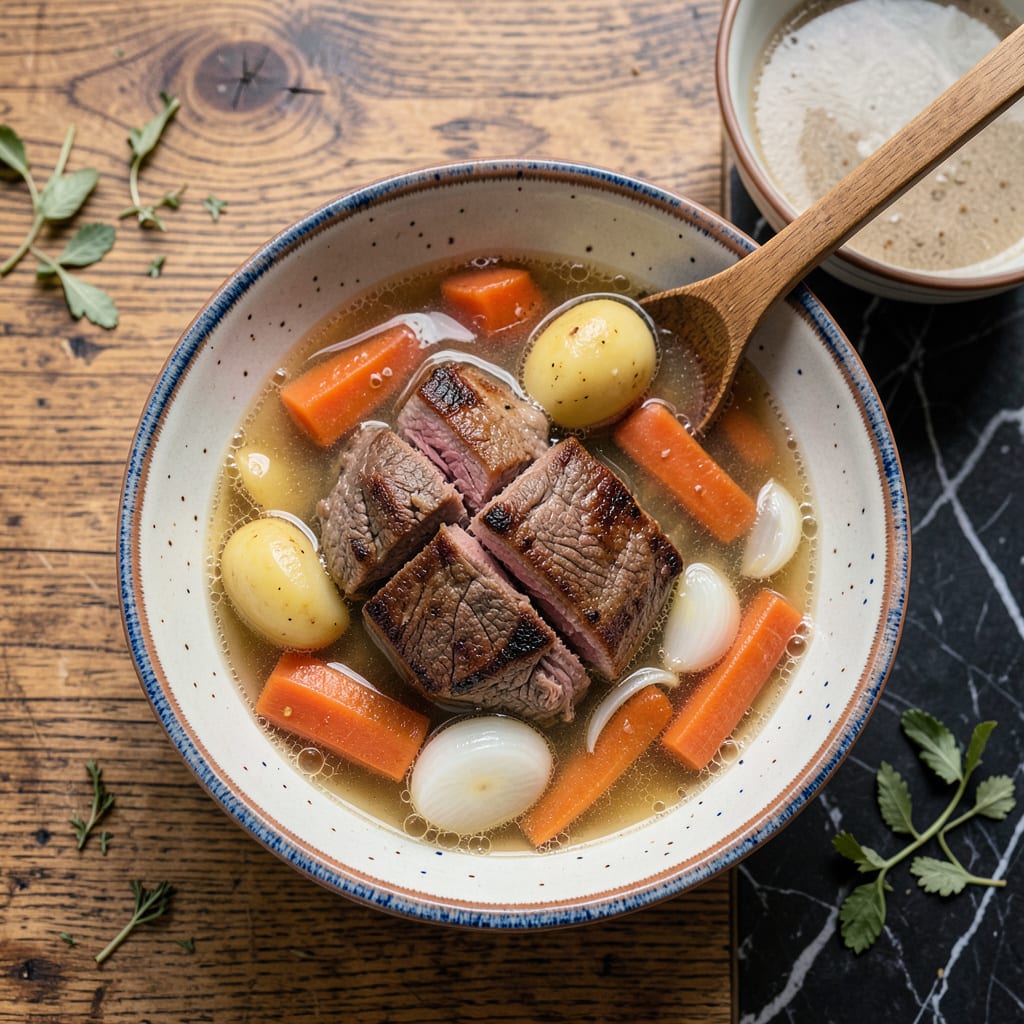
Nothing ruins a cozy beef stew faster than a watery, thin broth that leaves you with soup instead of that rich, hearty dish you were craving. I’ve been there—staring at a pot of sad, gray liquid after hours of simmering, wondering where it all went wrong. The good news? Fixing it is easier than you think, and you don’t need fancy ingredients or complicated techniques.
First, let’s tackle the quickest fix: reducing the liquid. Simmer your stew uncovered for 20–30 minutes, stirring occasionally, to let excess moisture evaporate. If you’re short on time, a cornstarch slurry (1 tablespoon cornstarch mixed with 2 tablespoons cold water) stirred in and simmered for 5 minutes works like magic. For a richer result, mash a potato or two into the broth—they’ll break down and thicken it naturally.
But here’s the thing—preventing watery stew starts before you even turn on the stove. Browning your beef properly (don’t skip this step!) and sautéing your veggies first builds a flavor base that also helps thicken the broth. And if you’re using tomatoes, add them early so their juices can reduce along with everything else.
By the time you’re done, you’ll have a stew with a velvety, deep-brown gravy that clings to every bite of beef and veggies. No more sad, soupy disappointments—just the kind of comforting, stick-to-your-ribs meal that makes cold nights worth celebrating. Let’s get that stew back on track.
📚 In This Guide
- What You’ll Need
- Instructions
- Tips and Common Mistakes
What Youll Need
- ● Large pot or Dutch oven (5-6 quarts) – Heavy-bottomed for even heat distribution 🍲
- ● Wooden spoon or silicone spatula – For stirring without scratching
- ● Measuring cups & spoons – For precise thickener ratios
- ● Slotted spoon – To remove veggies/meat temporarily (if needed)
- ○ Immersion blender or potato masher (optional) – For quick veggie-based thickening
- ● Small bowl – To mix cornstarch/water slurry
- ○ Cheesecloth or fine-mesh strainer (optional) – For straining broth if needed
- ● Cornstarch or arrowroot powder – 1-2 tbsp mixed with 2 tbsp cold water per cup of broth
- ● All-purpose flour – 1-2 tbsp (toasted in butter for roux)
- ● Butter or oil – 1-2 tbsp (for roux)
- ○ Potatoes or carrots (optional) – 1-2 extra, mashed for natural thickening
- ○ Tomato paste (optional) – 1-2 tbsp for depth + slight thickening
Instructions: 3 Ways to Fix Watery Beef Stew
Let’s transform that thin, disappointing stew into something rich, hearty, and restaurant-worthy.
Reduce the Liquid Naturally
Start by removing the lid from your pot and increasing the heat to medium-high. This allows the excess liquid to evaporate more quickly while concentrating the flavors. Stir occasionally to prevent the bottom from scorching—you’ll notice the stew begin to bubble more vigorously.
Watch for visual cues: the stew is ready when the liquid has reduced by about one-third and coats the back of a spoon. This process typically takes 15-25 minutes, depending on your pot size and heat level. I always taste after reducing—sometimes the flavors need a final adjustment with salt or pepper.
Real talk: This method works best if your stew has good flavor but just needs thickening. If it tastes weak, you’ll want to combine this with one of the next techniques for best results.
Create a Simple Slurry for Instant Thickening
In a small bowl, whisk together 2 tablespoons cornstarch with 3 tablespoons cold water until completely smooth. The key here is using cold water—it prevents the cornstarch from clumping when it hits the hot liquid. I like to make this slurry in a measuring cup with a pour spout for easy addition.
With your stew simmering over medium-low heat, slowly pour in the slurry while stirring constantly. You’ll see the liquid transform almost immediately, becoming glossier and more substantial. Let it simmer for 2-3 minutes to cook out any raw starch flavor and reach your desired consistency.
Here’s the thing—this method gives you complete control. Want it thicker? Add another tablespoon of cornstarch mixed with water. Just remember to add it gradually and give it time to work before adding more.
Add a Flavorful Thickening Agent
For the most luxurious texture, mash 2-3 tablespoons tomato paste or blend ½ cup cooked potatoes with some stew liquid, then stir it back in. Both methods add body while enhancing flavor. I prefer tomato paste for beef stew—it deepens the color and adds umami richness.
If using potatoes, remove them from the stew first, mash until smooth, then whisk back in. For tomato paste, simply stir it into the simmering stew and let it cook for 5 minutes to mellow the acidity. You’ll notice the stew becomes richer and more velvety without tasting like tomatoes.
Don’t skip this (I learned the hard way): After adding any thickener, let the stew simmer for at least 10 minutes on low heat. This ensures everything incorporates fully and the flavors meld together beautifully.
Final Adjustments for Perfect Balance
Once you’ve achieved the right thickness, taste and adjust the seasoning. The thickening process can sometimes mute flavors, so you might need to add a pinch more salt, pepper, or a splash of Worcestershire sauce to brighten things up.
If the stew seems too thick after cooling, simply stir in a little hot water or broth to loosen it. Remember that stews continue to thicken as they cool, so it’s better to err slightly on the thinner side while it’s hot. The perfect consistency should coat your spoon but still pour easily from the ladle.
I’ve found that letting the stew rest for 15 minutes off heat before serving allows the flavors to harmonize. This waiting time is when the magic happens—the meat becomes more tender, and the sauce reaches its full potential.
Tips and Common Mistakes for Perfectly Thickened Beef Stew
Here’s what I’ve learned through years of perfecting stews—small details that make a huge difference.
Heat Control is Everything: When reducing in Step 1, keep that medium-high heat consistent but watchful. I’ve found that a heavy-bottomed pot (like enameled cast iron) distributes heat more evenly, preventing scorching while achieving that perfect reduction in the 15-25 minute window. Stir every 3-4 minutes—just enough to prevent sticking without disrupting the evaporation process.
Slurry Success Secret: For Step 2, the 2 tablespoons cornstarch to 3 tablespoons cold water ratio is non-negotiable. I always mix this in a small glass measuring cup—it lets me see any undissolved cornstarch and pour smoothly. When adding to the stew, create a “whirlpool” by stirring in one direction, then pour the slurry into the center. This prevents clumping and ensures even distribution.
The Flavor Development Trick: In Step 3, when using tomato paste, don’t just stir it in—let it “bloom” first. Cook the paste alone in the pot for about 1 minute before adding any liquid. This caramelizes the sugars and intensifies the umami flavor. For potatoes, mash them with a fork right in the stew pot to avoid extra dishes. Both methods need that full 5 minutes of cooking to eliminate any raw taste.
Final Texture Wisdom: The 15 minutes resting time in Step 4 isn’t just for flavor—it’s about texture. As the stew cools slightly, the starches fully absorb liquid and the meat fibers relax. I always set a timer for exactly 15 minutes (no more, no less) to hit that perfect balance between thickness and pourability. If serving later, cool to room temperature first—this prevents the “skin” from forming on top.
Pro Tips for Beef Stew Too Watery
- Here’s what I’ve learned through years of perfecting stews—small details that make a huge difference.
- Heat Control is Everything: When reducing in Step 1, keep that medium-high heat consistent but watchful. I’ve found t…
- Slurry Success Secret: For Step 2, the 2 tablespoons cornstarch to 3 tablespoons cold water ratio is non-negotiable. …
Frequently Asked Questions
How long does it take to thicken beef stew?
Most thickening methods take 10–30 minutes. A roux (butter + flour) works in 5–10 minutes, while simmering uncovered can take 20–30 minutes. For cornstarch slurries, expect thickening in 2–3 minutes after adding. Patience is key—don’t rush it!
Can I fix watery stew without flour or cornstarch?
Try these alternatives:
- Potatoes or bread: Mash cooked potatoes or stir in bread crumbs for natural thickening.
- Reduce liquid: Simmer uncovered to evaporate excess moisture.
- Blend veggies: Purée some cooked carrots or onions and stir them back in.
Why did my beef stew turn out watery even after cooking for hours?
Common culprits include:
- Too much liquid upfront (stick to a 1:1 meat-to-liquid ratio).
- Not simmering uncovered long enough for reduction.
- Adding salt too early (it draws out moisture).
Can I thicken stew in a slow cooker?
Yes, but it’s trickier! Lift the lid for the last 30–60 minutes to let steam escape. For faster results, transfer a cup of liquid to a pot, thicken with cornstarch, then mix back in. Avoid adding flour directly—it can clump.
Does thickening stew affect the flavor?
Minimally! Roux or cornstarch are neutral, but simmering longer enhances flavor by concentrating ingredients. If using blended veggies or bread, expect a slightly heartier taste. Pro tip: Deglaze the pot with wine or broth for extra depth!
Don’t let a watery beef stew ruin your meal—thickening it is easier than you think! 💪 Whether you use a roux, cornstarch slurry, or simple reduction, these fixes will turn your stew into a rich, hearty masterpiece. Next time, try adjusting your cooking time or ingredient ratios before it gets too thin—prevention is the best seasoning!
Ready to put your new skills to the test? Bookmark this guide for future cooks, or dive into another kitchen challenge—like perfecting homemade bread to soak up every last drop! 🍞✨

Trained in classic French technique but raised on slow-cooked ribs and spicy rubs, she blends culinary skill with smoke and soul.
- Recipe for Boneless Pork Chops in Cast Iron Skillet: Sear and Baste to Juicy Perfection - October 3, 2026
- Recipe for Boneless Cross Rib Roast: Slow-Roasted Beef with Herb Crust - October 3, 2026
- Hamburgers in Sauce Recipe Crock Pot: Slow-Cooked Savory Delight - October 3, 2026