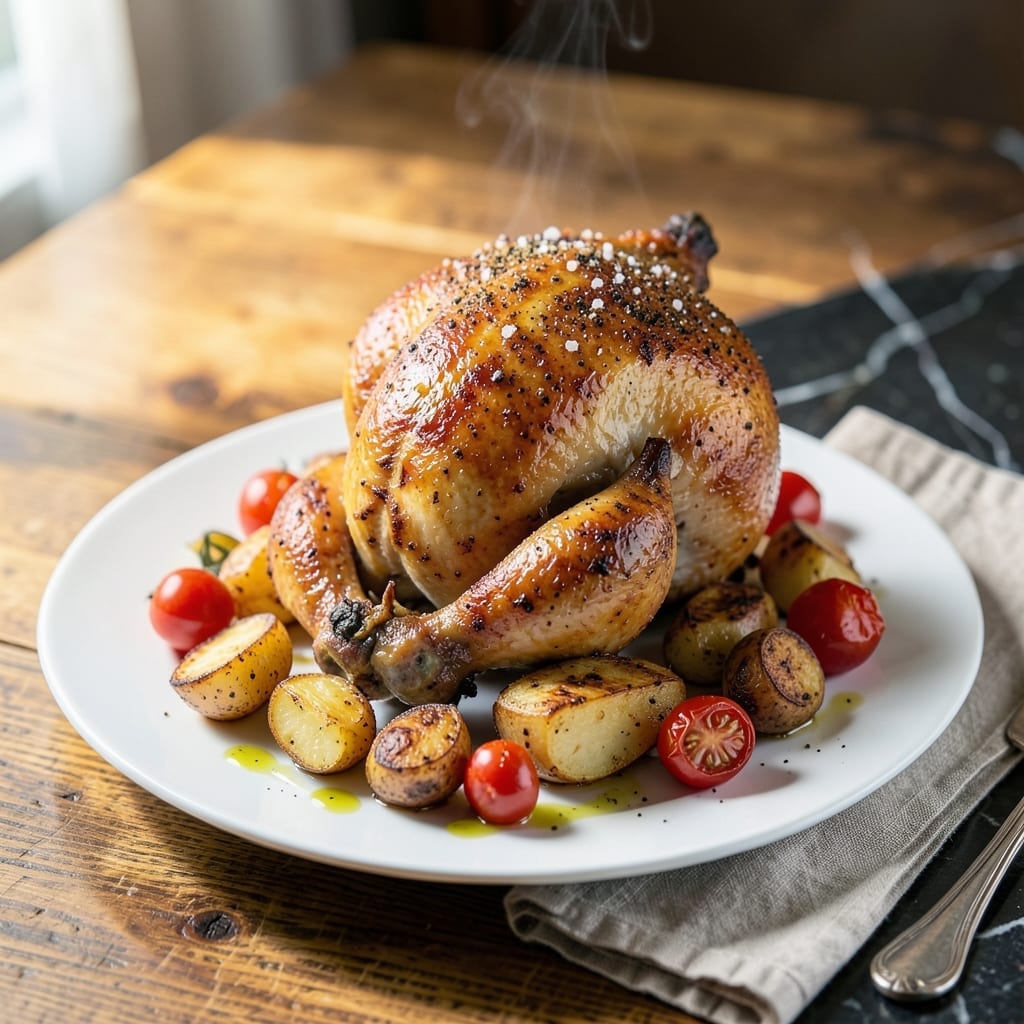
Achieving crispy skin on beer can chicken doesn’t require a grill—your oven delivers perfect results every time. This method locks in moisture while ensuring the exterior turns golden and shatteringly crispy.
With simple prep and precise oven temperatures, you’ll get juicy, flavorful meat and that signature texture without the hassle of outdoor cooking.
Ingredients for Beer Can Chicken Recipe Oven
Just a bird, a beer, and some spices. That’s all you need for this.
| Ingredient | Amount | Notes |
|---|---|---|
| Whole Chicken 🍗 | 1 whole | 3-4 lb, giblets removed |
| Beer 🍺 | 1 can | 12 oz, any variety |
| Olive Oil 🫒 | 2 tbsp | For rubbing chicken |
| Kosher Salt 🧂 | 1 tbsp | Diamond Crystal preferred |
| Black Pepper 🌶️ | 1 tsp | Freshly ground |
| Garlic Powder 🧄 | 2 tsp | Not garlic salt |
| Onion Powder 🧅 | 2 tsp | For dry rub |
| Smoked Paprika 🌶️ | 1 tsp | Adds depth of flavor |
| Dried Thyme 🌿 | 1 tsp | Crushed between fingers |
| Dried Rosemary 🌿 | 1 tsp | Crushed between fingers |
| Brown Sugar 🍚 | 1 tbsp | Light or dark |
| Cayenne Pepper 🔥 | ½ tsp | Adjust for heat preference |
[recipe_ingredient_scaler]
The chicken itself matters most here. Look for a 3-4 lb bird—any larger and it won’t cook evenly. I grab mine from Whole Foods or Costco (their rotisserie chickens are great, but get a raw one for this). The beer? Doesn’t need to be fancy—whatever you’ve got in the fridge works. Just drink half first so it doesn’t overflow (worth the extra minute).
Out of beer? Chicken broth in a can works in a pinch, but you’ll miss that malty flavor. No smoked paprika? Regular paprika plus a pinch of liquid smoke gets you close. The brown sugar can be swapped for honey, but the dry rub texture is slightly better with sugar. If you only have fresh garlic, mince 3 cloves and mix it in with the oil before rubbing.
This is best served fresh, but leftovers keep 3-4 days in the fridge. Reheat in the oven to keep the skin crispy—microwaving turns it soggy. Don’t carve it until ready to serve (that keeps it juicy).
Why You’ll Love This Recipe
- Minimal Effort: I just rub the chicken with oil, salt, and pepper, pop it on a beer can, and let the oven do the work.
- Juicy and Crisp: The beer steams the chicken from inside while the oven roasts the skin to golden perfection.
- Crowd Pleaser: It’s my go-to for Sunday dinners, game days, or even a casual weeknight with friends.
- Leftovers Gold: One chicken means sandwiches for lunch, tacos for dinner, and maybe even a quick soup starter.
Step-by-Step Instructions for Beer Can Chicken in the Oven
This method delivers that signature moist meat and ultra-crispy skin without a grill.
Step 1: Prep the Chicken and Dry Rub
Remove the giblets from the whole chicken and pat it completely dry inside and out with paper towels. This is non-negotiable—moisture prevents crispy skin. I press hard with the towels, especially in the cavity where water tends to pool.
In a small bowl, combine the kosher salt, black pepper, garlic powder, onion powder, smoked paprika, dried thyme, dried rosemary, brown sugar, and cayenne pepper. Whisk until evenly mixed. This blend creates a flavorful crust that locks in juices while the skin gets crisp.
Step 2: Season and Beer Can Setup
Rub the chicken all over with the olive oil, then sprinkle the spice mixture generously over every surface, including inside the cavity. Use your hands to press the seasoning into the skin—this helps it adhere and creates maximum flavor contact.
Open the beer and pour out about half (you want 6 oz remaining for stability). Using a can opener, make 2-3 additional holes in the top of the can to allow steam to escape. Slide the beer can into the chicken’s cavity until it sits upright naturally. The chicken should balance on the can without tipping.
Step 3: Roast at High Heat
Place a baking sheet or roasting pan in the oven and preheat to 425°F. When hot, carefully place the chicken (still on the beer can) in the center. The preheated pan creates an immediate sizzle that jumpstarts the crisping process.
Roast for 1 hour to 1 hour 15 minutes until the skin is deep golden brown and crispy all over. You’re aiming for an internal temperature of 165°F in the thickest part of the thigh. Don’t baste or rotate—the steam from the beer does the work.
Step 4: Rest and Serve
Using tongs and a spatula (the can will be hot!), carefully transfer the chicken to a cutting board. Let it rest for 10 minutes before attempting to remove the can. This resting period allows the juices to redistribute, keeping the meat moist.
Gently lift the chicken off the can—some beer may spill out, so have a towel ready. The skin should audibly crack when you cut into it. Carve as usual and serve immediately. The aroma of the spices and beer will have your guests hovering before it even hits the table.
Pro Tips For Making Beer Can Chicken Recipe Oven
- Preheat the Oven: Set your oven to 375°F and let it fully heat before putting the chicken in—I learned this the hard way after pulling out dry chicken from a lukewarm oven.
- Dry the Chicken: Pat the whole chicken completely dry with paper towels before seasoning; it makes a real difference in getting that crispy skin.
- Skip the Full Can: Use only half a beer in the can to avoid overflow and messy spills in your oven—your future self will thank you.
- Rest Before Carving: Give it a solid 10-15 minutes under foil after baking; I used to rush this part and wondered why my chicken was always dry.
Creative Variations of This Recipe
Citrus Herb Twist
Swap the dry rub for a zesty blend of zest from 1 lemon, 2 tbsp fresh rosemary, and 3 minced garlic cloves mixed with olive oil. Use a citrus IPA for the can to amplify the bright flavors. The acidity cuts through the richness beautifully. 🍋
Spicy BBQ Version
Add 1 tbsp chipotle powder to your dry rub and use a smoky porter in the can. After roasting, brush the chicken with ½ cup BBQ sauce and return to the oven for 5 minutes to set the glaze. This adds a sweet-heat kick.
Mediterranean Style
Replace the beer with a 12 oz can of chicken broth mixed with 1 tbsp lemon juice and 1 tsp oregano. Stuff the cavity with lemon wedges and 4 sprigs fresh thyme before roasting. The herbs infuse the meat with aromatic depth.
Honey Mustard Glaze
Whisk together 2 tbsp Dijon mustard, 2 tbsp honey, and 1 tbsp olive oil to brush on the chicken during the last 15 minutes of cooking. Use a wheat beer in the can for a subtly sweet, tangy finish.
Cajun Blackened
Boost your dry rub with 1 tbsp Cajun seasoning and ½ tsp cayenne. Use a dark lager in the can for malty depth. The bold spices create a dark, crispy crust that’s packed with flavor. 🔥
Apple Cider Option
For a fall twist, replace the beer with 12 oz apple cider in the can. Add 1 tsp cinnamon and ½ tsp nutmeg to your dry rub. The cider steams the chicken with a subtle sweetness that pairs perfectly with the spices.
Nutrition Facts
Frequently Asked Questions
What size chicken works best?
A 3-4 lb bird cooks most evenly. Larger chickens may not cook through before the outside burns. Smaller ones can dry out too quickly.
Can I use a non-alcoholic beer?
Yes! Non-alcoholic beer works equally well. The flavor difference is minimal since alcohol cooks off. Just ensure it’s 12 oz for proper stability.
How do I prevent the can from tipping?
Place the chicken on a preheated pan. The flat surface helps it balance. If wobbly, use a rack or muffin tin to hold the can upright.
What if my oven doesn’t go to 425°F?
Set it to the highest temperature possible. Extend cooking time by 10-15 minutes and check doneness with a meat thermometer.

Trained in classic French technique but raised on slow-cooked ribs and spicy rubs, she blends culinary skill with smoke and soul.
- Recipe for Boneless Pork Chops in Cast Iron Skillet: Sear and Baste to Juicy Perfection - October 3, 2026
- Recipe for Boneless Cross Rib Roast: Slow-Roasted Beef with Herb Crust - October 3, 2026
- Hamburgers in Sauce Recipe Crock Pot: Slow-Cooked Savory Delight - October 3, 2026